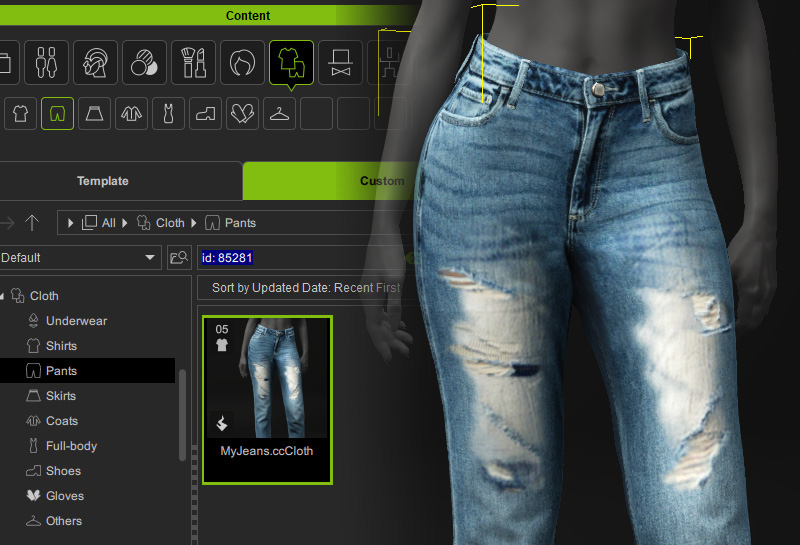
Fine-Tuning Generated Details
After AI generating the texture details, you can fine-tune the mask area to adjust the detail range or enhance depth using a Normal map.
- Right-click the layer containing the generated details and select the Mask Brush command, or click the Mask Brush button in the Layer Manager toolbar.
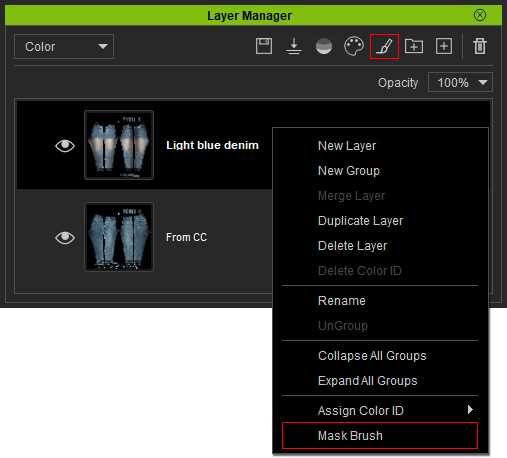
- The Mask Brush panel appears, displaying the same Brush Tools as those in the AI Generation > Detailing tab.
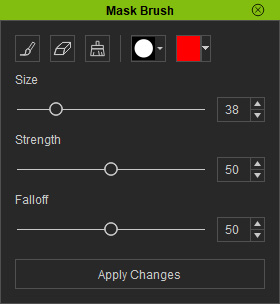
- Use the Mask Eraser to remove the unwanted mask area, and click the Apply Changes button.
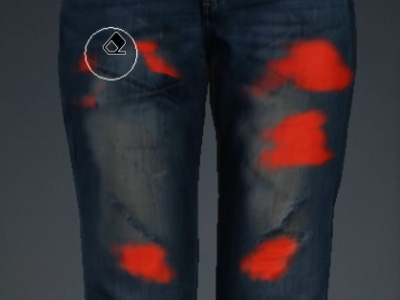
- The effecting area of the generated detail will be modified.
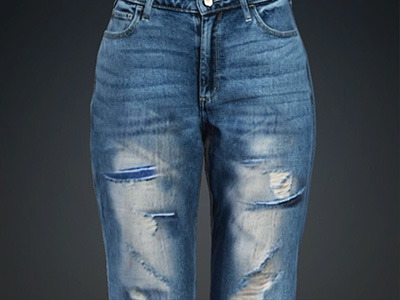
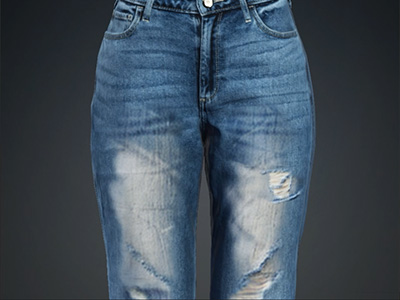
Before modifying the mask area.
After modifying the mask area, the generated details are adjusted to the newly affected region.
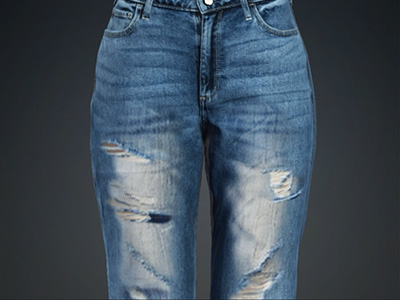
- Use the Brush Tools in the AI Generation > Detailing tab to continue adding multiple rip detail layers to the clothing.
- To add realistic depth to texture details, go to the Texture Editor and generate a Normal map for each detail layer, then adjust the Normal parameters as needed.
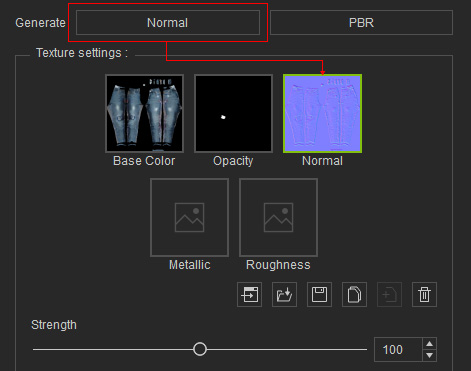
- The rip details now appear more natural on the clothing.
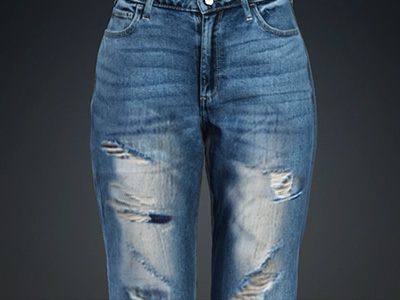
- Send the AI-generated details back to CC and save them in the Custom library of the Content Manager for future editing or application on other characters.