Stamping Custom Images
The Stamp Tool lets you add custom branding by importing PNGs, such as company logos, team badges, or illustrations, with auto-generated PBR effects. It is accessible via the toolbar.

Loading a Stamp Image
Click the Load Image button to browse for an image, or drag an image file directly into the panel.
A PNG image with an alpha channel is recommended for creating a cut-out shape or better blending with the underlying texture.
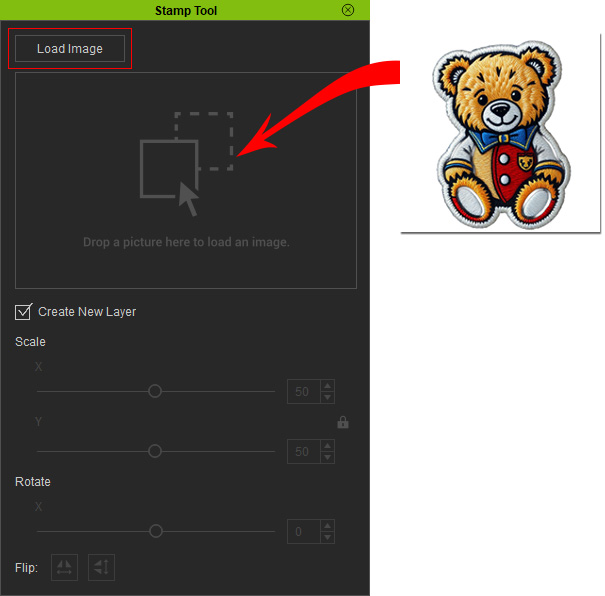
The cursor will change to display the image, indicating it is ready to be stamped onto the clothing.
Move the cursor over the garment to position the image where you want it to appear.
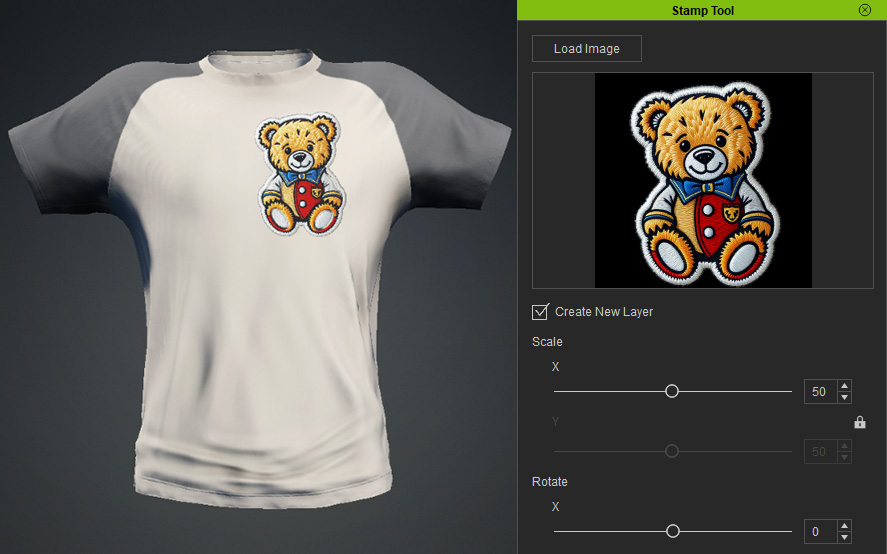
Drag the Scale and Rotate sliders to adjust the image to the desired size and orientation, then click on the garment to stamp it.
Improving Stamp Image Resolution
The Stamp Tool uses screen projection: stamping up close produces finer details, while stamping from a distance can make it blurry. For higher resolution, zoom in on the garment before stamping. The example below demonstrates how zoom level affects the stamping results:
Applying Stamp on Zoomed-Out Garment | Applying Stamp on Zoomed-In Garment | |
Garment Zoom | 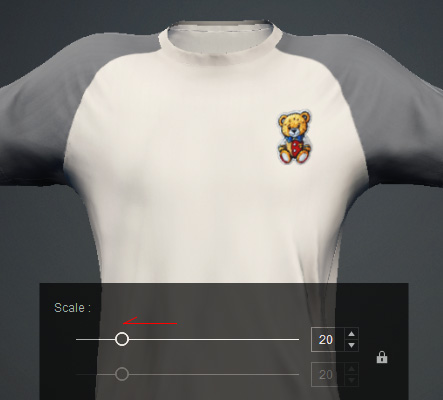 | 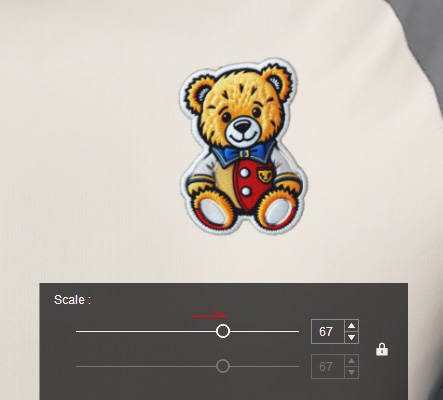 |
Stamping Result | 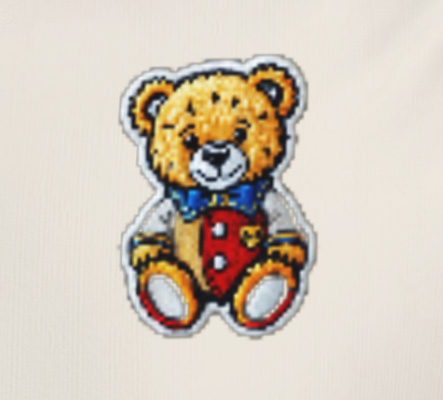 | 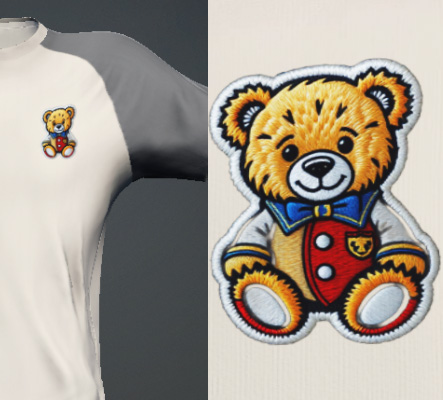 |
The stamped image appears blurry. | The stamped image maintains better resolution, regardless of how you zoom in or out. |
Flipping the Stamp Image
Click the Flip buttons to flip the image horizontally or vertically.
 : Flip the image horizontally.
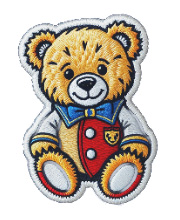
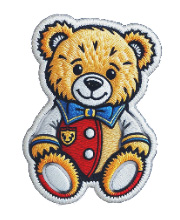
Original image.
Flipped horizontally.
 : Flip the image vertically.
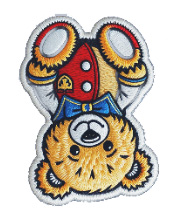
Original image.
Flipped vertically.
Managing Stamping Layers
With the Create New Layer checkbox enabled, each stamping action creates a new layer above the currently selected layer.
When this option is disabled, all stampings are applied to the same unified layer.
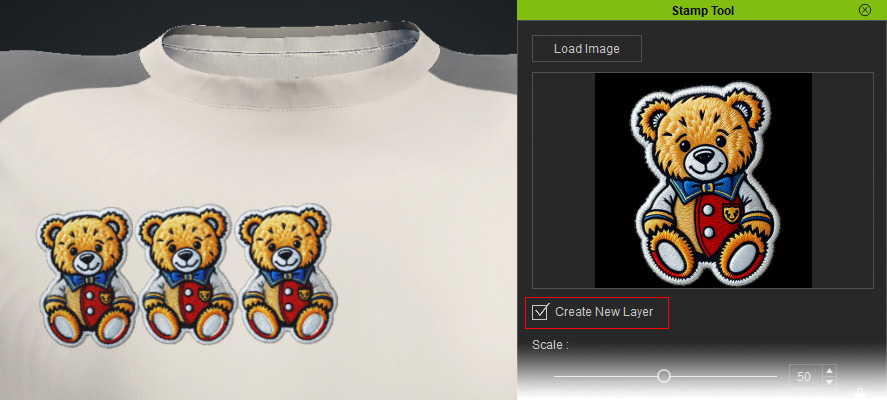
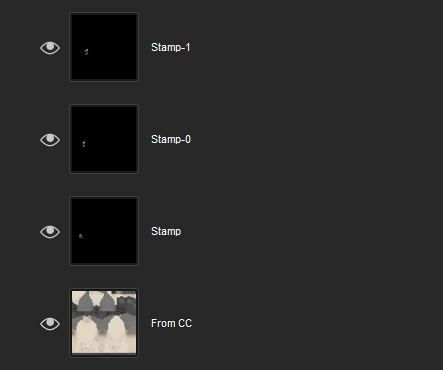 | 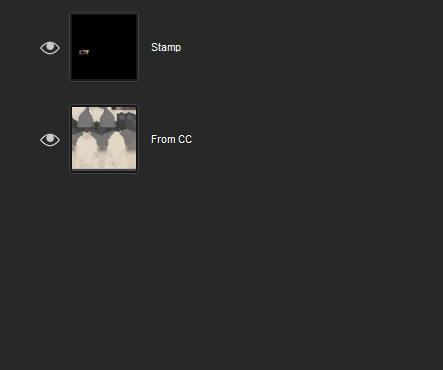 |
Create New Layer = On (default): Each stamping creates a new layer above the last layer, named sequentially as “Stamp”, “Stamp-0”, “Stamp-1,”, and so on. | Create New Layer = Off: Subsequent stampings are merged into the same layer as the previous stamp (named “Stamp”). |
To create depth and simulate real-world material appearance, you can generate Normal and PBR maps for the stamped images.
