How to adjust Dust effect
Before starting to adjust the Dust effect, you have to be familiar with createing Lens Flare Layers and Layer Types - Dust.
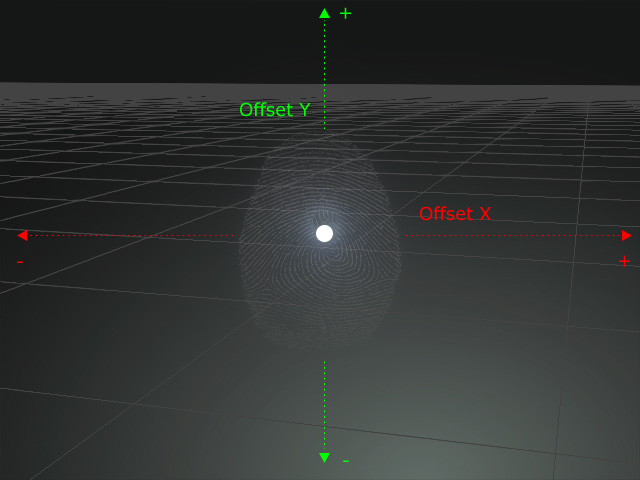
The characteristics of the Dust effect are:
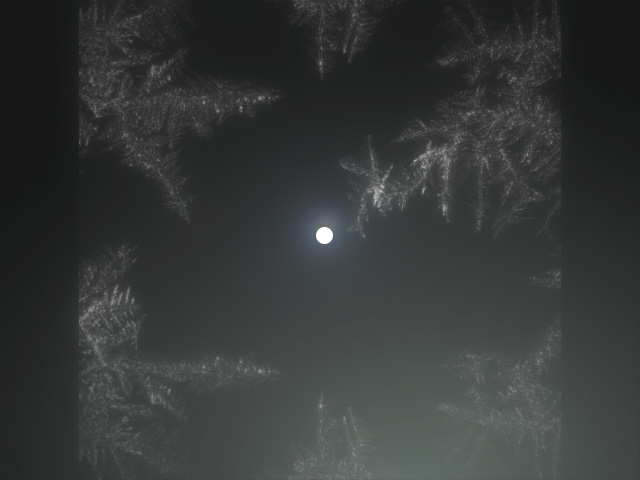
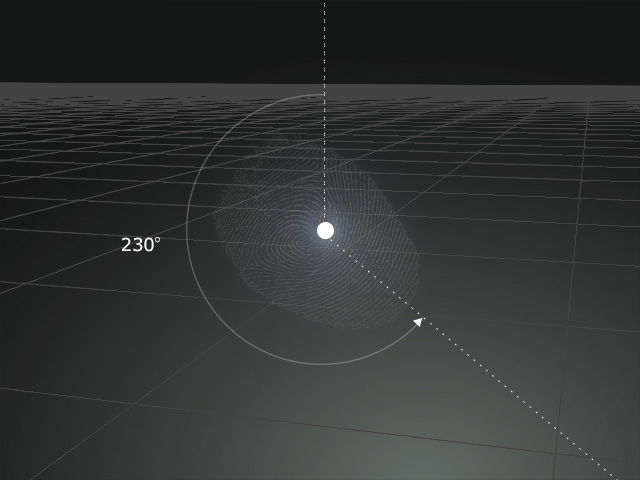
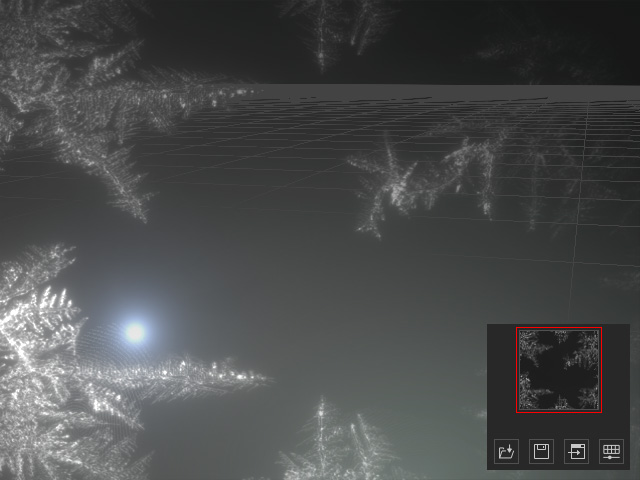
- It settles down to simulate the dust or stains sticking on the lens.
- Can be lit by the gizmo.
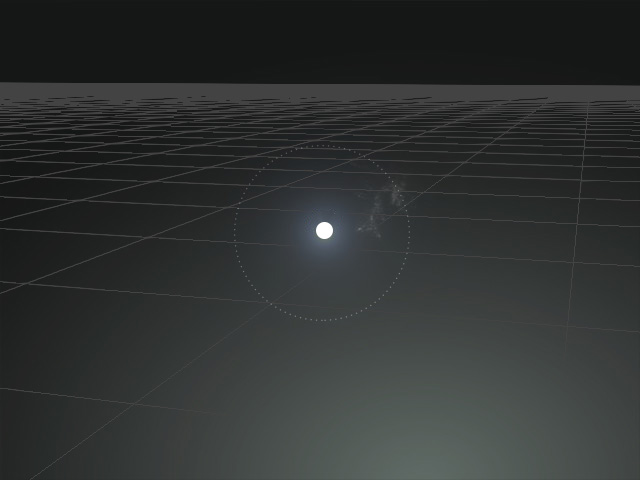
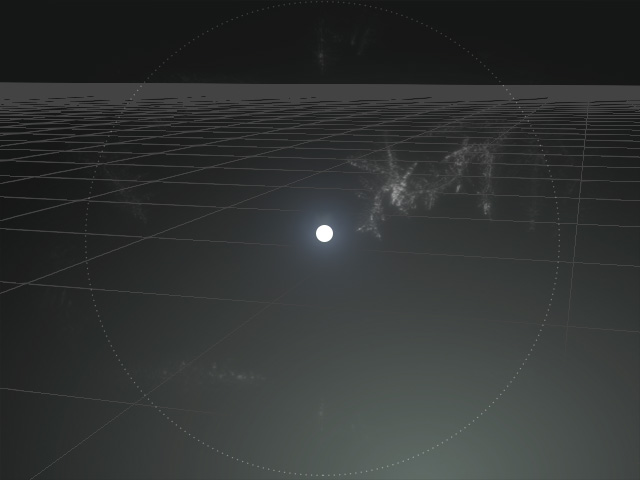
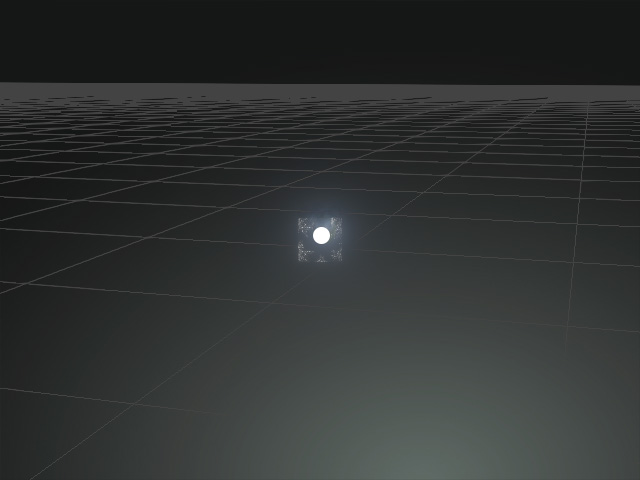
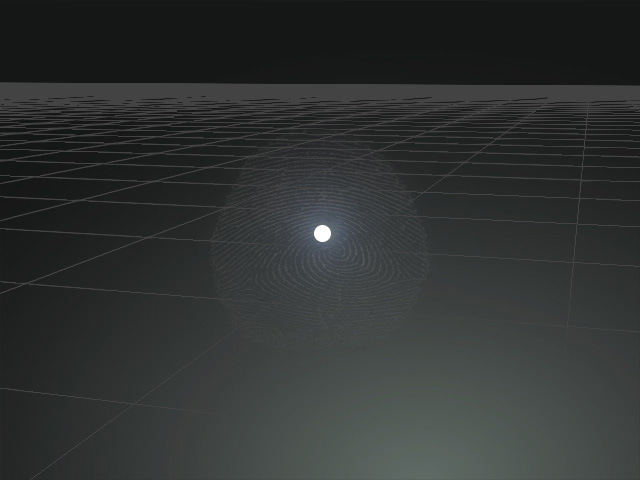
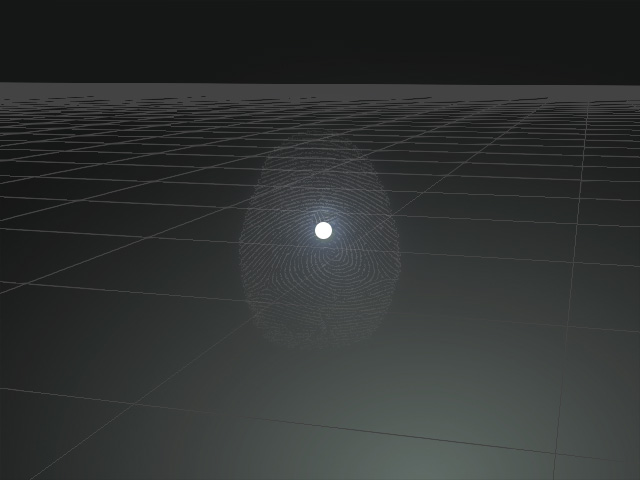
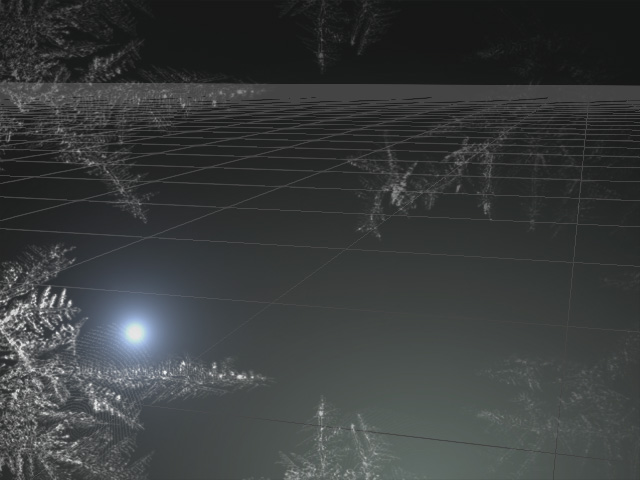
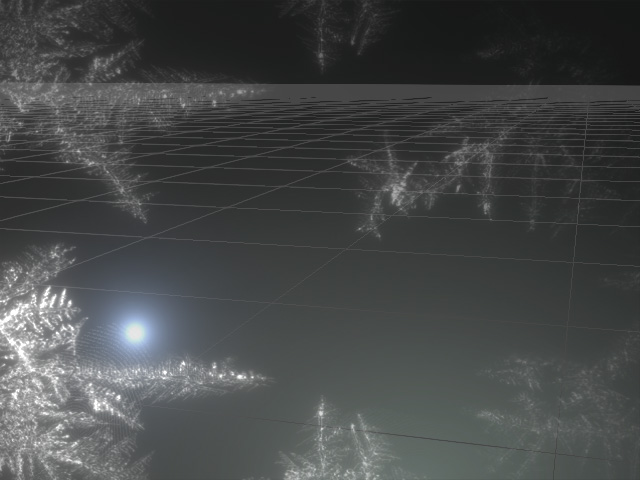
- Make sure there is already a Lens Flare effect in the scene, and the effect contains at least one Dust layer. In this case, there are multiple layers to simulate the fingerprints and the grease on the lens.
In the example of this page, there are 5 dust layers in the list. - 
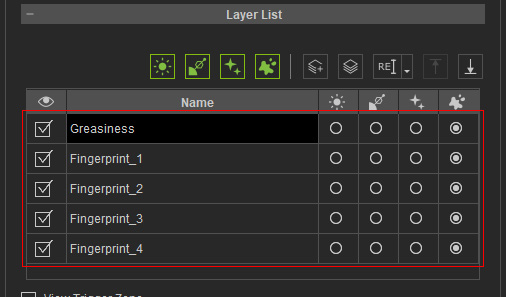
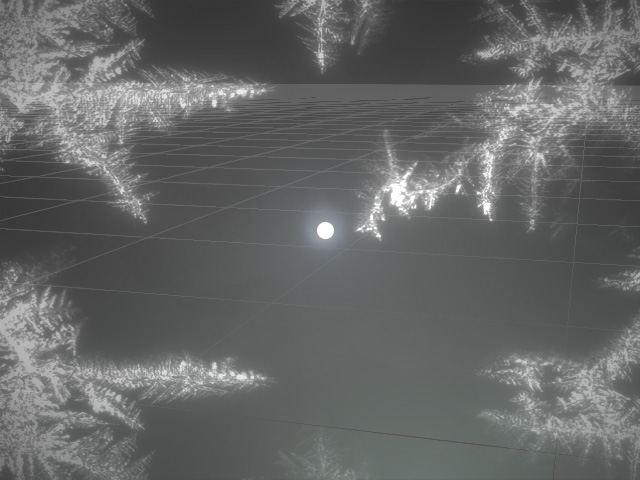
You can also change the texture to create different Light Source effects.
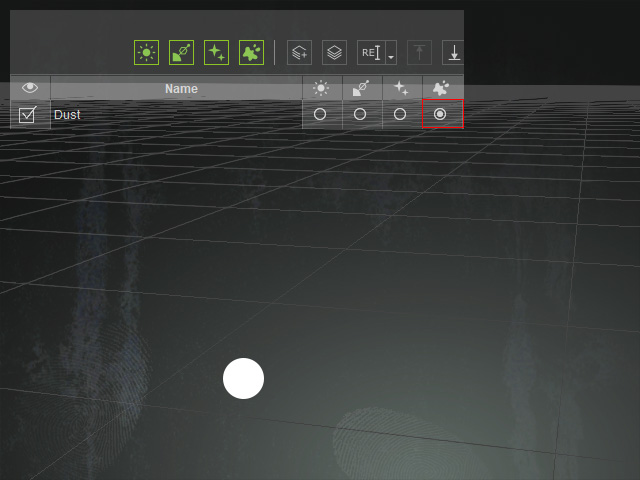
- Open the General Attribute sub-section.
Dust Size
This value determines the circle size of the area for the image layer to be lit.
Dust Size = 20.00
Dust Size = 50.00
Scale
This value scales the image layer of the dust effect.
Scale = 1.00
Scale = 11.00
Scale X and Scale Y
These two values horizontally (X) or vertically (Y) scale the image layer of dust.
Scale X = 1.00
Scale Y = 1.00
Scale X = 0.50 (Horizontal)
Scale Y = 1.00
Scale X = 1.00
Scale Y = 0.50 (Vertical)
Brightness
This value sets the brightness strength of the image layer of the dust.
These two values scale the image layer horizontally (X) or vertically (Y).Brightness = 1.00
Brightness = 10.00
Rotation
This value rotates all image layers clockwise.
These two values scale the image layer horizontally (X) or vertically (Y).Rotation = 0.00
Rotation = 230.00
Offset X and Offset Y
These two values horizontally (X) or vertically (Y) can offset the image layer for the dust.
Glow
This checkbox can be activated to create a glow effect around the image layers.
Glow = OFF
Glow = ON
