How to create custom Lens Flare Layers
After applying a Lens Flare template from the Content Manager or creating a Lens Flare effect from the Create menu, you can add more layers to the lens flare effect as needed.
- Make sure to have a Lens Flare effect in the scene.
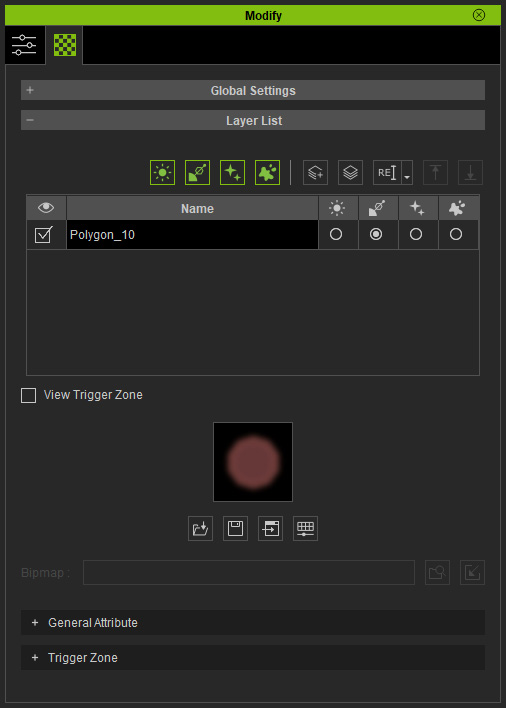
- Select the Lens Flare gizmo. Go to the Modify panel > Material tab > Layer List section.
- Add one more layer by clicking the Add button.

Alternatively, you can click the Duplicate button, which can duplicate the currently selected layer to generate a new layer with same settings.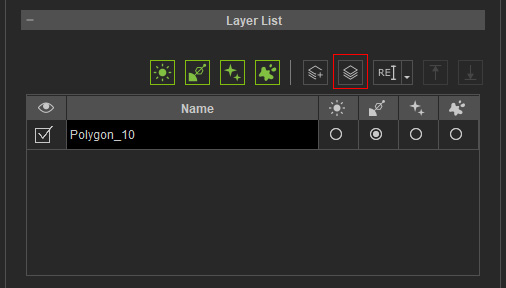
In this case, we'll be adding a new layer. - A new layer will be added into the list with empty texture channel and default settings.
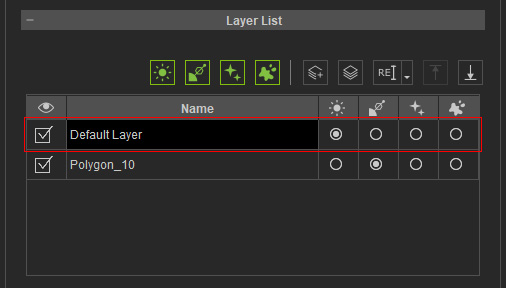
- Double-click on the name to rename the layer.
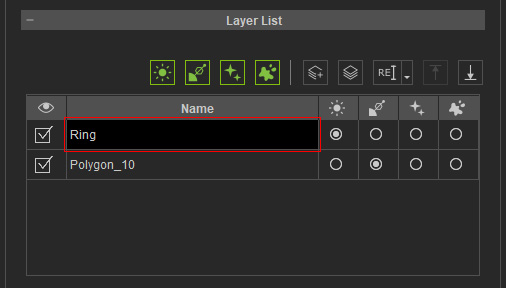
- Choose the type for the layer (in this case, Decoration).
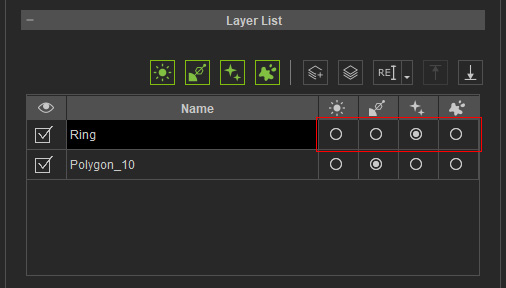
- Load an image into the texture channel.

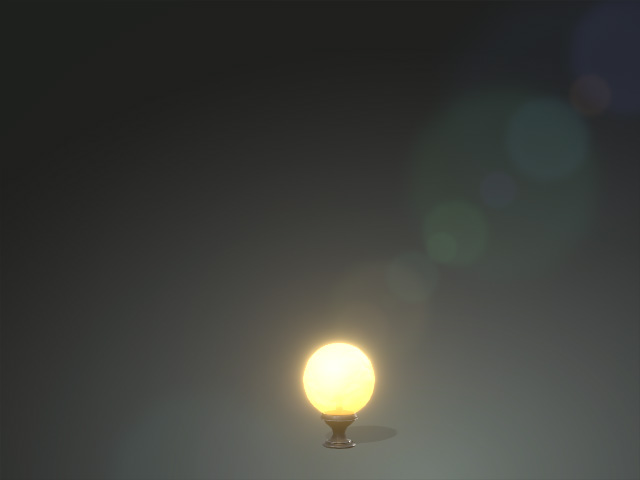
You can see a custom lens flare layer appearing on the viewport.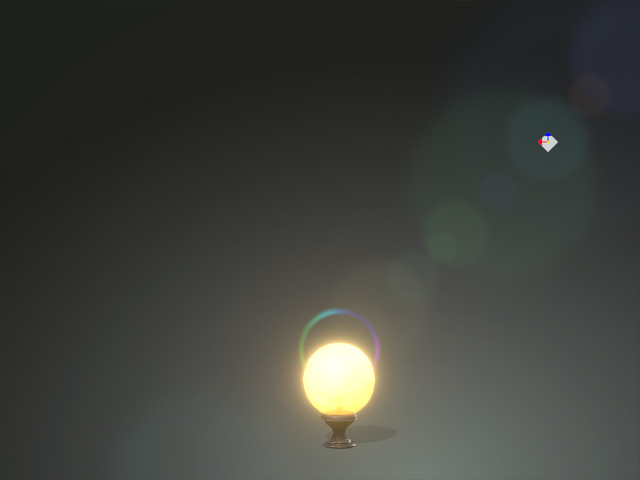
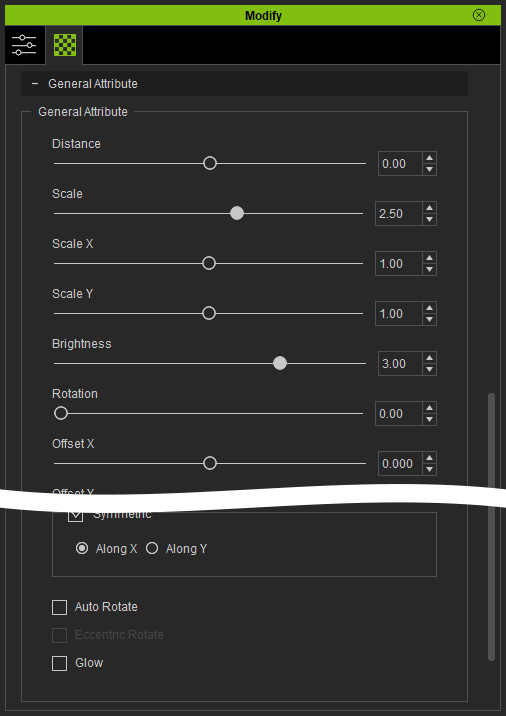
- Adjust the settings in the General sub-section.
You can create various Lens Flare effects with these steps at will.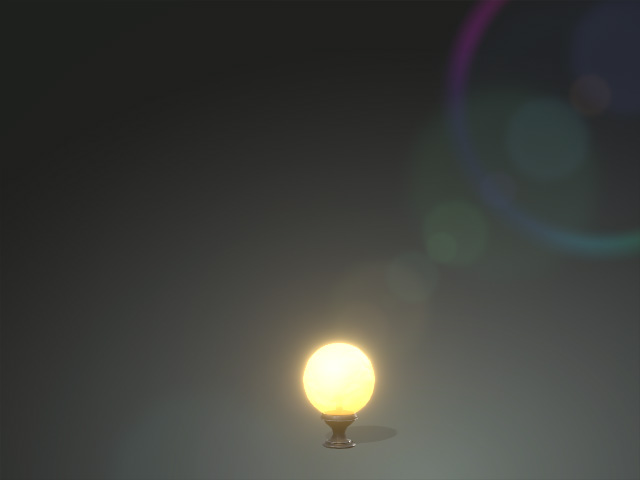
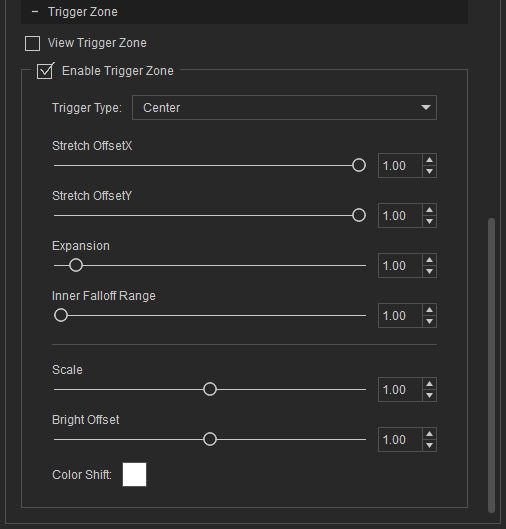
- Optionally adjust the settings in the Trigger Zone sub-section to define the color and brightness shifting behavior when the light source animates. Please refer to the How to use Trigger Zone section for more information.