How to create directional Lens Flare effect
In iClone, Lens Flare is divided into two types, one is visible from all perspectives, the other, known as directional lens flare, is visible only from specific direction. The directional lens flare generates lens flare effect only when the camera shoots it from its pointing direction, which is useful when you want to create lens flare for specific light sources, especially spotlights.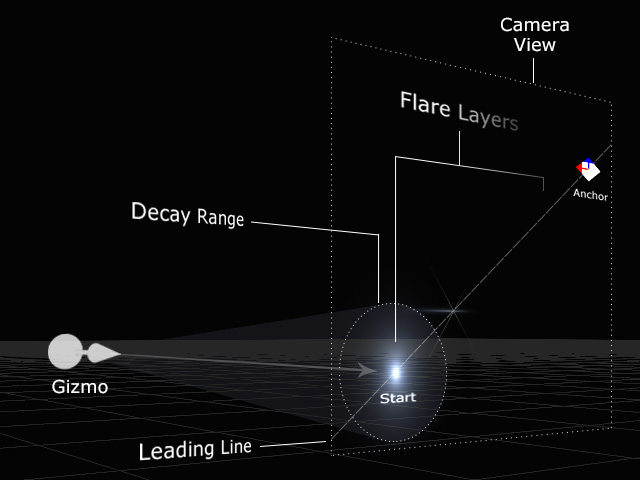
Create Directional Lens Flare
- Create a project with the camera rotating around the object.
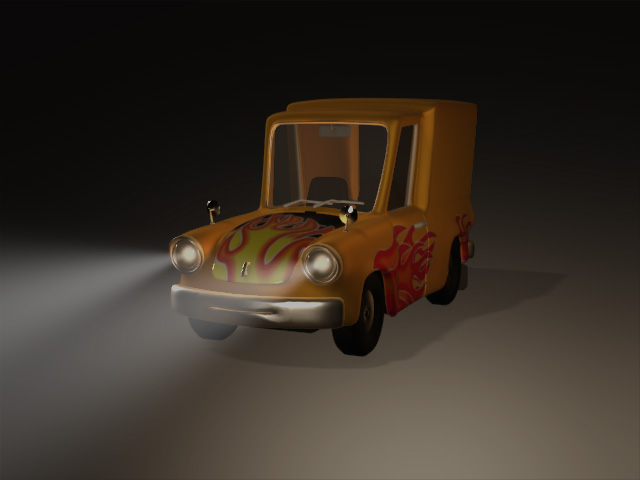
Playback to view the animation. - Create a Lens Flare effect.
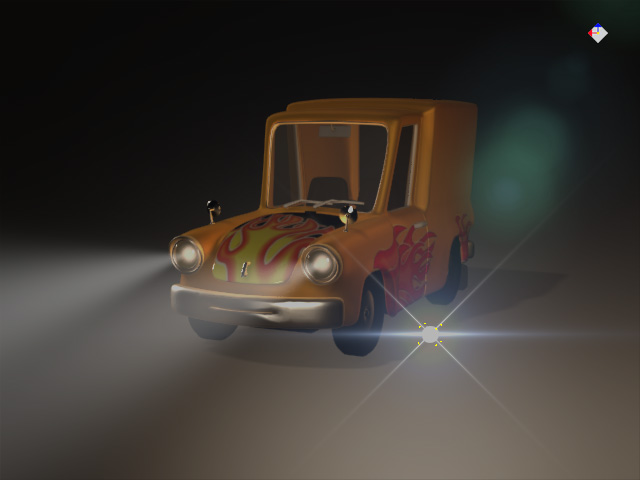
- Align the Lens Flare to a target, in this case, one of the head lights. Attach or link the Lens Flare to the target object.
- Playback and the Lens Flare is constantly visible through out the animation.
- Make sure the lens flare object is selected, switch back to the Modify panel > Material tab, activate the Directional Decay checkbox.
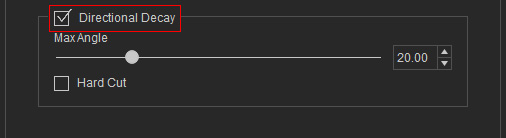
You will see the Gizmo of the Lens Flare grows a directional arrow.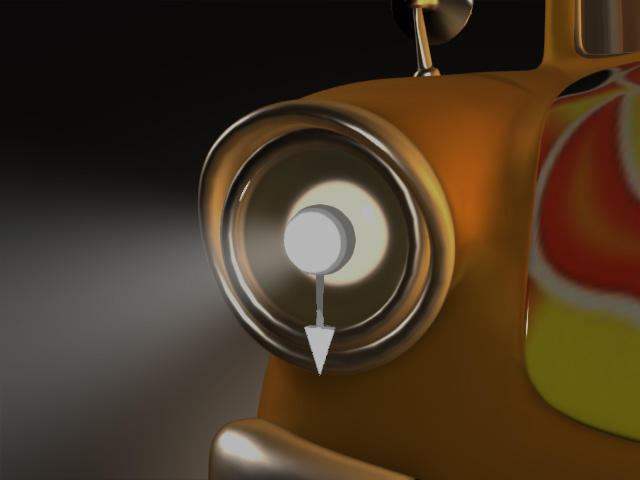
- Align the orientation of the Lens Flare to the target object, in this case, one of the spotlights that casts volumetric effect.
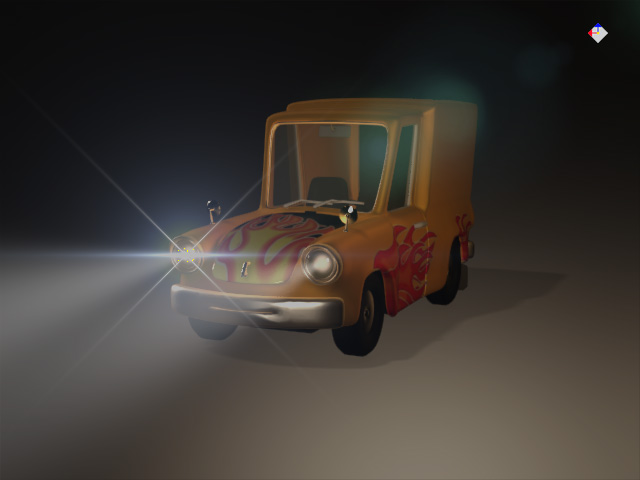
- Set the Max Angle of the Lens Flare (in this case, 20.00) . It will be used to define the effective cone area of the Lens Flare. The Lens Flare effect can only be visible when the camera enters this area.
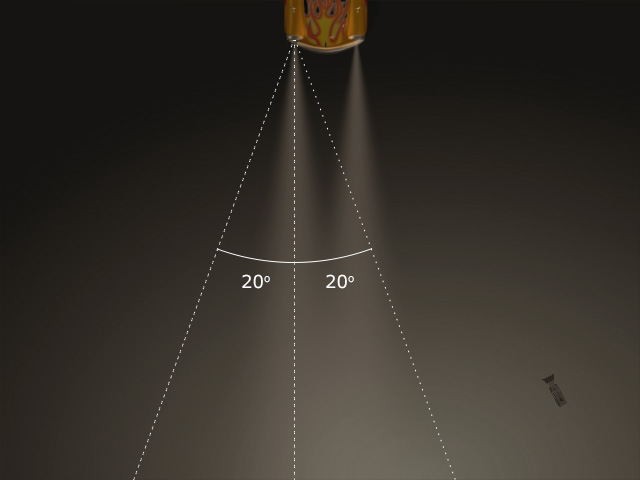
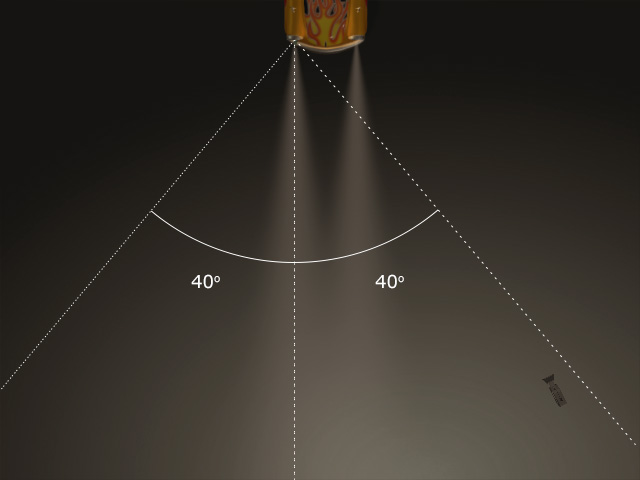
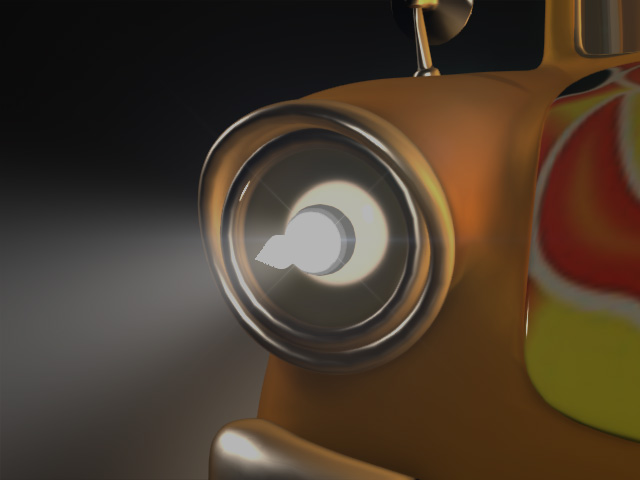
Max Angle = 20.00
The Lens Flare effect is invisible.
Matte Box Fade = 40.00
The Lens Flare effect becomes visible.
- Playback to view the effect.
- If you activate the Hard Cut checkbox, then the Lens Flare effect becomes On and Off as a switch instead of Fading In and Out.
