Custom Key Pose Edit and Transition Curve
Key-frame Animation is the traditional method for creating animations for a prop, especially ones with bone structures. You need to set different keys at different time frames. The interpolation between the two keys, which is also called a "transition", will also be auto-produced. It is time consuming and the animation may need to be fine-tuned repeatedly.
Producing a Custom Pose
-
Apply a prop with bone structure (you may create this kind of prop by using the
attach and merge
method).
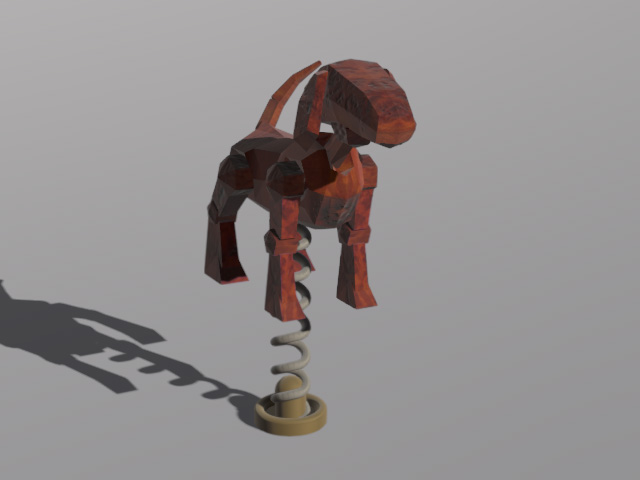
-
Click the Edit Animation Layer button in the prop Modify panel
and Animation tab.
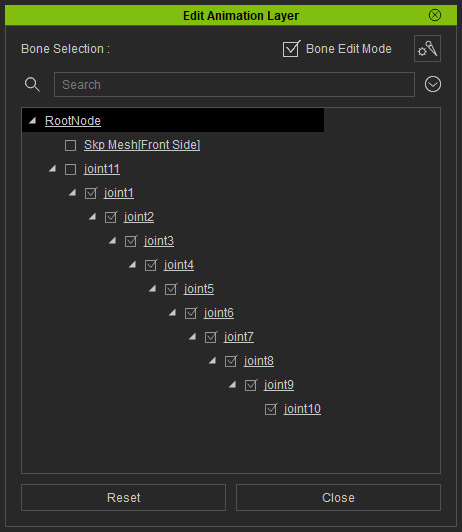
- Set an Animation key by editing the bones with IK / FK methods.
Producing a Key-frame Animation
When you are familiar with the usage of setting one animation layer key in a certain time frame, then you can go to another time frame to set more animation layer keys, which can produce so-called key-frame animations. The transition between two keys will be auto-generated by iClone.
-
Set a pose at a certain frame (in this case, the start frame).
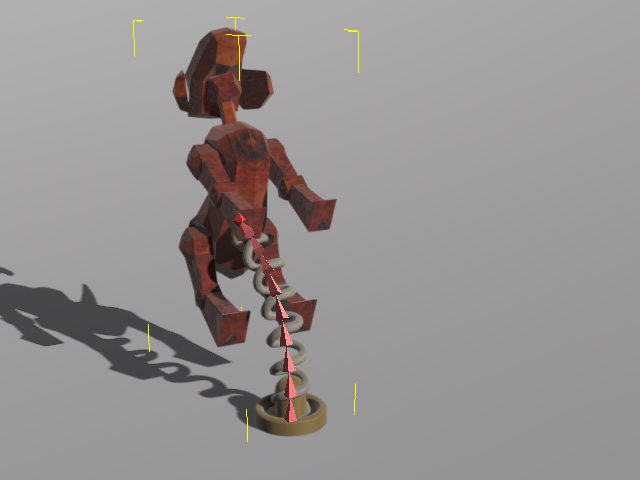
-
Go to another frame and set another animation layer key. Make sure the Auto Extend feature is turned on.
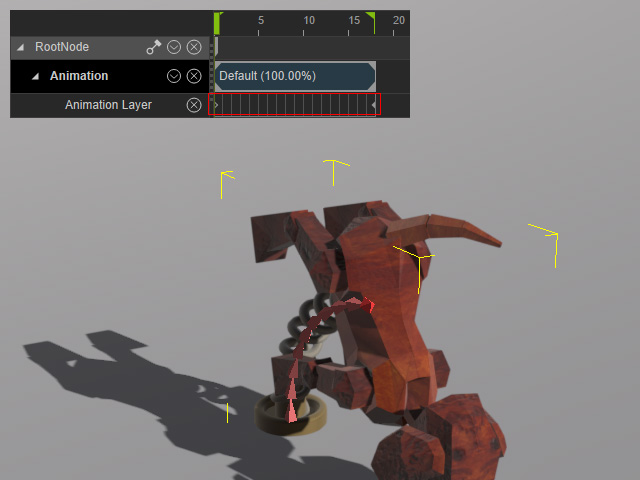
-
The in-between animation is automatically generated. Repeat the same steps
to generate a custom key-frame animation.
-
You are able to right-click on the keys in the Animation Layer main track and select a
transition curve
to vary the
transition speed between two adjacent animation layer keys.
