How to adjust camera presets for playing
When you control the character with Motion Director, you can switch to different camera presets that are embedded or created in advanced in the Camera Settings tab of the MD Controls panel. You can manually adjust the settings for these presets, including setting the default camera and customizing the camera view, before driving the character. This page covers the customization options available for the camera view.
- Apply a character in the project, and make sure it is selected.
- Launch the MD Controls panel.
- Switch to the General Settings tab and choose the Follow Camera radio button in the Camera Settings section
- Select a preset from the View Presets drop-down list (in this case,
'Custom View 1').

These items correspond to the camera buttons in the Hotkey Panel. However, only the views of the camera buttons numbered from 1 to 5 can be adjusted.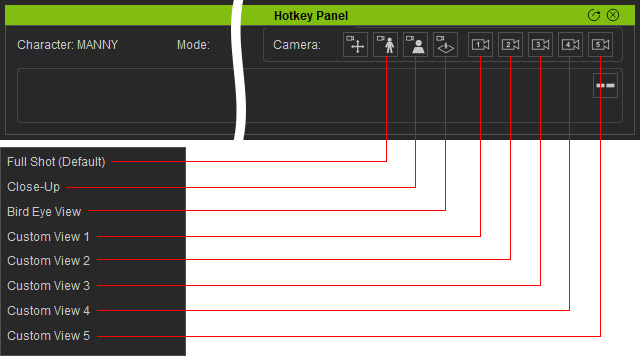
- In the viewport, utilize the camera tools to adjust to a desired
perspective.
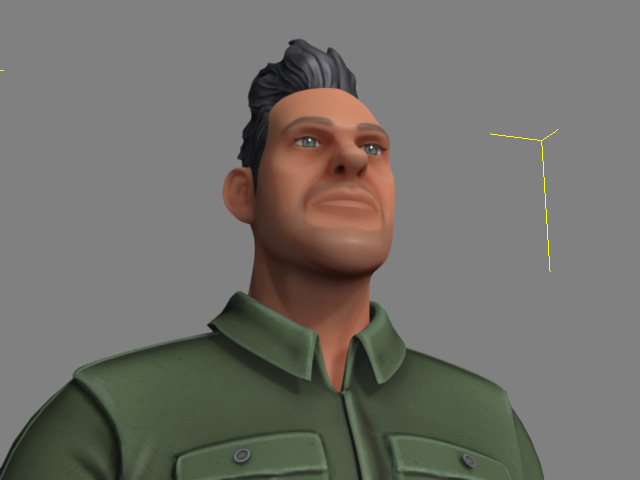
- Click the Set button to change the view of this camera.
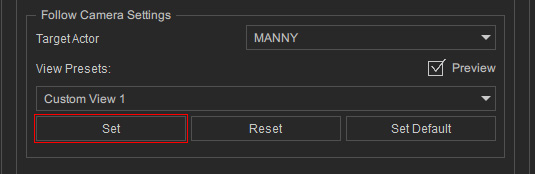
The view will be save to the custom camera (clicking the Reset button can reset the view to factory default).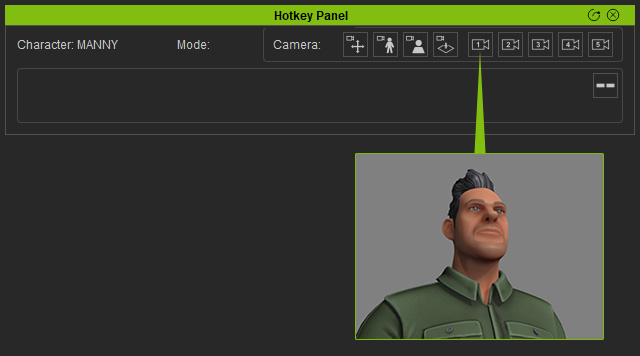
* You can also set different views for the rest of the numbered cameras using the same steps. - Click the Start button to start playing,
and click on the custom camera buttons to change to the specified view.
If the Initial Mode is set to Follow Camera, then the camera will be constrained to the moving character.
