How to produce custom pose or key-frame motions
Key-frame animation is a traditional method for creating motions for a character. It involves setting different keys at different time frames and creating transitions in between. The interpolation between two keys, which is also called the "transition", will also be auto-generated. Custom key-frame animations can be time consuming and the animations may need to be repeatedly fine-tuned.
Producing a Custom Pose
-
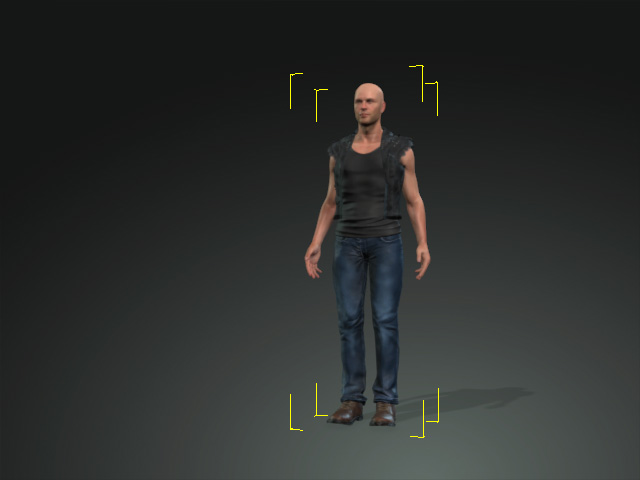
Select a character.
-
Click the Edit Motion Layer
 button under the Animation tab of the Modify panel.
-
Set a motion key by editing the joints in the pictogram.
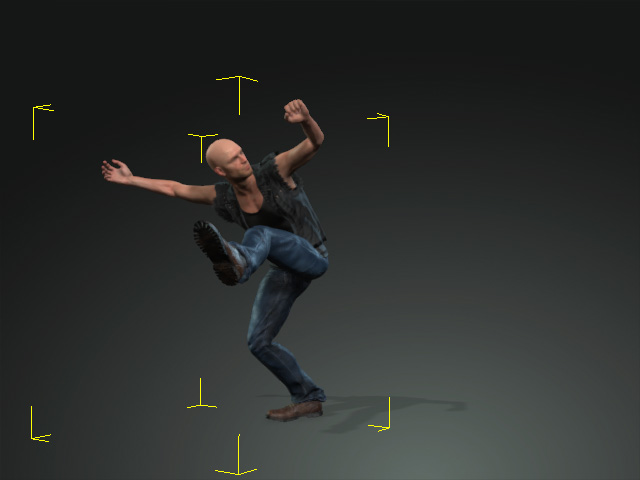
A Motion Layer key will be automatically added.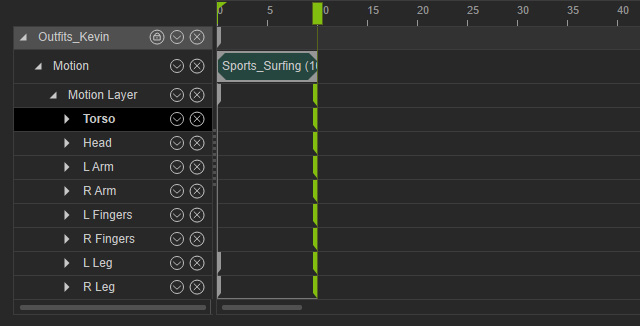
Please refer to the Using the Edit Motion Layer Panel section for more information.
Producing a Key-frame Motion
When you are familiar with the usage of setting one motion layer key in a certain time frame, then you can go to another time frame to set more motion layer keys, which can produce so-called key-frame motions. The transition between two keys will be auto-generated by iClone.
-
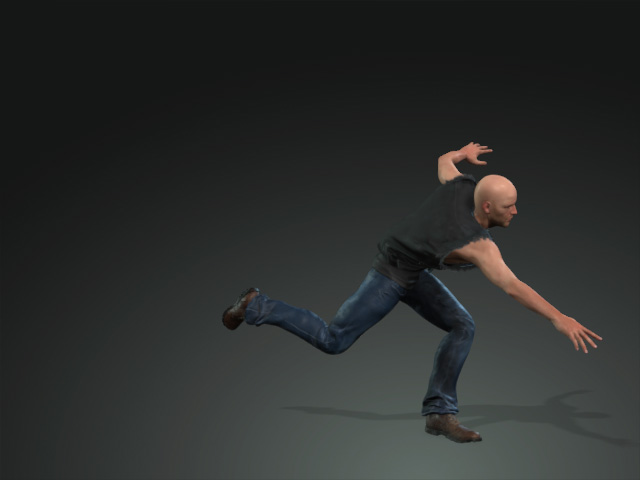
Set a pose in a time frame.
New pose keys will be automatically added into the track and sub-tracks. -
Go to another time frame and set again another pose.
Another new key will be added.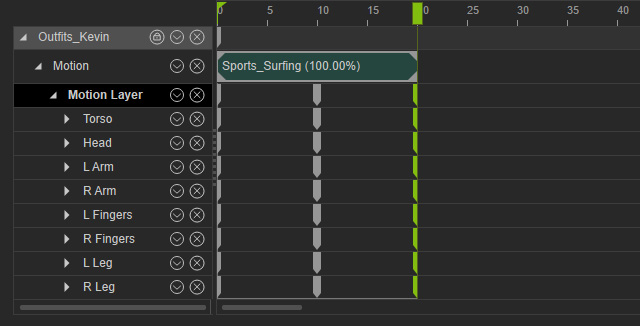
-
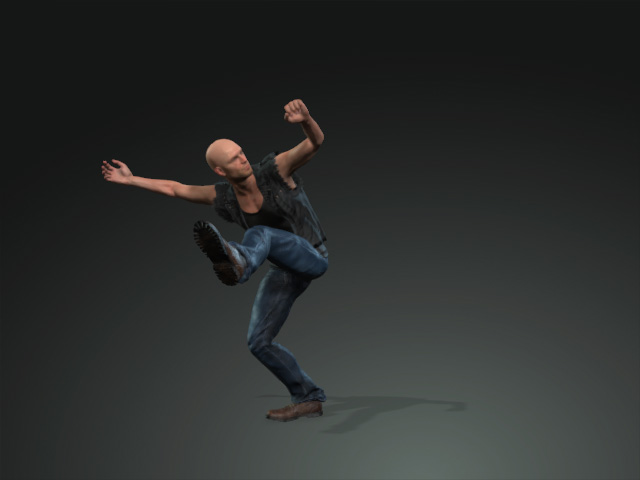
The in-between animation is automatically generated.
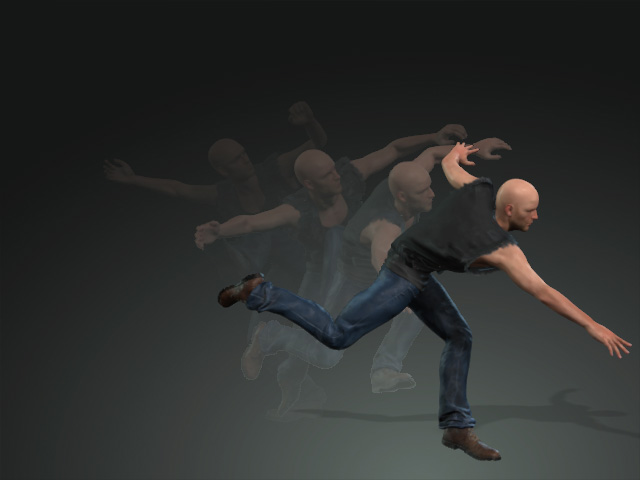
Playback to view the result. -
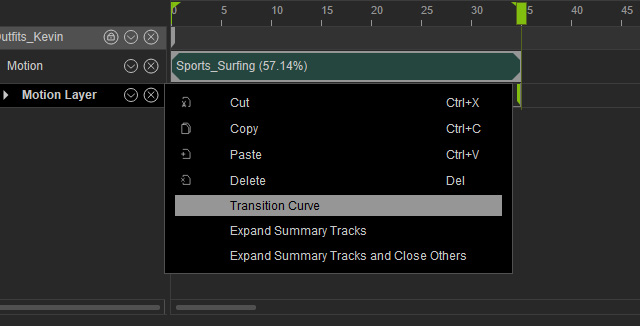
You are able to right-click on the keys in the Motion Layer main track and select a
transition curve
to vary the
transition speed between two adjacent motion layer keys.
Playback to view the result. -
Optionally, you may right-click on the later key in the sub-track under the Motion Layer main track, and select a
transition curve
to vary the
transition speed between two adjacent keys. This is very useful if you want each body part to move in a non synchronized way.
