How to use Edit Motion Layer panel
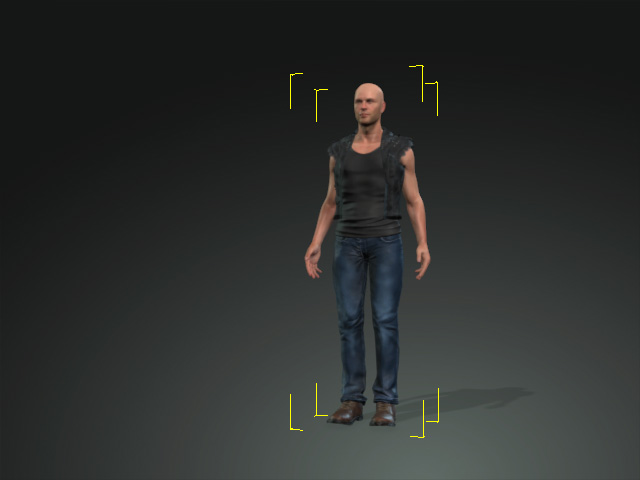
Using HumanIK as the core character engine allows your 3D characters to now have automatic floor contact while the intuitive real-time IK motion control keeps the body balanced. By using the Edit Motion Layer panel, you can take the advantage of HumanIK and add/modify body motion keys on all body parts of a character.
The Edit Motion Layer has two main functions:
You can enable Foot Contact
or Hand Contact to prevent the hands
and feet from penetrating into the ground.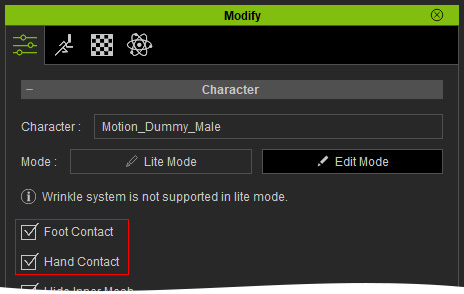
Using the Edit Motion Layer Panel to Add a Motion Layer Key
-
Select a character.
-
Click on Modify > Animation > Edit Motion Layer
 .
.
-
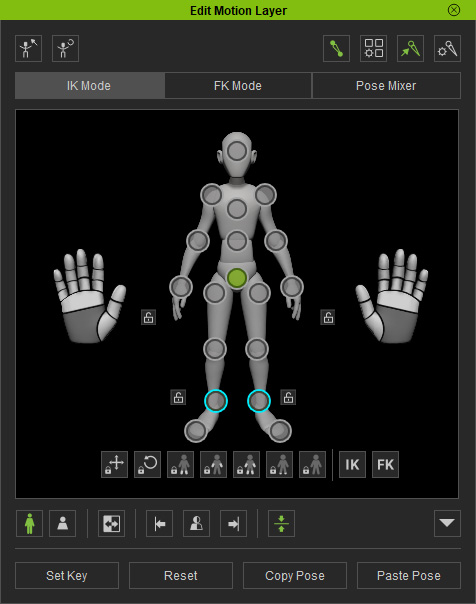
Select a joint from the left pictogram.
In this case, the Hip.
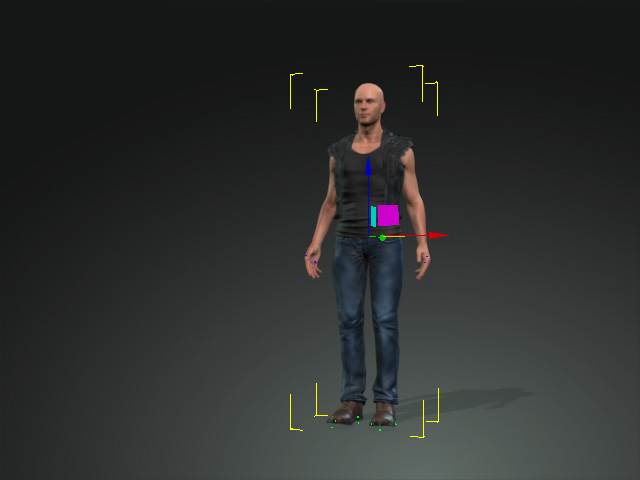
-
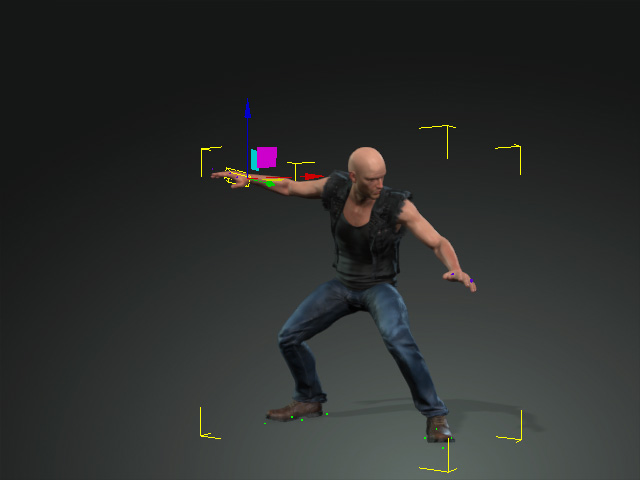
Use the
 tool to move the body part with
the gizmo.
tool to move the body part with
the gizmo.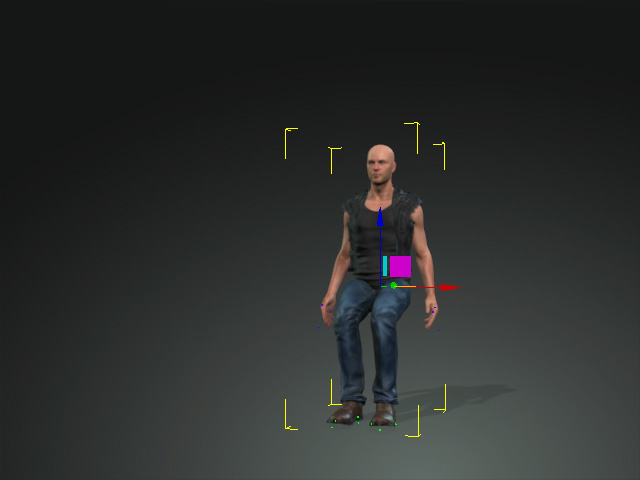
Full Body and Body Part
When you move the limb effector points, the Full Body and Body Part mode will give different results.
 Note:
Note:Ensure that none of the blend weights for the subjoints are activated before proceeding with the following steps.
- Full Body:
The torso may be dragged along when an effector point is moved.
Only in Full Body mode can you select multiple effector points for moving or rotating at once (Ctrl + Click to multi-select effector points).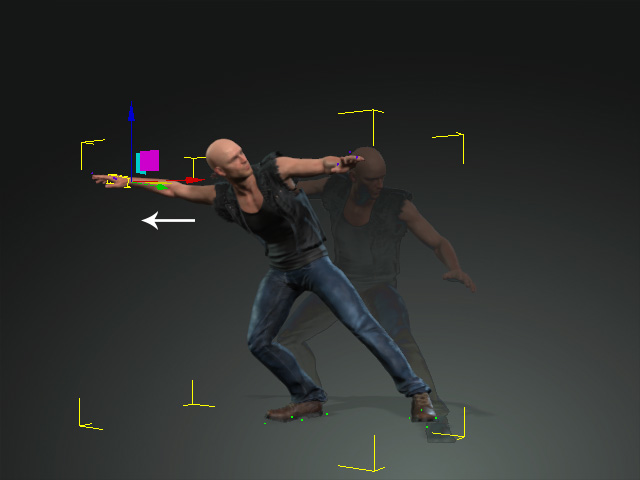
All the sub-tracks in the Motion Layer main track are inserted with new keys except for the finger tracks.
- Body Part: If you only want to move the limbs or head, then choose this radio button.
Only the R Arm sub-track is inserted with a new key.
- Full Body:
The torso may be dragged along when an effector point is moved.
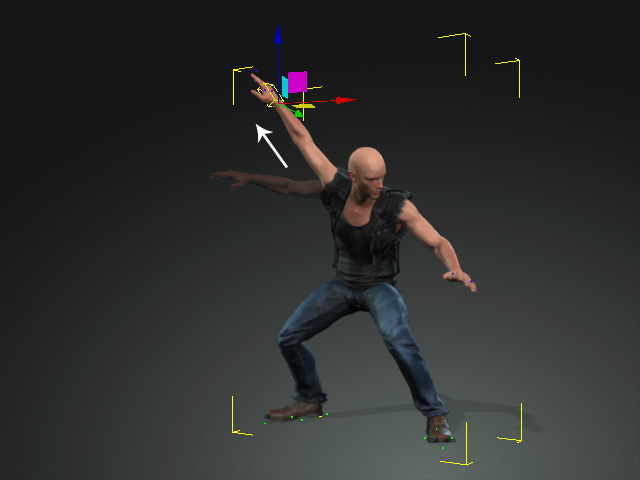
-
Switch to the
 tool and select a joint.
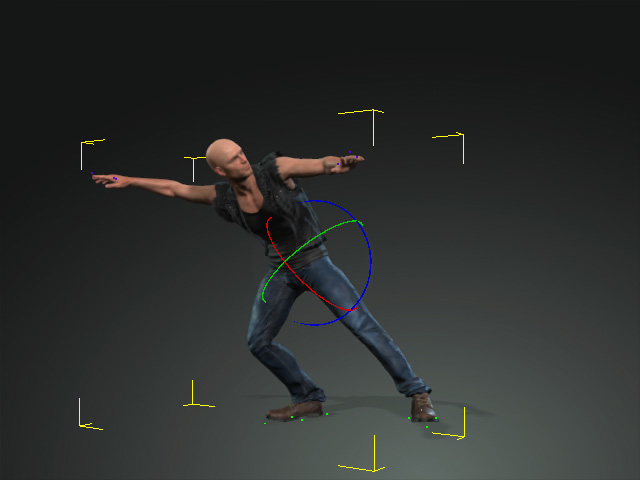
Rotate the joint.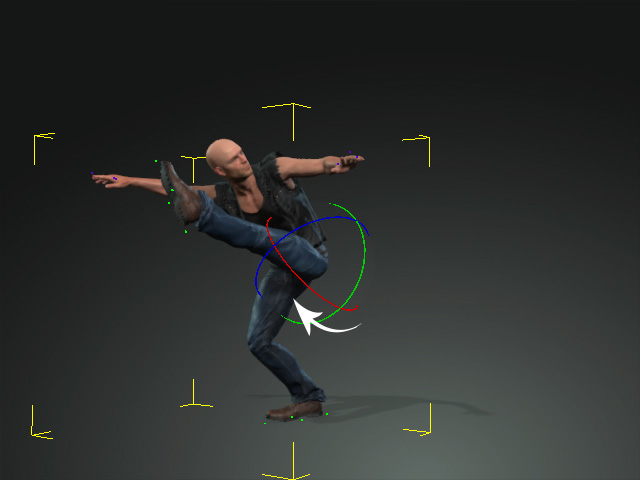
-
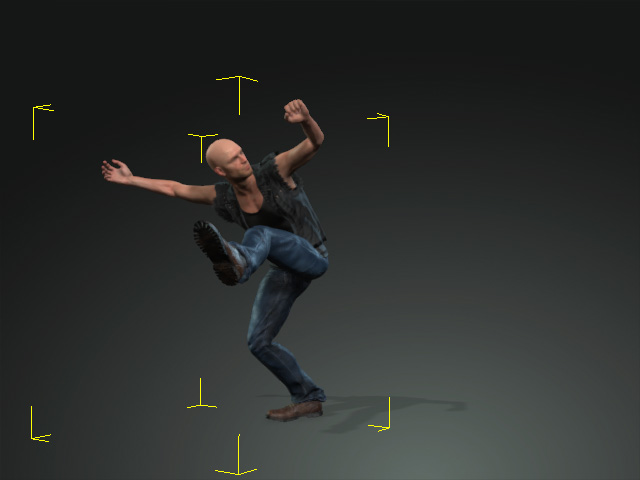
Repeat the steps to fine-tune the character's pose. The result will be saved in the Motion Layer track and its sub-tracks in the timeline.
The motion layer keys in the sub-tracks.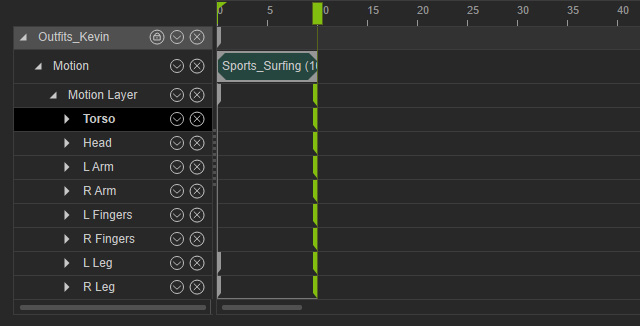
- If you do not want any effector points driven to move when you are editing other effector points, then lock the bones by pinning the effector point positions and orientation.
