Editing Width of Walkway (New for v. 8.4)
When a path is created, it is actually a walkway with 0 width. You can increase the overall width for the path to create a walkway befitting of the 3D environment.
Adjusting the Overall Width of Walkway
-
Perform Create > Create Path from the menu. Or
right-click on the viewport and choose Create > Path.
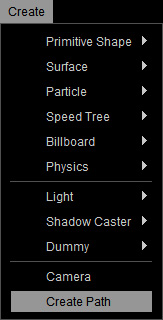
The cursor will turn into a crosshair overlaying a control point.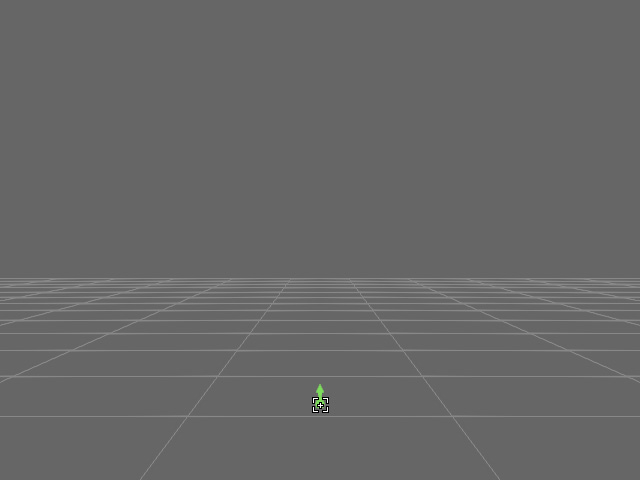
-
Click around the scene to create an ideal path. To finish, press with the right mouse button or press the ESC key on the keyboard. A new path is then created.
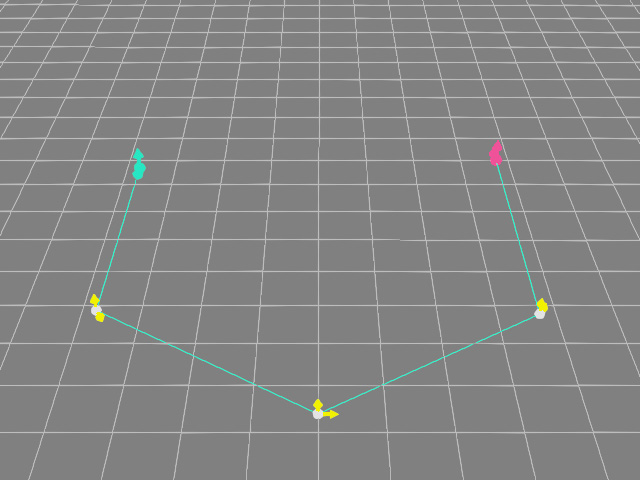
Please refer to the following sections for more information about creating paths: Note:
Note:The path colors indicate which path a prop or character is currently attached to in the timeline.
- Make sure the path is selected and switch to the MD tab in the
Modify panel.

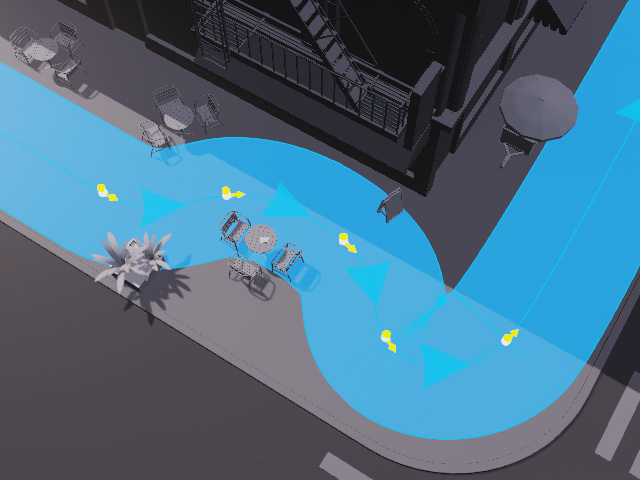
- Drag the Width slider to increase the width of
the path (in this case, 90). For more information, see Editing Width of Walkway.
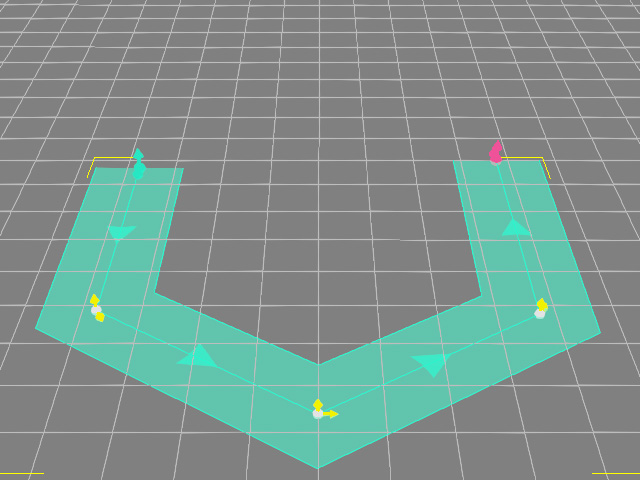
* Notice that the triangles indicate the flow direction of the walkway.
Setting Uneven Width of Walkway
- Create a walkway as described in the previous section.
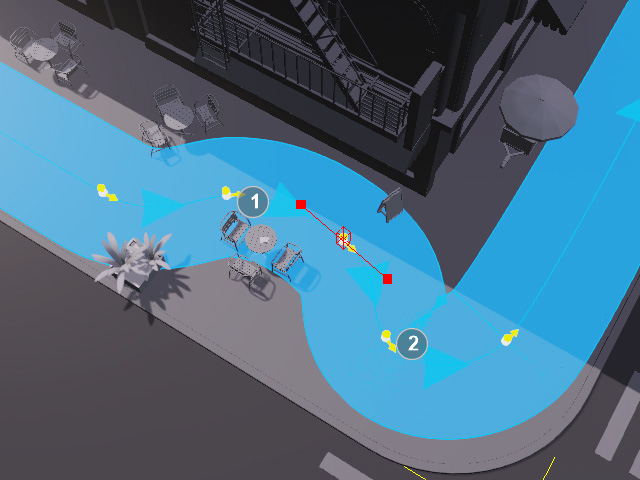
As you can see there are some intersections between the area of the walkway and the objects on the sidewalk.
The actors will move through these objects when Motion Director is active. - Double-click on the path to start the Edit Path mode.
- Pick either one of the Control Point.
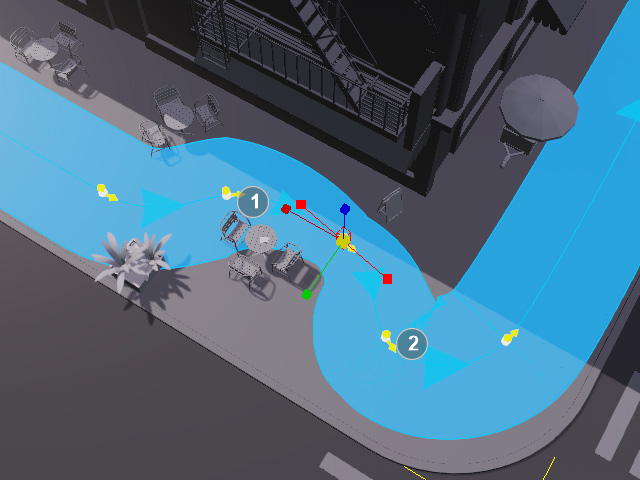
- Switch to the Scale tool by clicking on the General toolbar or press the R key on the keyboard.

- Scale up or down the adjust the width of the walkway near the control point, this step fixes the intersection between the prop and the width.
- You can select multiple control points and adjust the width with the same method.
The actors will avoid from the objects during the Motion Director play mode.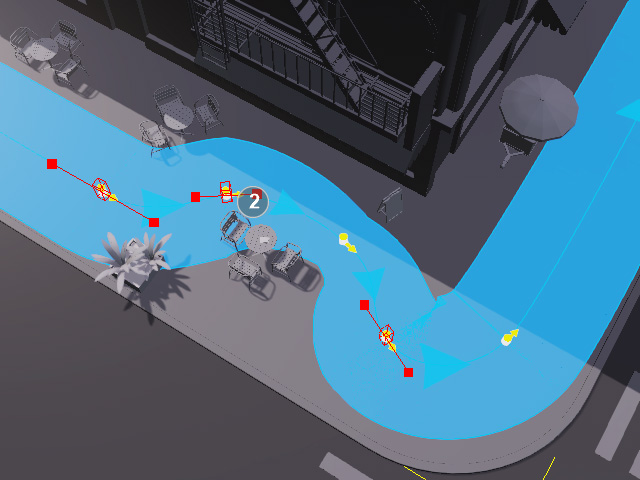

Select multiple control points.
Scale up or down to adjust the widths to fix up the intersection issues.
