Placement Range (New for v. 8.4)
Any prop can be chosen for the placement of other props on upward
facing surfaces.
- Create a new project with a terrain and prop.

Distribution does not work for height map terrains. - Launch the Prop Distribution panel.
- Click the Pick Object button, then click the terrain in the Scene Manager
(because a terrain can not be picked from the viewport).
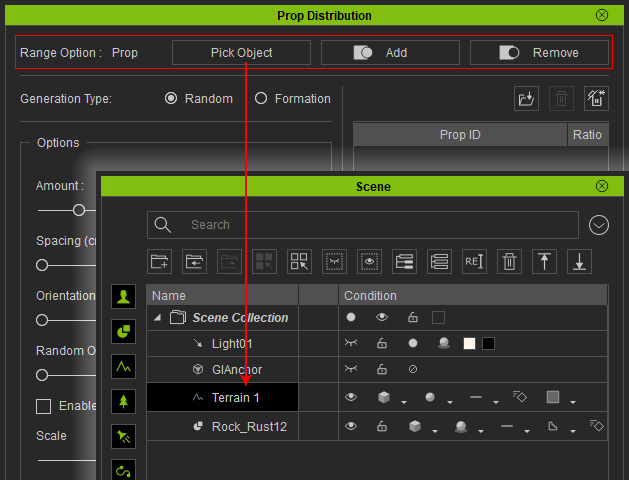
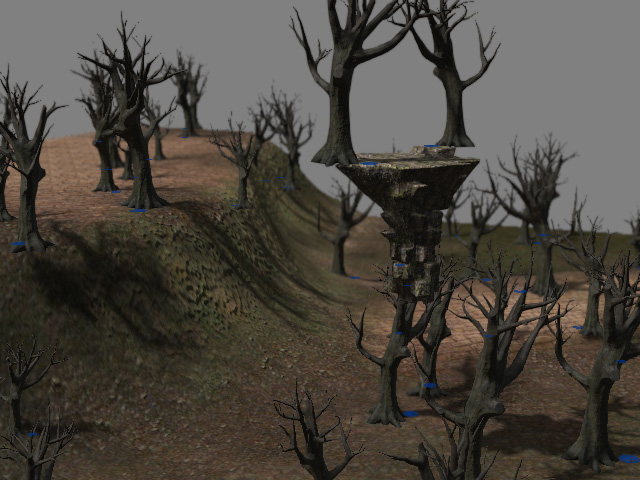
The placement markers will appear.
- Follow the same steps described in the Workflow for Distributing Props section
to add props into the candidate pool.
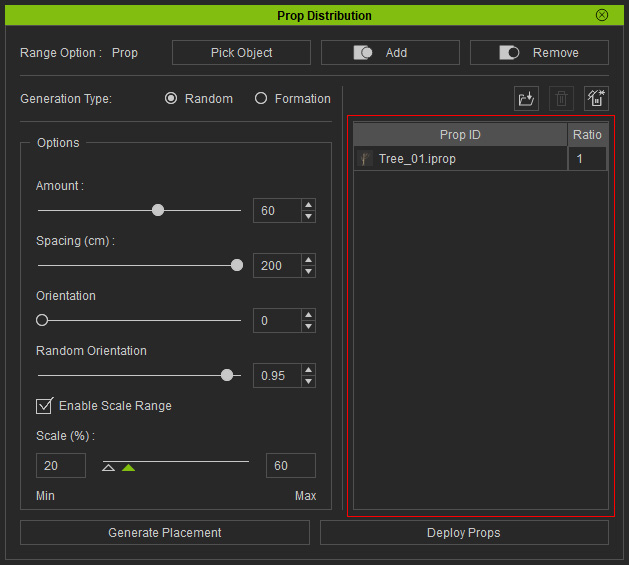
- Click the Deploy Props button to place a prop.
- Click on Range Option > Add, then pick the prop
floating in the air.
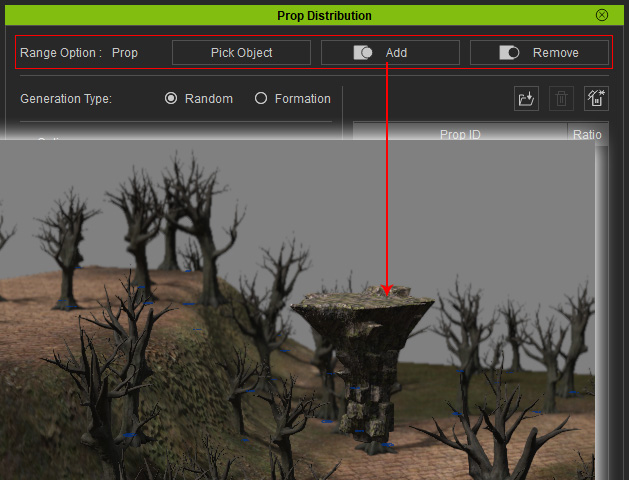
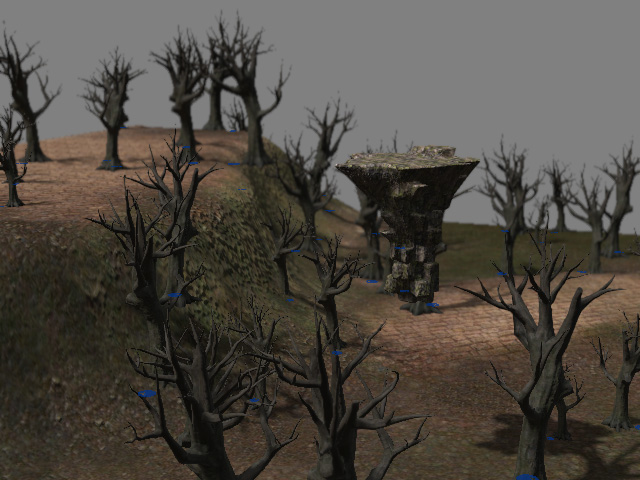
Placement markers will be scattered on the upward facing surfaces.
- Click the Deploy Props button again. The props in the pool will be placed on the surfaces of the newly added prop.
- You can click on the Generate Placement button repeatedly to get the ideal result for distributing the source props.

- Close the Prop Distribution panel and orbit the camera to observe the results.
