Creating Transition Clips
Prior to iClone 7.02, the transition motion or animation between two clips is determined by a transition range ahead of the later clip.![]()
is limited to linear type with disappointing results. In this case, the legs move through the front table during the transition.
Creating Transition Clips
By creating a transition clip between two adjacent clips, you are able to apply different time warps, layer keys, reach keys or even use the curve editor for further editing.
- Apply two clips and select the latter one.
- Drag the transition range of the clip to overlap the other one as shown in the first illustration.
- Right click on the latter clip and perform the Create Transition Clip command from the right-click
context menu.

A new transition clip will then be created.
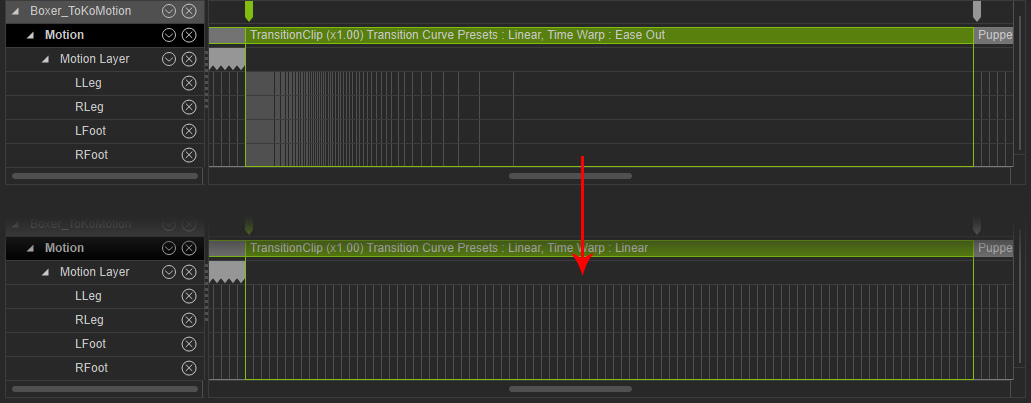
Basic Editing for Transition Clip
- Use the Time Warp feature to change the pace of the clip.

 Note:
Note:You can change the strength of the applied template to dramatize the result.
Playback to view the results.
Advanced Editing for Transition Clip
By using the Sampling / Flattening and Edit Motion Layer or Edit Animation Layer (for prop and accessory) features, you can fine tune the clip to improve the animation.
- Flatten the clip to keep the cell of the same size.
- Sample the clip to extract the certain body parts into layer keys.

- You can then use the Edit Motion Layer or Edit Animation Layer (for prop and accessory) panels to modify the layer keys.

Playback to view the results.
