IK, FK for Actors or Extend Bones
If you have actors applied in iClone, you may use IK and FK to adjust the poses and generate motions.
Furthermore, the extended bones (with spring effects off) of a standard or non-standard actor can also be adjusted by means of the IK, FK methods in this section.
Launching Panels
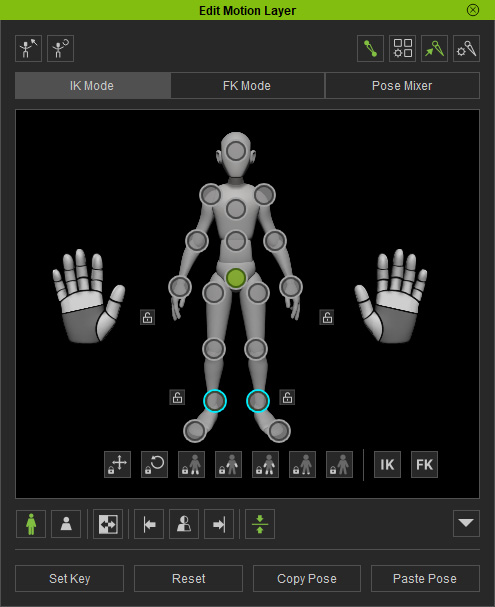
According to the type of the object you select, the panels for editing with IK/FK methods are a little bit different. You need to launch the Edit Extend Motion Layer panel:
- Standard and Non-Standard Actor: Modify Panel >> Animation tab >> Edit Motion Layer button
>> Edit button.
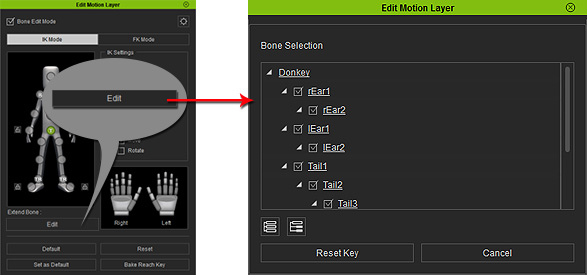
- Non-Human Actor: Modify panel >> Animation tab >> Edit Motion Layer button.
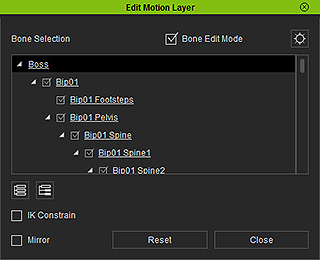
At the top-right corner, you may see the Bone Edit Mode box and the Bone Settings button.
- Bone Edit Mode: Activate to view the bone structure of the object for
accurately picking the part of the object.
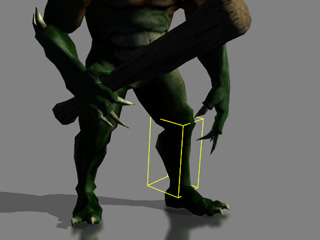
Deactivate it to view in bounding box mode.
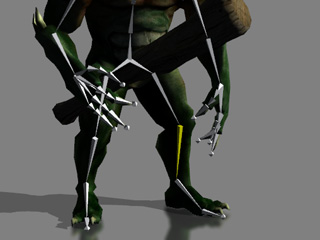
Bone Mode.
Bounding Box Mode.
- Bone Settings: Click on the wrench button to show the Bone Settings panel.
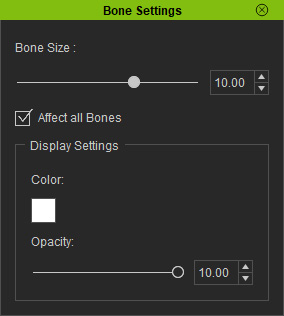
- Bone Size: Adjust the bone size for adequate picking or to get a better view of your character's material/mesh.
- Activate the Affect to all bones box to ensure that the changes affect all the bones and not just the selected one(s).
- Display Settings: Determine the color and opacity of the bone(s).
- Bone Edit Mode: Activate to view the bone structure of the object for
accurately picking the part of the object.
Deactivate it to view in bounding box mode.
FK Method
- Select an actor and launch the panels as described in the previous section.
-
Select the Rotate
 tool in the
geleral toolbar.
-
Pick a bone in the 3D viewer. Alternatively, you may pick
a bone by clicking on the node in the
tree view in the Edit Motion Layer panel.

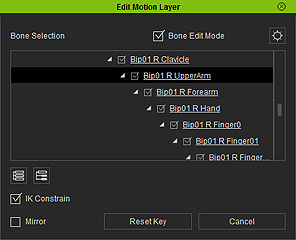
Click on the actor to pick the bone.
Click bone in the panel.
-
Use the rotate gizmo to rotate the selected bone.
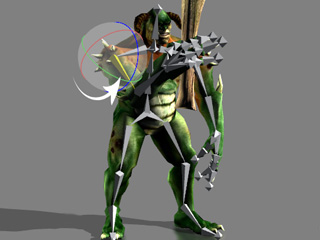
Please refer to the What is IK/FK and How to Use FK sections for more information about FK.
IK Method
Since IK relates to a chain of nodes, then it is necessary to anchor the head of the chain in order to move the end node with the IK method.
- Select an actor and launch the panels as described in the previous section.
-
Select the Move
 tool in the
geleral toolbar.
- Hold down the Ctrl key and click on a node to define it as the start of the IK chain. It will then be marked with a blue box (You may Ctrl click again to cancel the anchor). Please note that you may also click or Ctrl-click on the target node inside of the Edit Motion Layer panel.
-
Pick another node to be the end node of the chain.
(Ctrl key released)
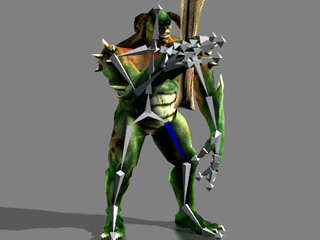
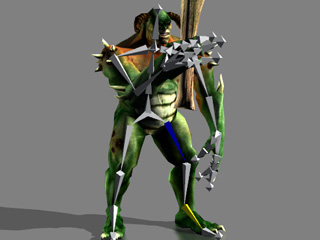
Ctrl-click to anchor the start of the IK chain.
Click another bone as the end of the IK chain.
-
Use the move gizmo to move the selected bone and affect the entire IK chain.
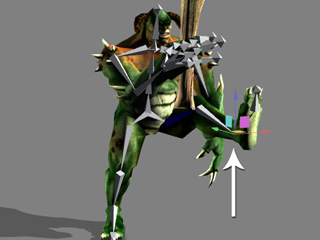
Please refer to the What is IK/FK and How to Use IK sections for more information about IK.
