What does Effector Blend Weight do - three scenarios
The Effector Blend Weight can not only be used for fastening specific bones from sliding but also to have bones travel in linear or non-linear fashion. The following two scenarios demonstrates how the Blend Weight feature works for creating motions.
Fasten Bones for Key-frame Animations with Blend Weight
Turn on the effector's Blend Weight when you want to fix specific bones in a key-frame animation.
-
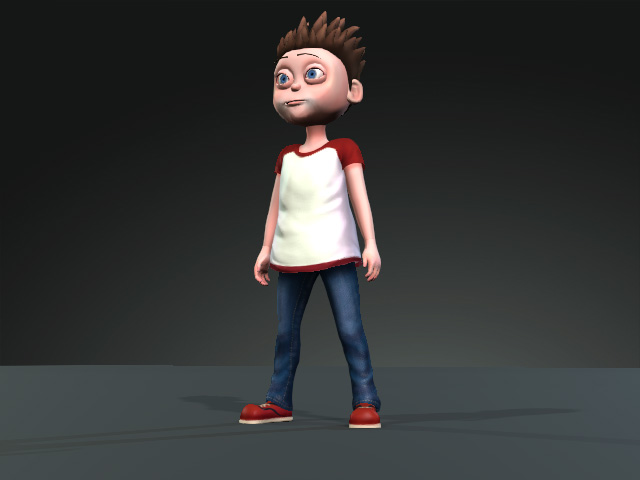
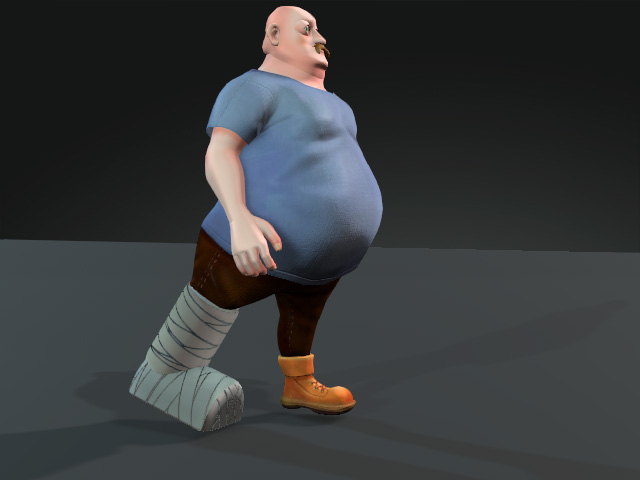
Apply a character and set a pose via Edit Motion Layer panel (shortcut: N).
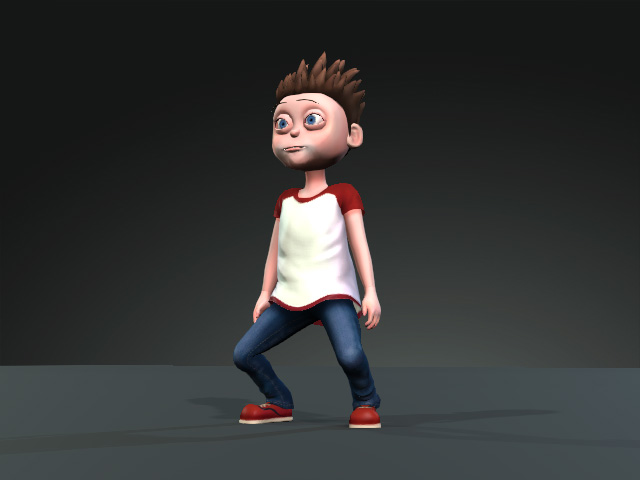
- Go to another frame and set another pose for the character.
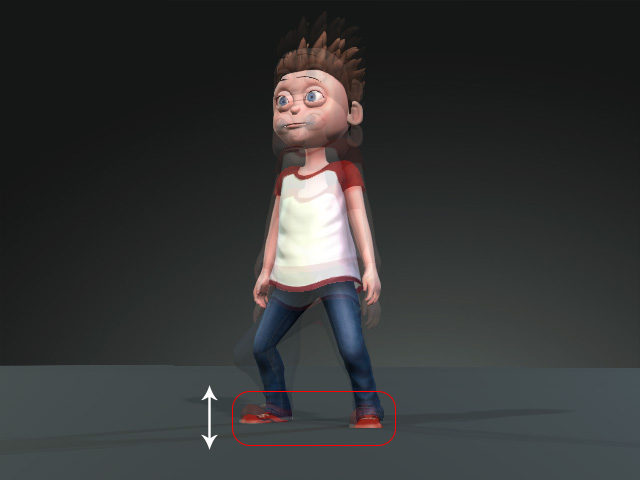
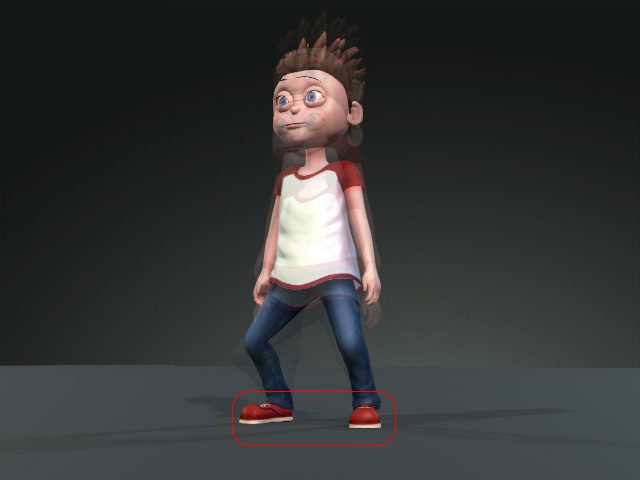
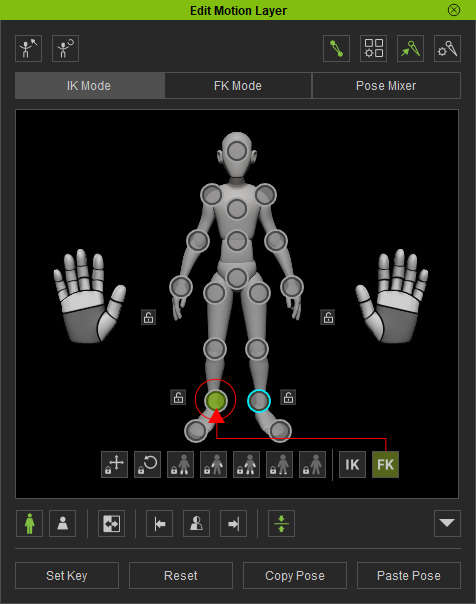
In this case, the Effector for the feet are in FK mode (circled in grey).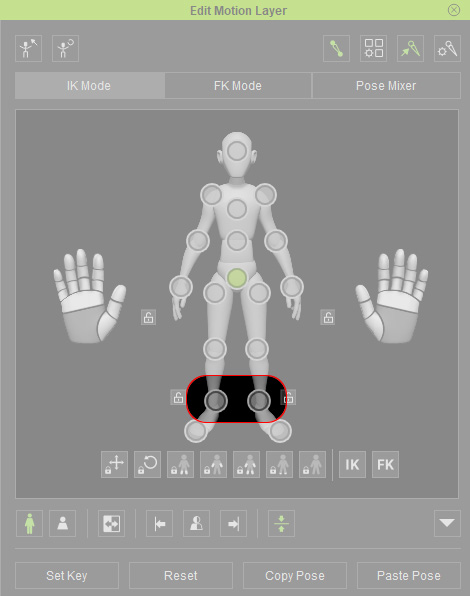
- Playback to view the feet sliding through the floor.
- Move to the time frame where the first motion layer key is.
- Make sure the character is selected and open the Edit Motion Layer panel.
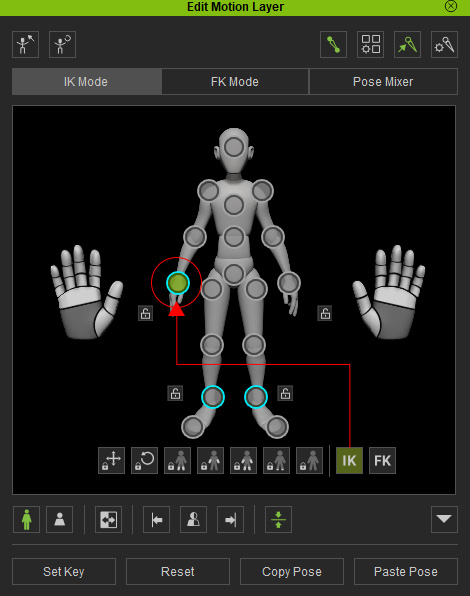
- Select the foot bones (hold the Ctrl key for multi-selection) and click the Activate Effector button.
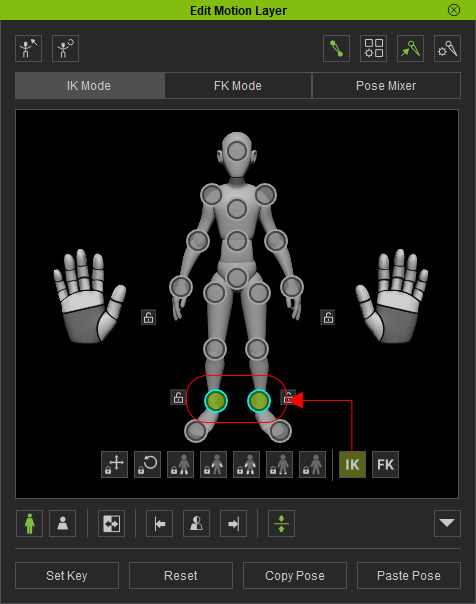
The bones will be highlighted, which indicates that the blend weights are now IK.
Alternatively, you can right-click on the bone and choose the Set IK Key command from the context menu.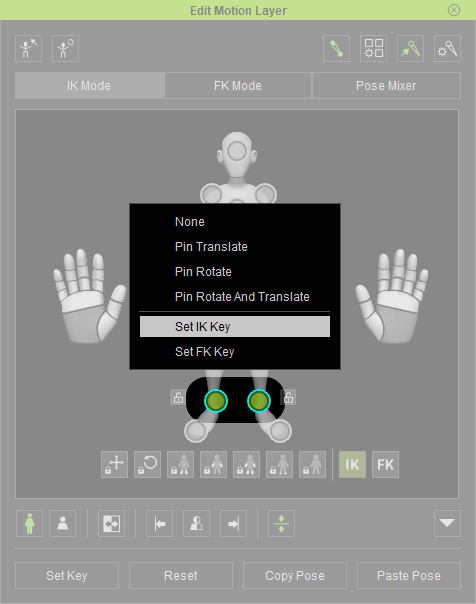
-
Open the timeline, and you will find two cyan circles added in the IK / FK Blend sub-tracks of the L Leg and R Leg tracks.
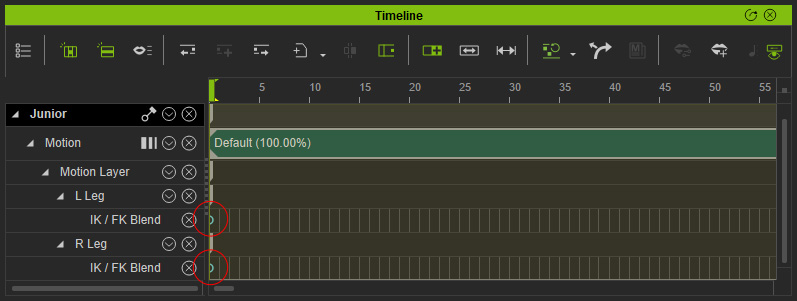
Please refer to the Motion Route Patterns between Blend Keys section for more information. -
Playback and the feet remain fixed in place for the entire motion.
Linear Key-frame Animations with Blend Weight
In order to have specific bones to move in a linear fashion, turn on Effector Blend Weight.
-
Apply a character and set a pose via Edit Motion Layer panel (shortcut: N).
- Go to another frame and set another pose for the character.
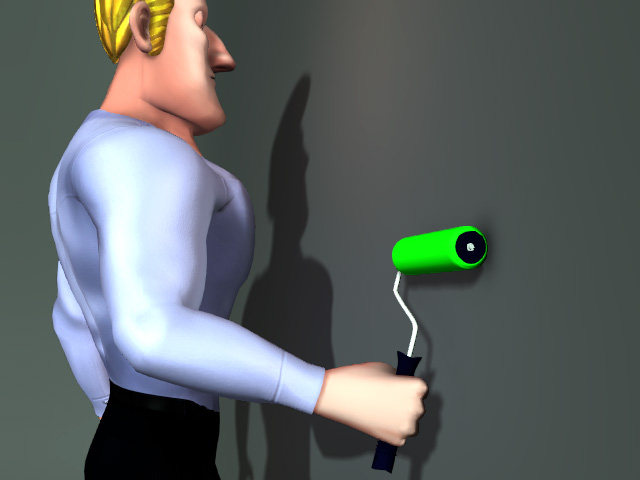
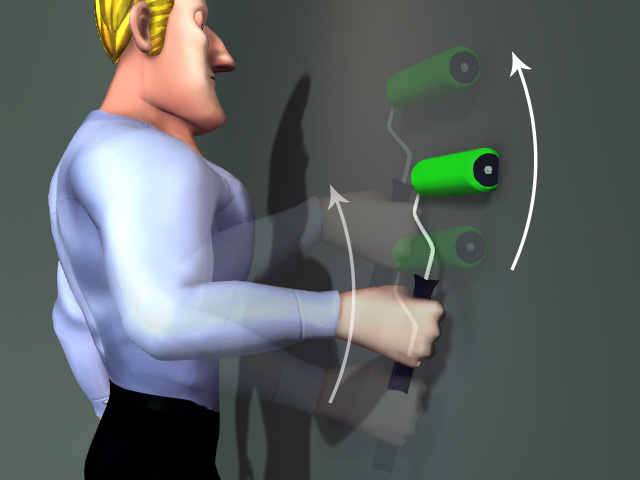
By default, the Effector Blend Weight for the hand bone at the first key frame is deactivate. You can see the bone is not highlighted.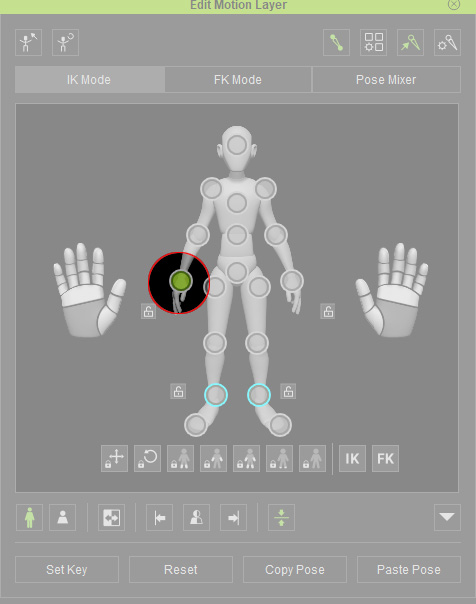
- Playback and notice the hand travels in a curved pattern, which causes the paint roller
to intersect with the wall.
- Move to the time frame where the first motion layer key is.
- Make sure the character is selected and open the Edit Motion Layer panel.
- Select the hand bone and click the Activate Effector button.
The bone will be highlighted, which indicates that the blend weight is turned ON.
Alternatively, you can right-click on the bone and choose the Set IK Key command from the context menu.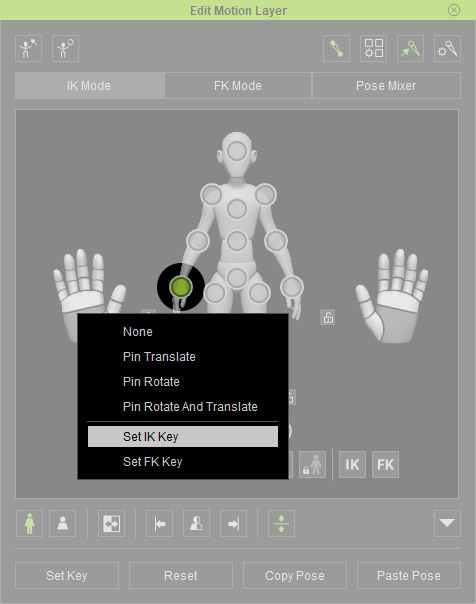
-
Open the timeline, and you will find a cyan circle added in the IK / FK Blend sub-track of the R Arm track.

Please refer to the Motion Route Patterns between Blend Keys section for more information. -
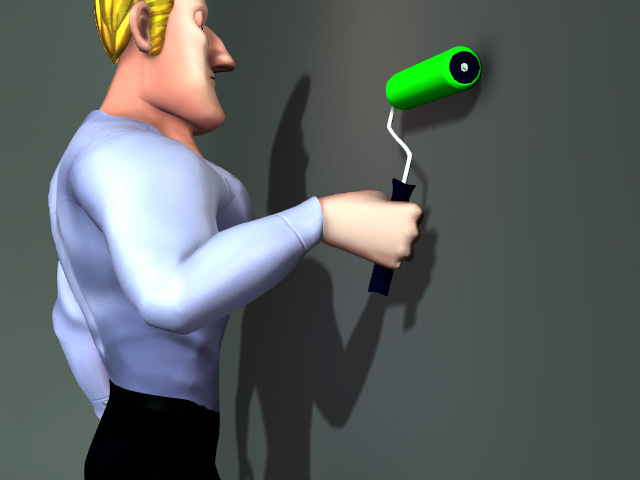
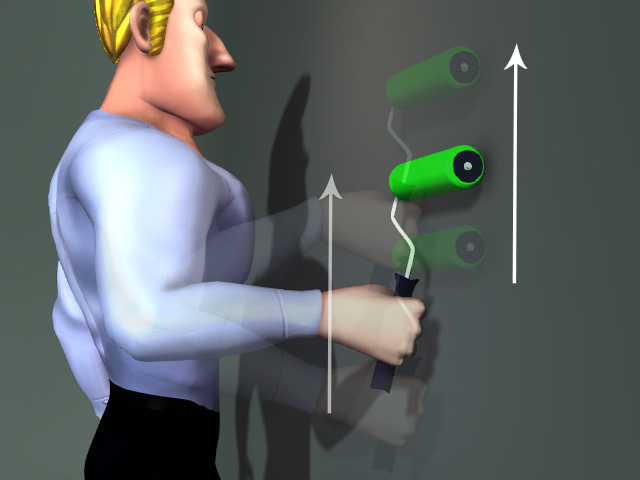
Playback and notice the hand motion travels in a linear pattern.
Timing for Blend Weight
Turn off the Effector Blend Weight when specific bones must move in a non-linear fashion.
-
Apply a character and set a pose via Edit Motion Layer panel (shortcut: N).
- Go to another frame and set another pose for the character.
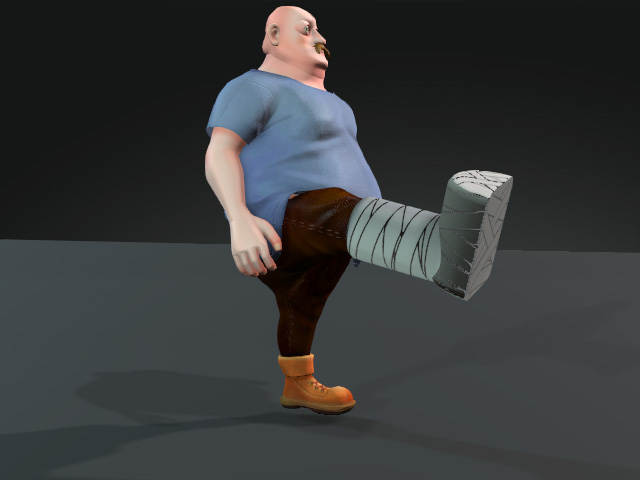
By default, the Effector Blend Weight for the hand bone on the first key frame is activated. You can see the bone is not highlighted.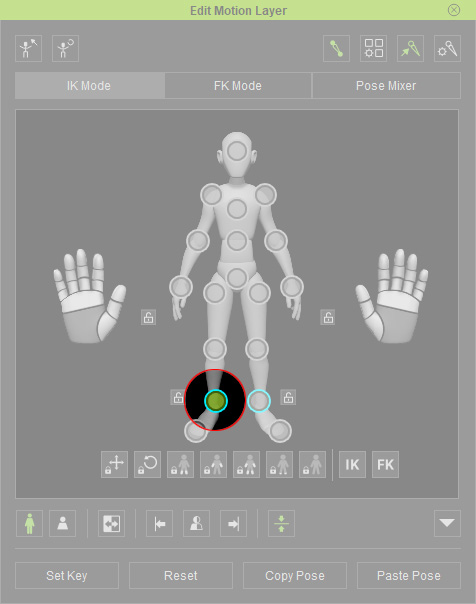
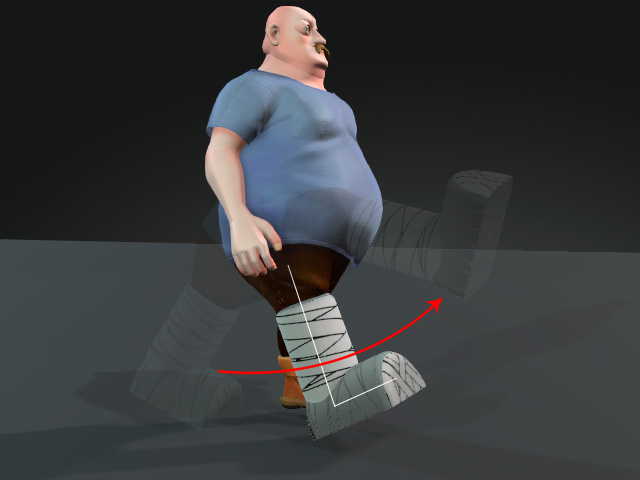
- Playback and notice the foot motion travels in a linear pattern, which causes the leg to bend and the attached cast to fall out of the leg.
- Move to the time frame where the first motion layer key is.
- Make sure the character is selected and open the Edit Motion Layer panel.
- Select the foot bone and click the Deactivate Effector button.
The bone will be circled in grey, which indicates that the blend weight is turned OFF.
Alternatively, you can right-click on the bone and choose the Set FK Key command from the context menu.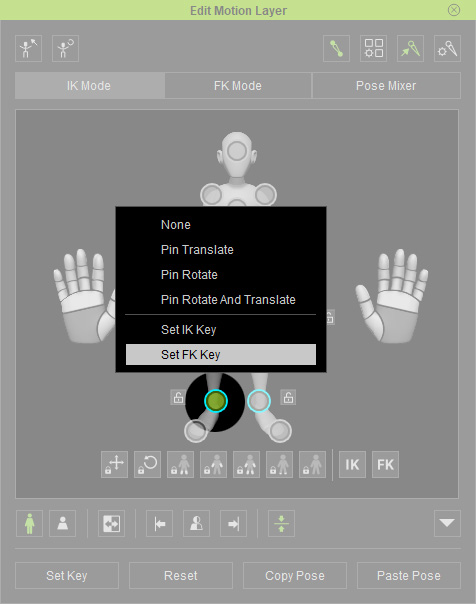
-
Open the timeline, and you will find a gray circle added in the IK / FK Blend sub-track of the R Leg track.

Please refer to the Motion Route Patterns between Blend Keys section for more information. -
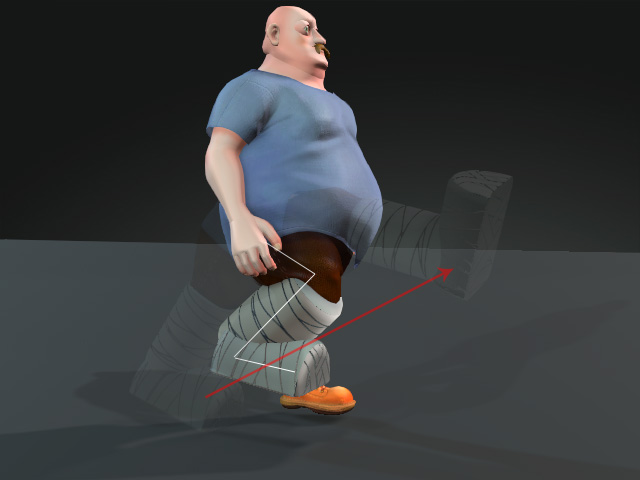
Playback and notice the foot motion travels in a curved pattern, which
makes the leg stretch throughout the entire motion.