Leaf Node
The Leaf nodes are the execution endpoint in a behavior tree, responsible for either performing actions or evaluating conditions. Then return their execution results to the parent node, helping to determine the next step in the behavior tree's operation.
- Action Nodes: Performs specific actions such as playing animations, outputting parameters, switching states, etc.
- Condition Nodes: Evaluates whether the current context meets specific conditions, such as checking the character's current state or determining if a countdown has ended.
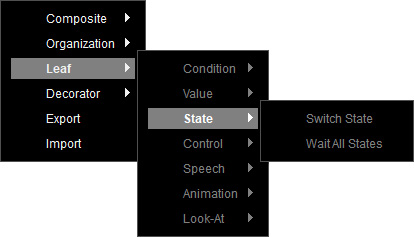
Right-click on the empty area of the Behavior Tree Graph, and select Leaf to show the node options.
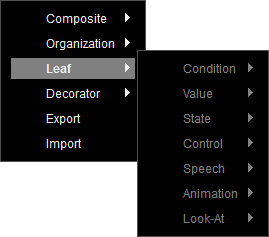
 Condition
Checks the conditions and determines the logic of character behavior.
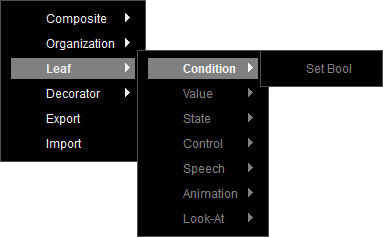
- Set Bool
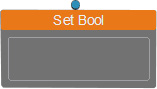
Sets a Boolean value in the Variables section, and then toggle the True option on/off in the Parameters section. The boolean value change occurs only once each time this node is executed.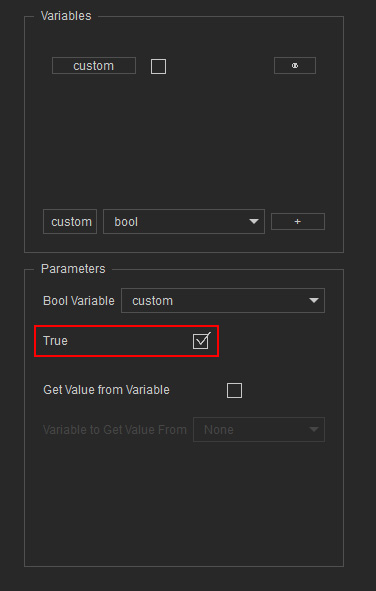
State
Handles state transition for the character.
- Switch State
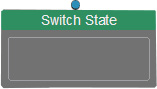
To switch to a specific Define State node in the behavior tree, select the predefined character state in the Parameters section.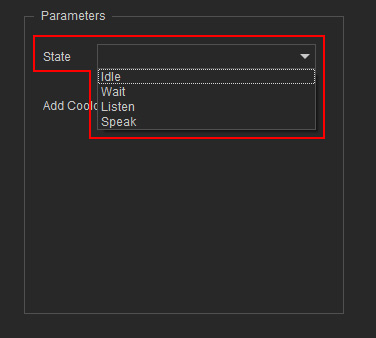
- Wait All States
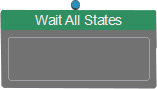
This node only executes successfully if designated state nodes are completed. You can add or remove state conditions in the Parameters section.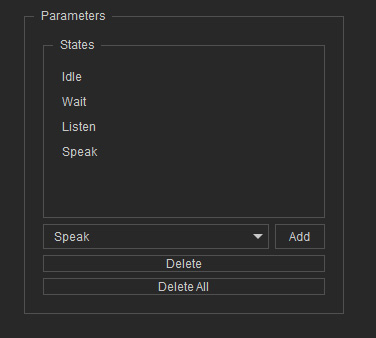
- Adding a State: Select the predefined character state from the drop-down list and click on Add to the right.
- Removing a State: Click on Delete to remove a selected state from the list. Or, click on Delete All to remove all states.
Control
Manages execution flow for an action.
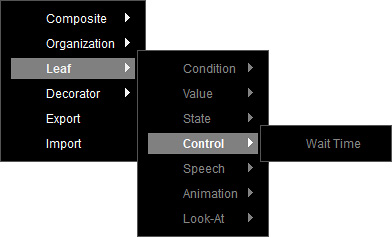
- Wait Time
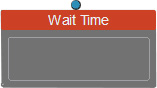
To delay execution for a specified duration, define the waiting time in seconds in the Parameters section.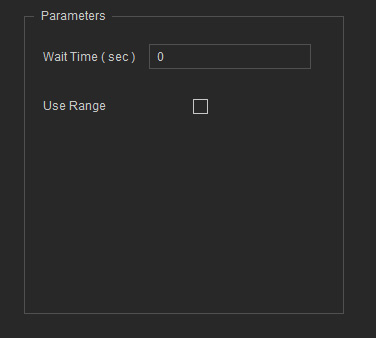
Alternatively, you can enable the Use Range checkbox to define a custom range. Each time the Wait Time Node is executed, a random number is selected from this range to determine the countdown duration in seconds.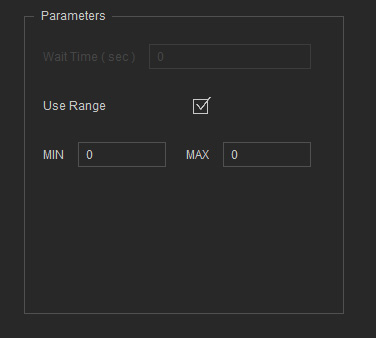
Once the countdown reaches zero, the node completes execution and changes its state from "Running" to "Success".
Speech
Controls speech-related actions.
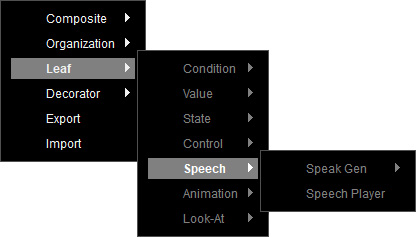
- Speak Gen
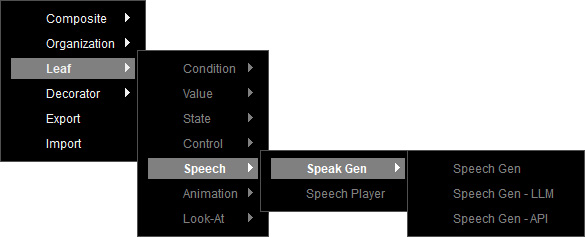
- Speak Gen: Enables a character to speak a given sentence for testing purposes and special case applications.
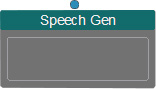
- Input a sentence in the Dialog text field of the Parameters section.
For example, "Welcome to our website!".
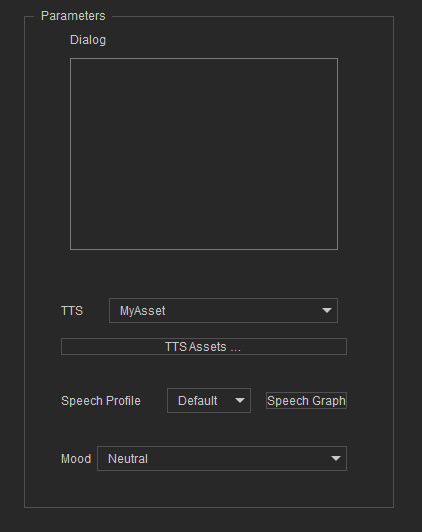
- From the drop-down list, select the TTS asset you've created in the Third-Party Assets Panel. Or, click the TTS Assets... button to create one.
- Select the Speech Profile you've created in the Speech Graph.
Or, click the Speech Graph button to create one.
* A default profile for Speech Graph is available by loading the default project. - Choose a mood to speak.
- Input a sentence in the Dialog text field of the Parameters section.
For example, "Welcome to our website!".
- Speak Gen - LLM: Enables a character to speak text generated by LLM (Large Language Model).
- From the drop-down list, select the TTS asset you've created in the Third-Party Assets Panel.
Or, click the TTS Assets... button to create one.
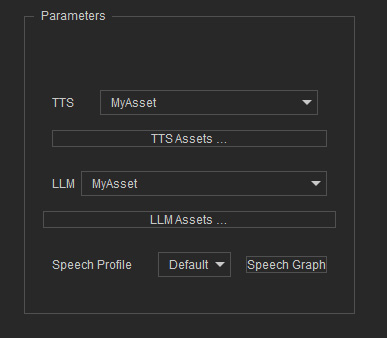
- Select the LLM asset you've created in the Third-Party Assets Panel. Or, click the LLM Assets... button to create one.
- Select the Speech Profile you've created in the Speech Graph.
Or, click the Speech Graph button to create one.
* A default profile for Speech Graph is available by loading the default project.
- From the drop-down list, select the TTS asset you've created in the Third-Party Assets Panel.
Or, click the TTS Assets... button to create one.
- Speak Gen - API: Enables a character to speak fixed text provided via API, utilizing TTS (Text-to-Speech) and ACE (Avatar Conversational Engine).
- From the drop-down list, select the TTS asset you've created in the Third-Party Assets Panel.
Or, click the TTS Assets... button to create one.
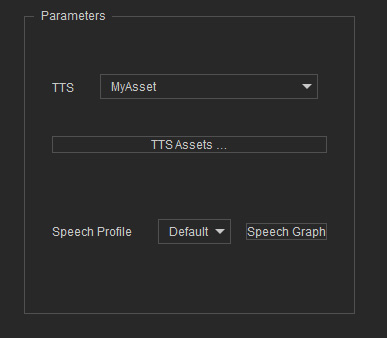
- Select the Speech Profile you've created in the Speech Graph.
Or, click the Speech Graph button to create one.
* A default profile for Speech Graph is available by loading the default project.
- Speak Gen: Enables a character to speak a given sentence for testing purposes and special case applications.
- Speech Player
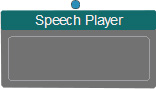
Retrieves the last generated speech animation from one of the following nodes:- Speak Gen
- Speak Gen - LLM
- Speak Gen - API
Animation
Triggers character animations.
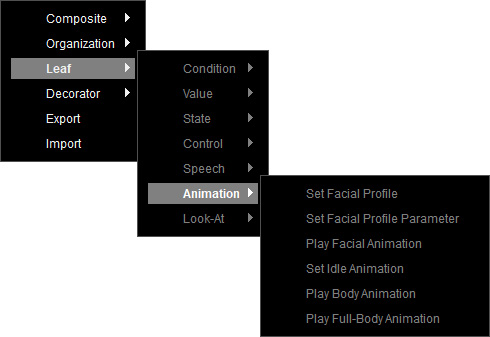
- Set Facial Profile
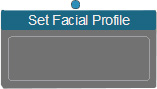
Select a predefined facial profile in the Parameters section, or click the AFA Animation Graph... button to create one in the Auto Facial Animation Graph.
* A default profile for auto facial animation is available by loading the default project.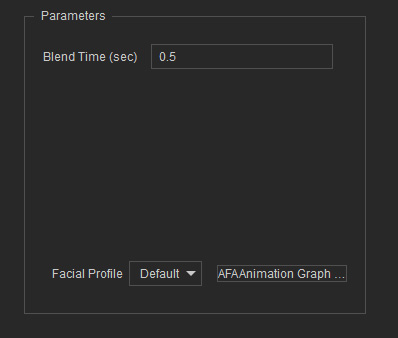
When this node is executed successfully, the facial profile will apply to the character. You can set a transition time (in seconds) to prevent visual inconsistencies or abrupt changes when switching from a previous facial profile (if applicable). - Set Facial Profile Parameter
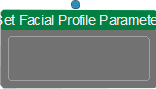
To modify the parameter values of a target Facial Profile:- Select a predefined facial profile in the Parameters section, or click the AFA Animation Graph... button to create one in the Auto Facial Animation Graph.
* A default profile for auto facial animation is available by loading the default project.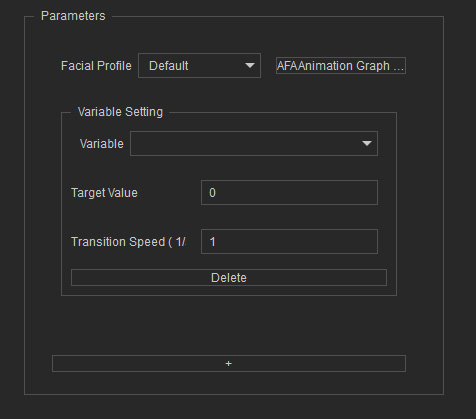
- Click the + button to insert a Variable Setting section for configuration.
- From the drop-down list, select the variable in the facial profile you wish to modify.
- Adjust the Target Value for the selected variable.
- Adjust the Transition Speed to Target Value, measured in seconds.
- Select a predefined facial profile in the Parameters section, or click the AFA Animation Graph... button to create one in the Auto Facial Animation Graph.
- Play Facial Animation
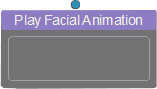
Enables the character to perform a specified facial animation sequence.- From the drop-down list of the Parameters section, select a facial animation clip preloaded in the Animation Assets panel.
If no animation asset is selected, the node will automatically use the first one in the list.
Alternatively, click the Facial Animation Assets... button to load a facial animation clip (iTalk) in the Animation Assets panel.
* The facial animation clips are available in the resource pack and can be preloaded by loading the default project.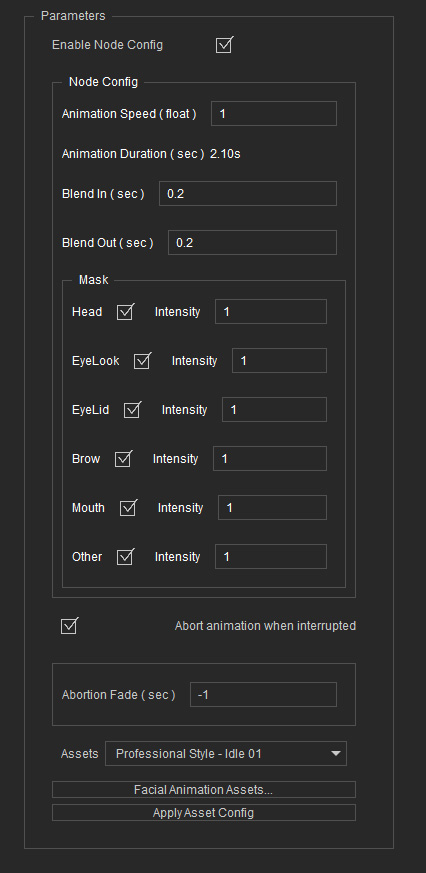
- Activate the Enable Node Config checkbox to adjust the animation speed, duration, and mask settings. The properties of the animation can either follow the node's individual configuration or inherit the configuration from the selected asset.
- Determines whether the animation can be interrupted, and the fade-out time when the animation is interrupted.
- Click the Apply Asset Config button to apply changes to the animation.
- From the drop-down list of the Parameters section, select a facial animation clip preloaded in the Animation Assets panel.
If no animation asset is selected, the node will automatically use the first one in the list.
Alternatively, click the Facial Animation Assets... button to load a facial animation clip (iTalk) in the Animation Assets panel.
- Play Body Animation
To enable the character to perform a specified body animation sequence:- From the drop-down list of the Parameters section, select a body motion clip preloaded in the Animation Assets panel.
Or, click the Animation Assets... button to load a body motion clip (rlMotion) in the Animation Assets panel.
* The body motion clips are available in the resource pack and can be preloaded by loading the default project.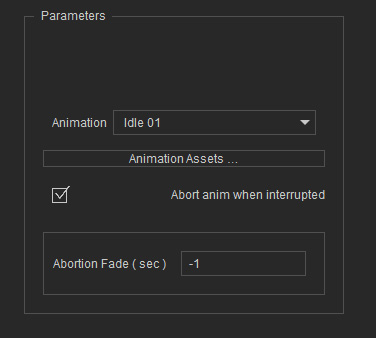
- Determines whether the animation can be interrupted, and the fade-out time when the animation is interrupted.
- From the drop-down list of the Parameters section, select a body motion clip preloaded in the Animation Assets panel.
Or, click the Animation Assets... button to load a body motion clip (rlMotion) in the Animation Assets panel.
- Play Full-Body Animation
To enable the character to perform a specified facial and body animation sequence:- From the drop-down list of the Parameters section, select a full body motion clip preloaded in the Animation Assets panel.
Or, click the Animation Assets... button to load a full body motion clip (rlMotion) in the Animation Assets panel.
* The full body motion clips are available in the resource pack and can be preloaded by loading the default project.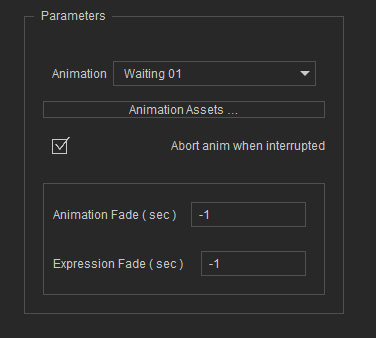
- Determines whether the animation can be interrupted, and the fade-out time when the animation is interrupted.
- From the drop-down list of the Parameters section, select a full body motion clip preloaded in the Animation Assets panel.
Or, click the Animation Assets... button to load a full body motion clip (rlMotion) in the Animation Assets panel.
- Set Idle Animation
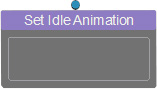
Enables the character to perform a looped animation sequence. From the drop-down list of the Parameters section, select an idle motion clip preloaded in the Animation Assets panel. Or, click the Animation Assets... button to load an idle motion clip (rlMotion) in the Animation Assets panel.
* The motion clips are available in the resource pack and can be preloaded by loading the default project.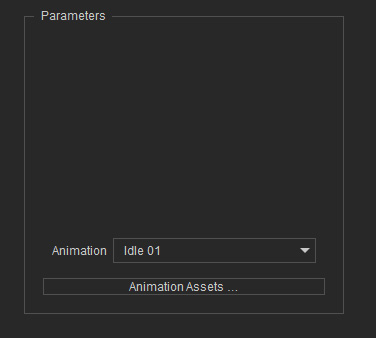
The idle animation set in this node has a looping property, so the node will immediately return to a success state upon execution, while the animation will continue playing in a permanent loop.
Look-At
Handles eye and head movements.
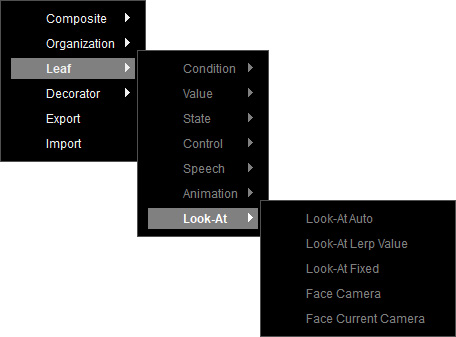
- Face Camera
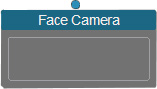
To make the character look toward a specific camera position in the viewport:- In the Parameters section, select which camera the character should face from the Target Camera drop-down list.
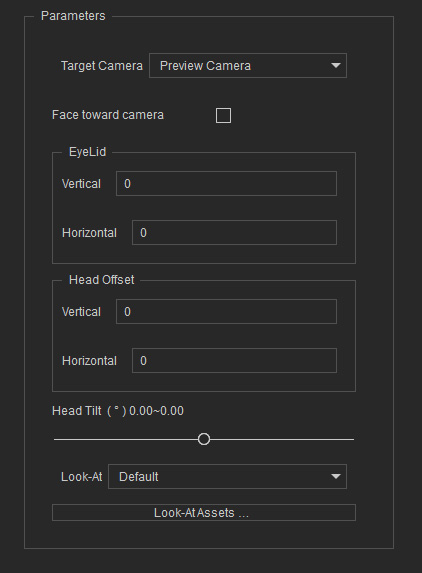
There are several cameras predefined in the iClone project from the resource pack:- Preview Camera: Shows every object in the scene for basic operation.
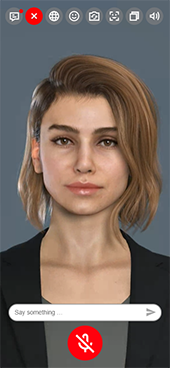
- MB_FocusHead: Focuses on the character's head for presentation on a mobile phone.
- MB_Upperbody: Focuses on the character's upper body for presentation on a mobile phone.
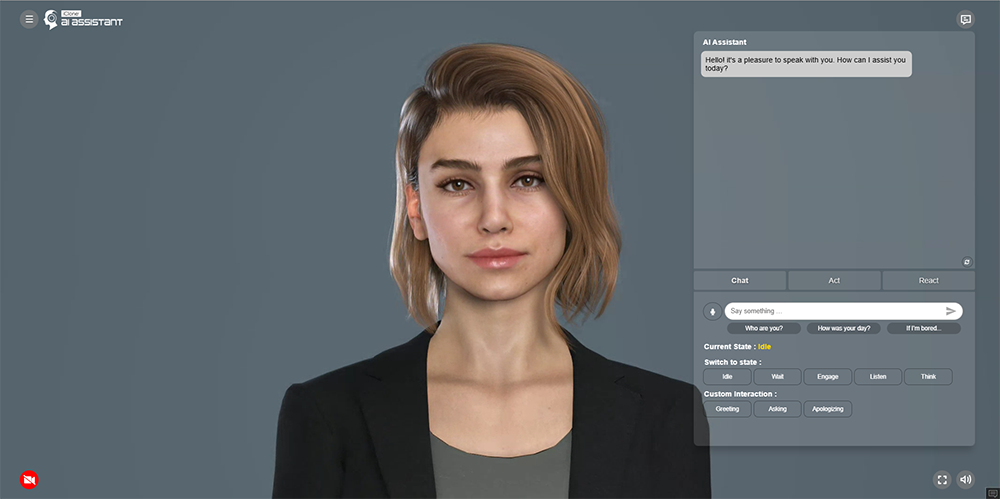
- Camera_FocusHead: Focuses on the character's head for presentation on a desktop monitor.
- Camera_Fullbody: Displays the character's full body for presentation on a desktop monitor.
- Camera_Upperbody: Focuses on the character's upper body for presentation on a desktop monitor.
- Optionally, specify a vertical and/or horizontal offset to adjust the head and eye alignment to the selected camera.
- Select a Look-At profile to define the movement behavior for head and eyes.
Or, click the Look-At Assets... button to create one in the Third-Party Assets panel.
* A default profile for Look-At is available by loading the default project. - Activating the Face Toward Camera checkbox allows the character to continuously follow the camera's movement even after the node execution completes.
This follow state remains active until a new node of the same type updates the character’s state.
* When the Face Toward Camera is enabled, make sure the eye and head easing in the selected Look-At Asset are set to "None" to avoid animation stutter during continuous movement.
- In the Parameters section, select which camera the character should face from the Target Camera drop-down list.
- Face Current Camera
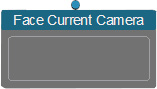
To make the character look toward the currently active camera in the viewport:- In the Parameters section, select a Look-At Camera asset, which includes vertical and horizontal offset adjustments for the character's head and eye alignment when aiming at the camera.
Or, click the Look-At Camera Assets... button to create one in the Third-Party Assets panel.
* A default profile for Look-At Camera is available by loading the default project.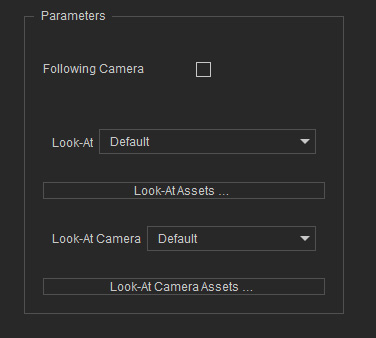
- Assign a Look-At profile to define the movement behavior for head and eyes.
Or, click the Look-At Assets... button to create one in the Third-Party Assets panel.
* A default profile for Look-At is available by loading the default project. - Activating the Face Toward Camera checkbox allows the character to continuously follow the camera's movement even after the node execution completes.
This follow state remains active until a new node of the same type updates the character's state.
* When the Face Toward Camera is enabled, make sure the eye and head easing in the selected Look-At Asset are set to "None" to avoid animation stutter during continuous movement.
- In the Parameters section, select a Look-At Camera asset, which includes vertical and horizontal offset adjustments for the character's head and eye alignment when aiming at the camera.
Or, click the Look-At Camera Assets... button to create one in the Third-Party Assets panel.
- Look-At Fixed
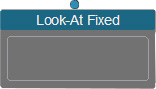
To make the character look toward a specified fixed coordinate:- In the Parameters section, assign a Look-At profile to define the movement behavior for head and eyes.
Or, click the Look-At Assets... button to create one in the Third-Party Assets panel.
* A default profile for Look-At is available by loading the default project.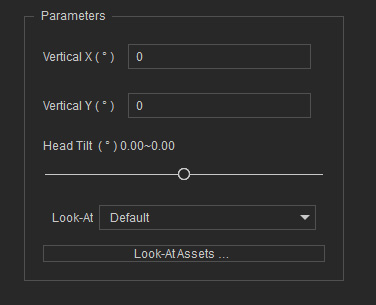
- Enter the coordinate values to fix the character's sight.
- In the Parameters section, assign a Look-At profile to define the movement behavior for head and eyes.
Or, click the Look-At Assets... button to create one in the Third-Party Assets panel.
- Look-At Auto
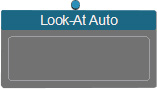
To make the character look toward a final coordinate generated randomly within a specified range:- In the Parameters section, assign a Look-At profile to define the movement behavior for head and eyes.
Or, click the Look-At Assets... button to create one in the Third-Party Assets panel.
* A default profile for Look-At is available by loading the default project.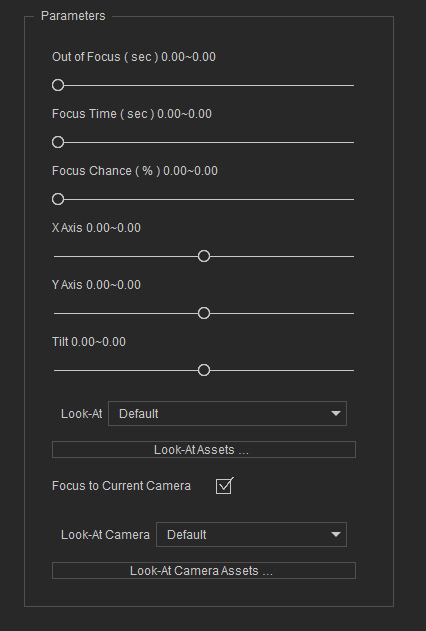
- Click on the range slider for a desired value, and drag the slider handle to set the head rotation angles for the random range.
- X Axis: Vertical rotation of the head (negative = up, positive = down).
- Y Axis: Horizontal rotation of the head (negative = left, positive = right).
- Tilt: Head tilt (negative = tilt left, positive = tilt right).
- Click on the range slider for a desired value, and drag the slider handle to control the character behavior.
- Out of Focus: Time the character maintains focus on the specified coordinate (in seconds).
- Focus Time: Time the character stays at a neutral (zero-angle) state after resetting (in seconds).
- Focus Chance: The probability that the character resets to a neutral angle after each look.
- Enable the Focus to Current Camera checkbox to determine which camera to face when looking back to the front (at the zero angle). Select a Look-At camera from the drop-down list. Or, click the Look-At Camera Assets... button to create one in the Third-Party Assets panel.
- In the Parameters section, assign a Look-At profile to define the movement behavior for head and eyes.
Or, click the Look-At Assets... button to create one in the Third-Party Assets panel.
- Look at Lerp Value
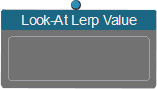
The advanced version of Look-At Auto node — featuring Lerp (Linear Interpolation) functionality. It allows you to set minimum and maximum bounds for the character's head rotation on the X and Y axes (excluding the Tilt) in the Parameters section.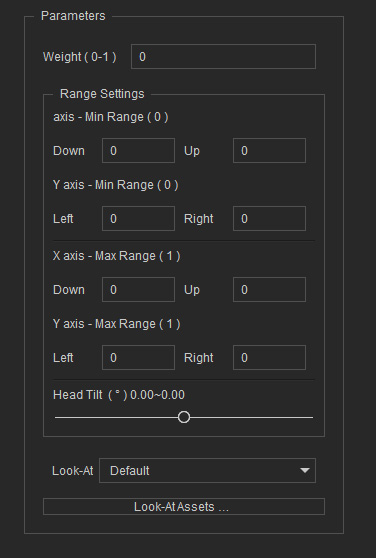
The actual movement range is determined by a Weight variable, which interpolates between the min and max bounds. You can set the Weight value between 0 and 1 (supports up to two decimal places).- At 0, the head uses the minimum rotation range.
- At 1, the head uses the maximum rotation range.
- At 0.5, the range used is the average of the min and max.
- Upward Linking: All Leaf nodes require a Composite or Decorator node to determine the execution flow or logic.
- Downward Linking: Leaf nodes cannot have child nodes.
