Quick Guide for Creating Character
In this section, a character is created from a static model to an animate-able character step-by-step (taking a biped model as an example).
- Prepare a biped model in FBX or OBJ format.
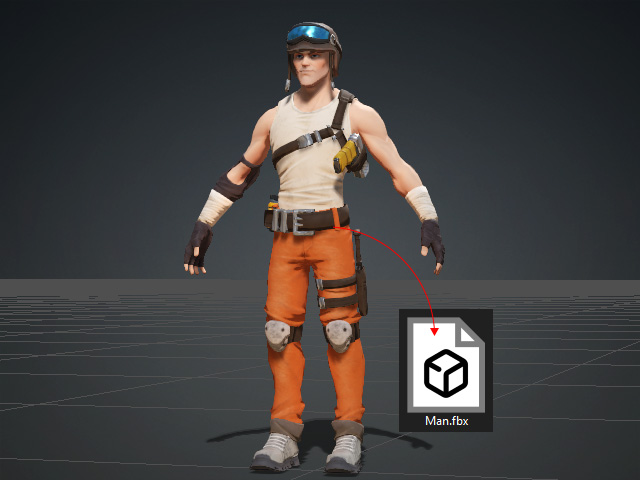
- Launch ActorCore AccuRIG. Load the model in the first step.
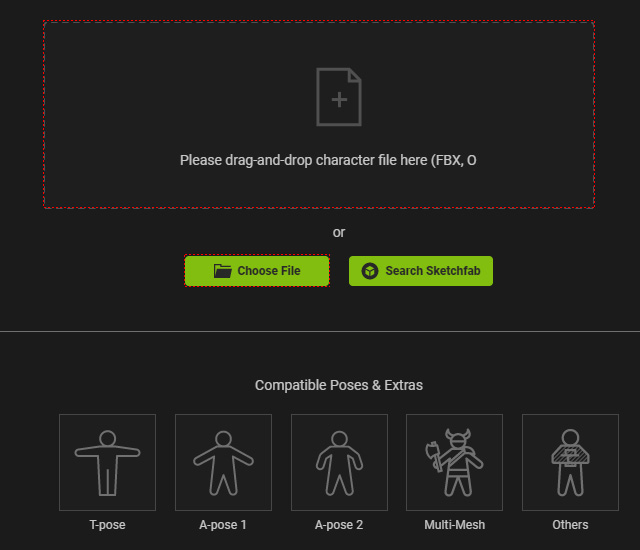
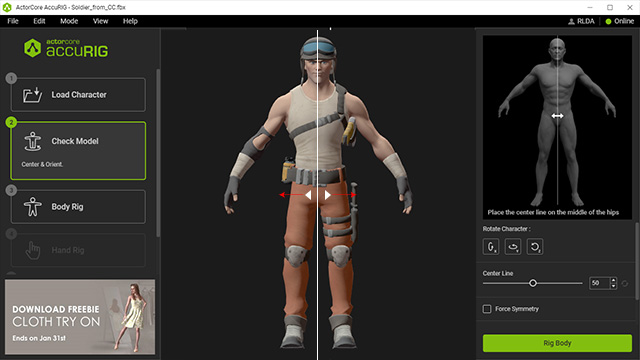
* You can drag and drop the file to the viewport or click the framed area or button in the illustration to load the file. - The program automatically proceeds to the second step. Rectify the character to face front if necessary.
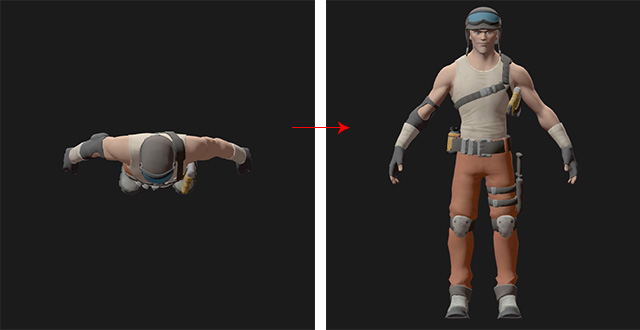
- Also, drag the center line (or the arrows) to align it to the center of the pelvis. Go to the 3rd step by clicking the Body Rig button at the left side or the Go to Body button at the right side.
- In step 3, the system will automatically align the joints to the adequate positions.
Drag and adjust them if necessary or simply click the Go to Right Hand
button (Step 4) without touching any of the joints.

- Before proceeding to
step 4, you will be asked to input the number of
fingers for the character.
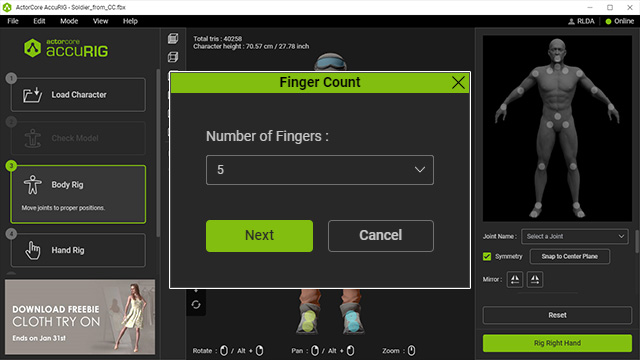
- The system will automatically place the joints into the fingers in step 4. You can manually relocate them if necessary.
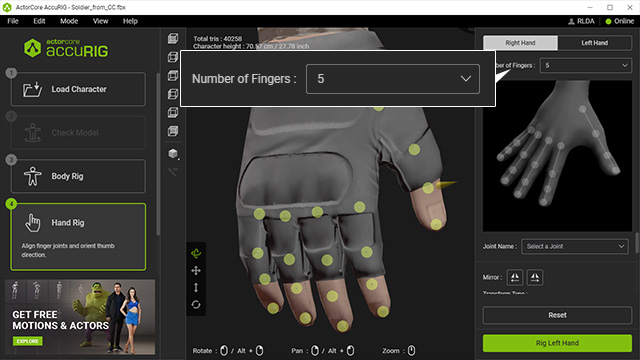
Click the Left Hand tab or Go to Left Hand button for the same adjustments to the other hand. Proceed to the final step by clicking the Check Animation button at the left side panel. - Apply different poses or motions to observe if the joints are placed properly.
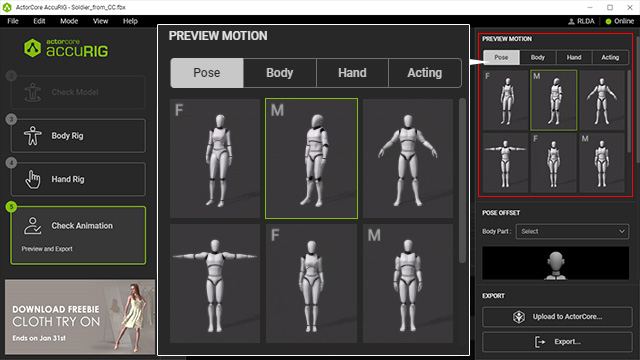
- Adjust in the final step for offsetting the bones to solve issues.
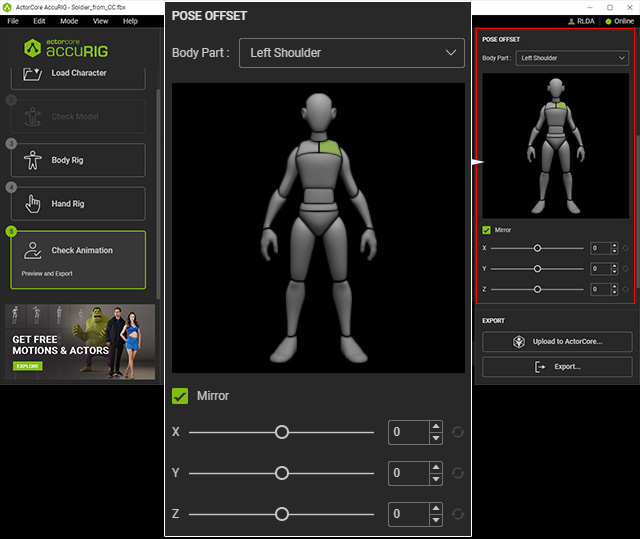
If the issues remain, then go back to the step for joint adjustments. - If you wish to upload the character to ActorCore website or
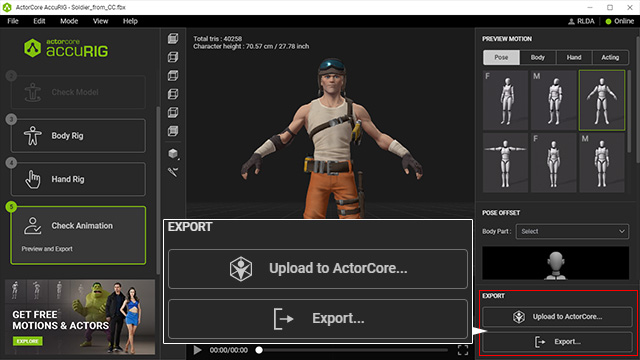
export the character in FBX, USD or iAvatar format, click the
buttons at the bottom-right corner of the program.
