


9 Angle Points Settings for 360 Head
In order to create a 360 head, you can use the 360 Head Creator panel to deal with the Transformation, Deformation, Mask, Sprite Switch and Layer Order settings for the Top-left, Up, Top-right, Left, Center, Right, Bottom-Left, Down and Bottom-right angle points.
- Apply a character. Enter the Composer mode.
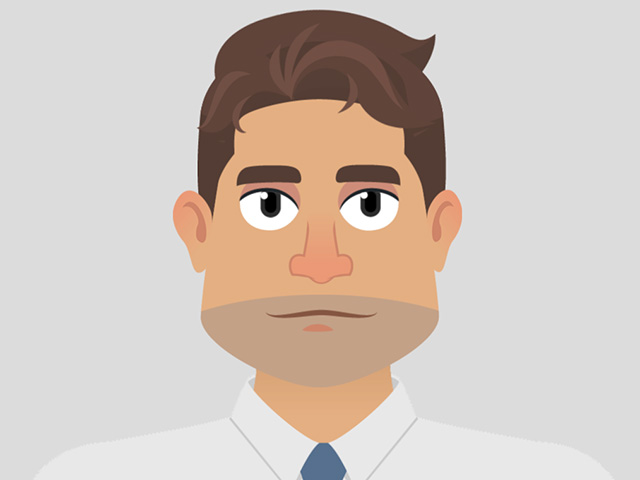
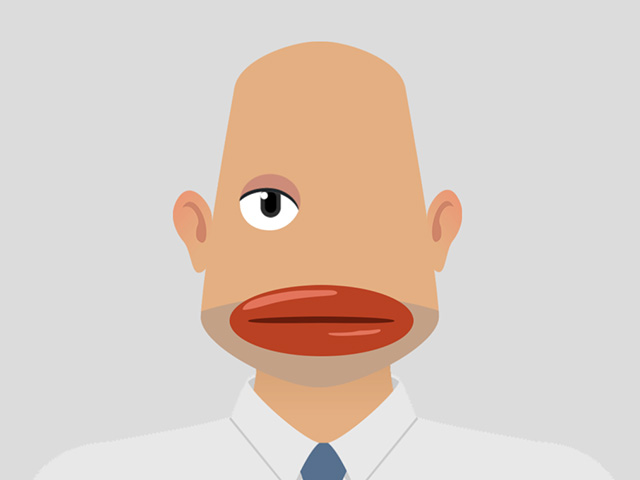
- Delete unnecessary facial features.

- Use the Sprite Editor to replace the element in a facial feature sprite.
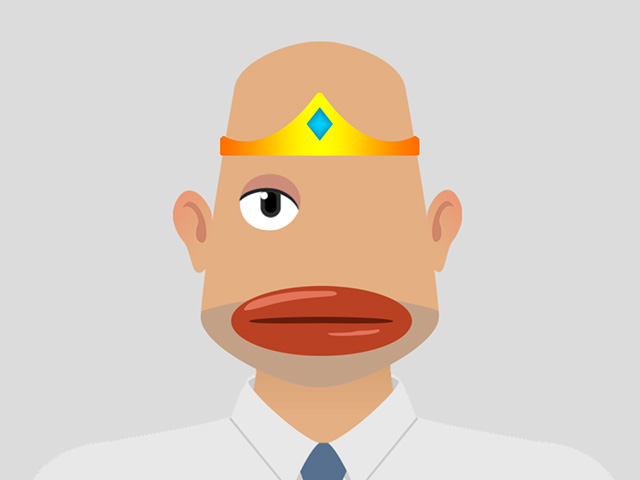
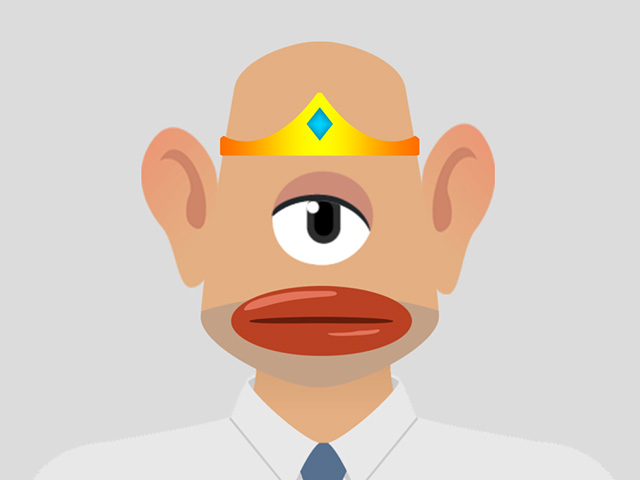
- You can also add a sprite layer onto the head.
- Transform the facial features that are not deleted.
- Click the 360 Head Creator button on the toolbar.

Alternatively, you can execute the 360 Head Creator command in the Modify menu.
- The 360 Head Creator with 9 angle points will show on the screen.

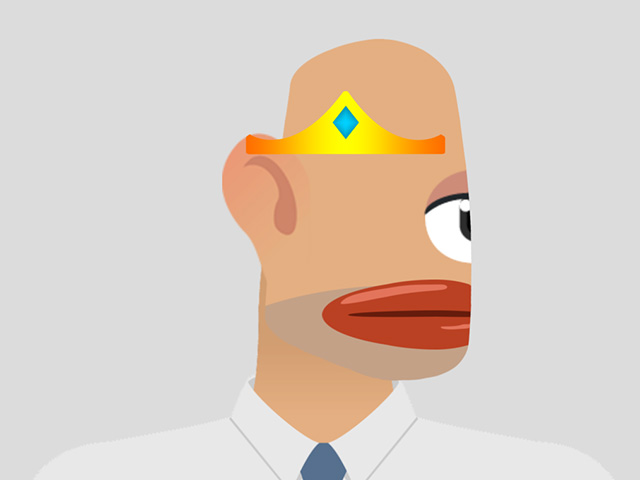
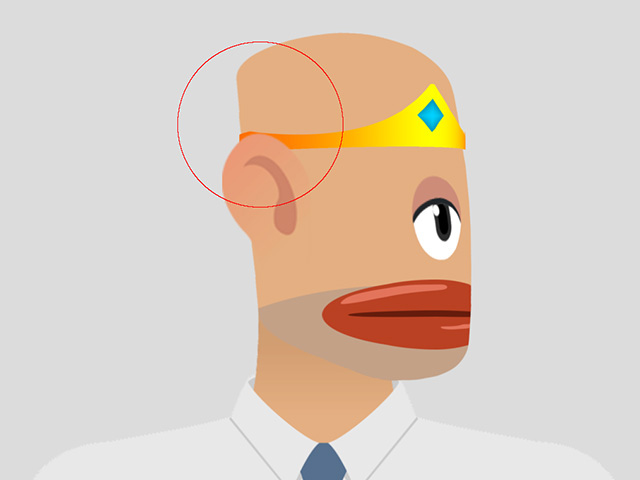
- By default, the Transformation, Mask and Layer settings are pre-determined by Cartoon Animator. Take the Right angle point as an example, the status of the character's head is as shown in the illustration:
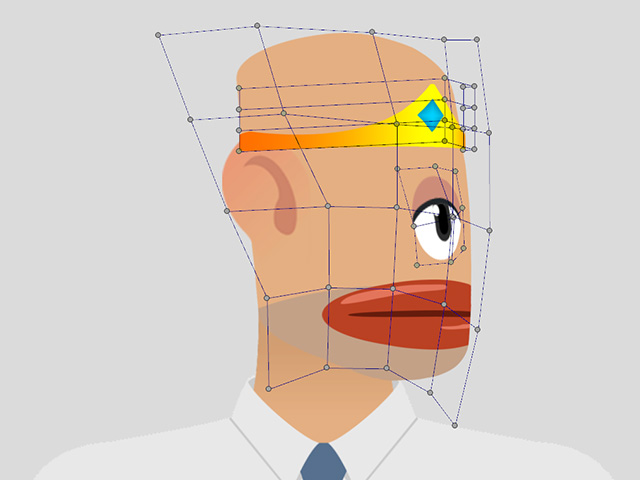
- Move, rotate or scale the facial elements in the Transform mode of the 360 Head Creator.
- Switch to the Deform mode and deform the elements.
- Re-order the layers in the Layer Manager by dragging and dropping the layers.
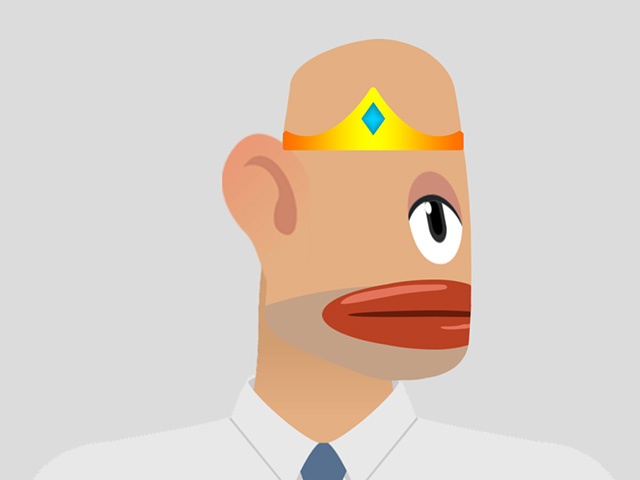
- By default, the Masking box in the Auto Settings group is activated which will turn on the mask influence of certain layers (eyebrows, eyes and mouth).
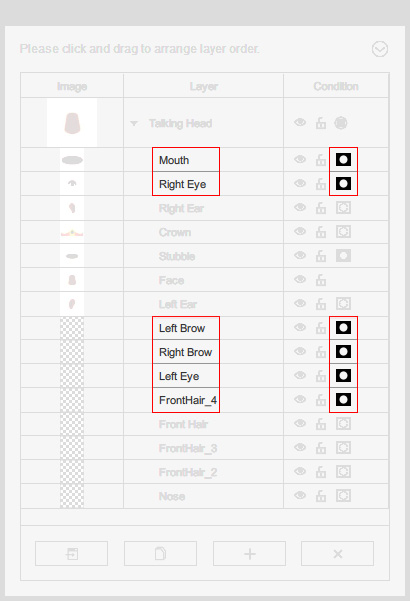
You need to manually turn on or off the mask icon; in this case, the mask on the mouth is turned off.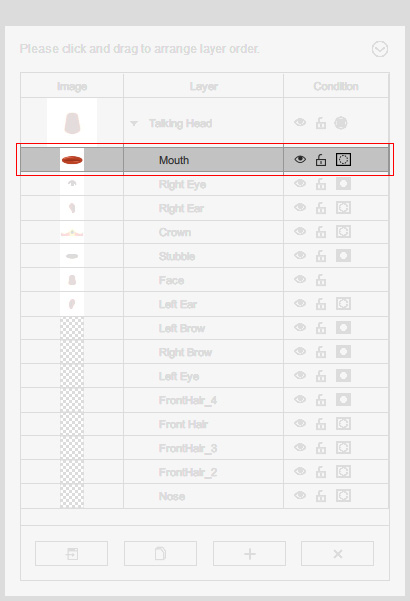
The part that are out of the face will not be masked off.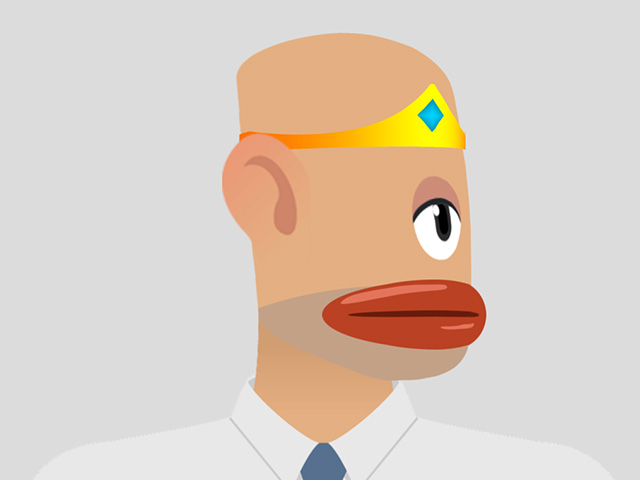
 Note:
Note:Keep in mind that the Mask setting is global. You can not turn in on in an angle point and off in another.
- In the Sprite mode, replace the sprite element with a custom image.

- Repeat the same steps for the rest angle points.
- Press down the Preview button to view the result.