Layer Order for Angle Points
A 360 head is actually composed of different sprite layers. However, when the head turns, the layer order in between occasionally need to be adjusted to be more realistic, especially the Eyes and Nose, or the Ears and Face.![]()
- Apply a G3 or G3 360 character. Enter the Composer mode.

- Create child sprite layers under the Nose layer.

In this case, the glasses are made of three layers, Bridge (parent), Left_Rim and Right_Rim.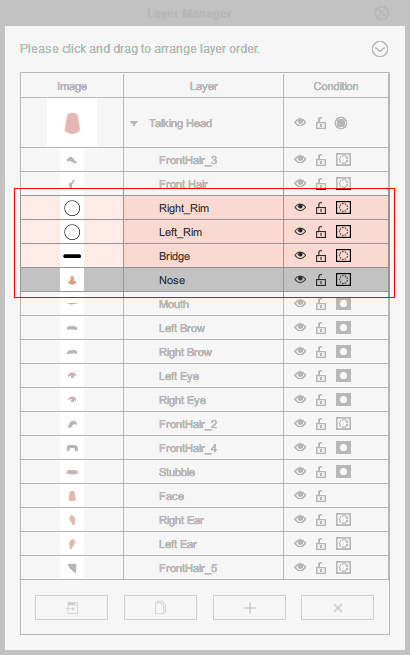
- Click the 360 Head Creator button on the toolbar.

Alternatively, you can execute the 360 Head Creator command in the Modify menu.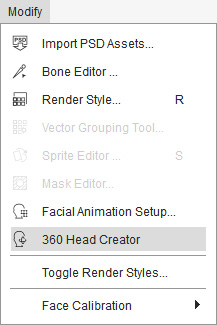
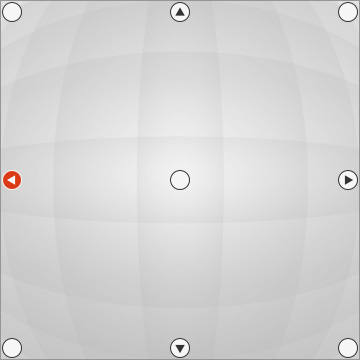
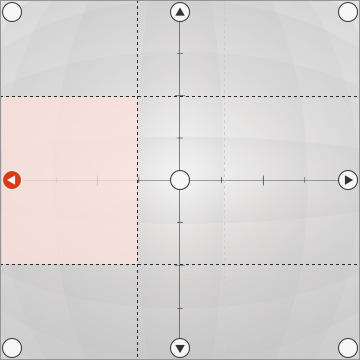
- The 360 Head Creator with 9 angle points will show on the screen; and click the Leftangle point.
- Transform and Deform the sprites.

As you can see the layer order of the right rim and the nose is incorrect.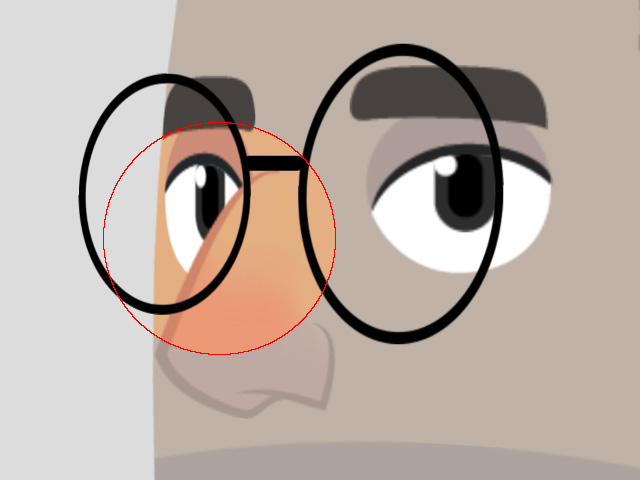
- Drag and drop the Right_Rim layer beneath the Nose.
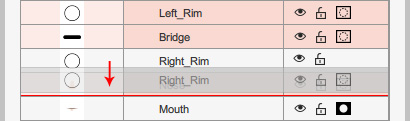
The right rim now appears correctly under the nose.
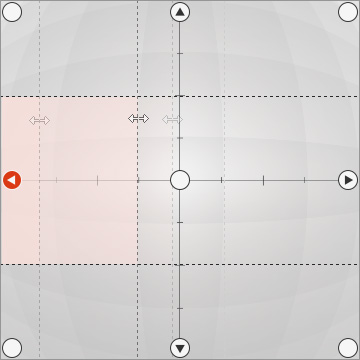
- Click the Weight button on the 360 Head Creator in Transform or Deform modes.

- The Angle Point pane will display more dotted guide lines.
These dotted lines indicate the key timing for changing the layer order when the head turn into the area.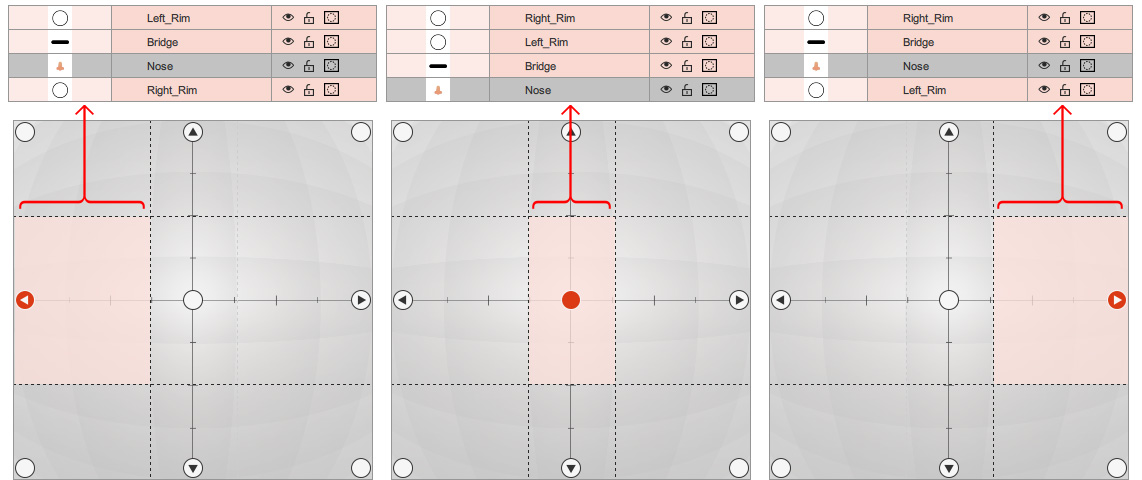
- You can drag and drop the dotted line to determine the timing for the layer order to be changed.
- Press the Preview button to view the transition effect between the middle and the left angle points.