Quick Guide for Creating Spring Effect
The basic steps for creating spring effect is to create bones and apply spring settings for an object in the Composer mode, and animate the object in the Stage mode to view the spring result. You can also set spring keys to turn the effect on and off at any given time.
- Create an object (supported objects).

- Make sure the object is selected and enter the Composer mode.

- Add bones to the object.

* Use pins to keep the object from being driven to animate. - Open the Spring Editor.

- Select the bone as the start bone for applying the spring
effect.

- Click the Assign to Group button in the Spring Editor to add the select bone and its siblings (by
having the Include Child Bones checkbox ticked) into the existing spring group.

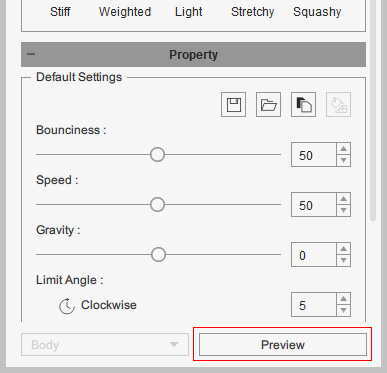
See the Grouping Bones for Different Spring Effects section for more information. - Click the Preview button at the bottom of the Spring Editor (or on the Toolbar).

- Pick and drag one of the bones, especially the parent or root
bones. As you can see, the spring bones (highlighted in Red) will
have a spring effect.
- Click to select one of the Presets and test for an ideal spring result by dragging the parent or root bones.

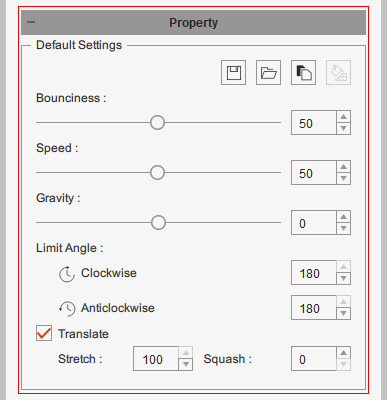
You can also customize the spring behavior by adjusting the slider values in the Property section.
- Close the Spring Editor when you find the desired spring effect. Then exit the Composer Mode for animating the object.
- Setting keys or applying motion/animation clips to the object. The spring effect will automatically performs.


