Setting Accurate Skin Weights
There are only limited values when you use the Quick Replace values to set the skin weights. However, Character Creator also provides features to manually type in the accurate skin weight values for the desired vertices.
After a cloth is created, you can test the skin weight by setting different poses of the character. When
a flaw happens as shown below, you can set a more accurate value to correct it with the Skin Weights feature.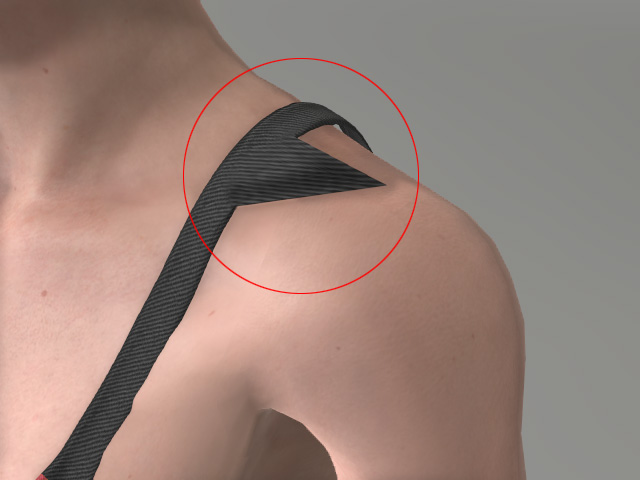
- Select the cloth. In the Modify panel, switch to the Attribute tab and click the Skin Weights button in the Modify section.
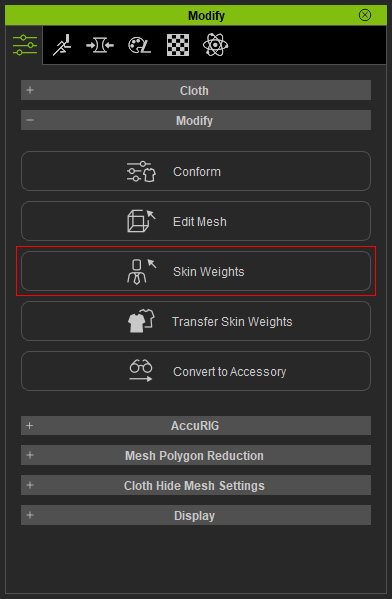
- Switch to the Selection tab.

- Pick the vertex
that has incorrectly assigned skin weight.

- At the lower part of the panel, you will see a bone list in which the bones controlling these vertices are displayed.
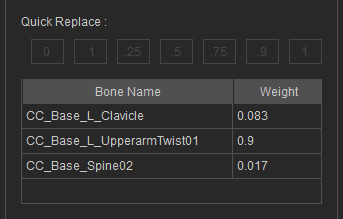
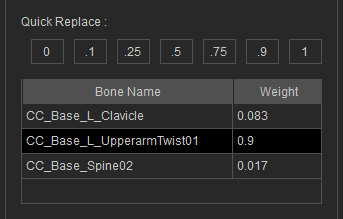
In this case, the CC_Base_L_UpperarmTwist01 bone controls the vertices too much (Weight = 0.9). - Select either one of the adjacent vertices to find the skin weight from that bone.
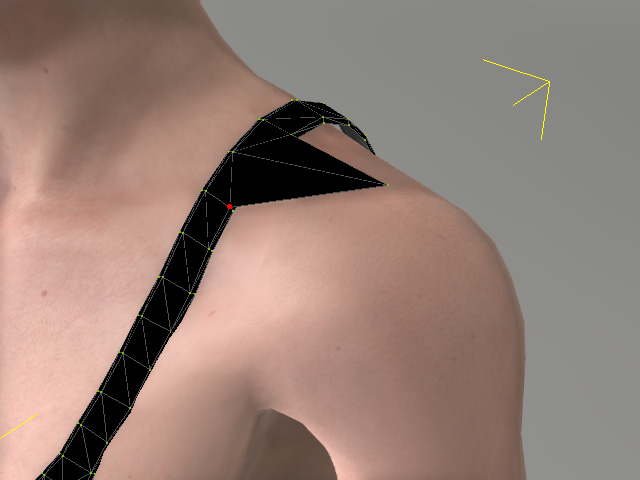
The value of the bone in this case is 0.045.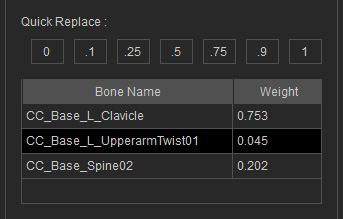
- Pick the vertex with inadequate skin weights again.
- Select the bone from the list to which you want to assign a new value for the skin weight.
- In the Select Tool group, set a desired value in the Weight Value field.

- Replace
 : Click this button to replace the value of the selected vertices with the one in the Weight Value field.
 - Add
 : Click this button to add the value in the Weight Value field to the ones of the selected vertices.
 - Subtract
 : Click this button to subtract the value in the Weight Value field from the ones of the selected vertices.
 - Smooth
 : Click this button to auto smooth the skin weight of the selected vertices with the adjacent vertices.
- Replace
- Click the Replace button to set the value.

Notice that the skin weights for the other bones will be automatically adjusted simultaneously. - The vertex will pop to the correct position in accordance with the new arrangement of the skin weight from
a different bone.
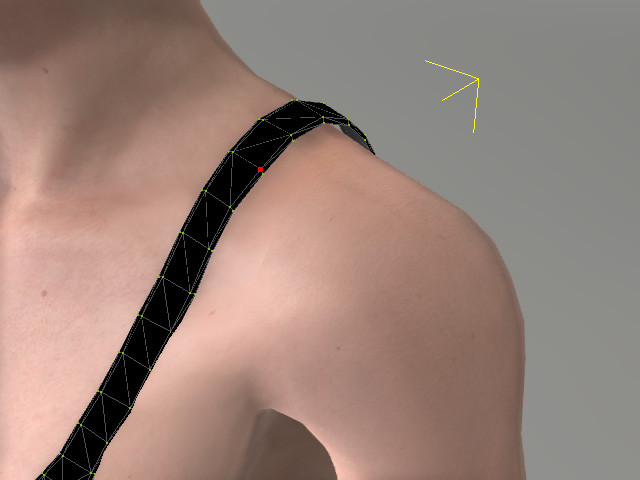
- Leave the Skin Weights mode view the final result.

