Generating Characters from Static iClone Props
In Character Creator, when you import bone-skinned models in FBX format from specific 3D tools, such as Maya, 3DS Max, DAZ 3D, Blender and so on, they will be auto-converted into Humanoid characters, which save a lot of time for setting T-pose and bone-mapping and any other trivial procedures.
If you do not wish to create a bone-skinned character with 3ds Max, Maya or other similar 3D modeling tools then you can create character-like hierarchies in iClone with Props, and then convert them into Humanoid characters for use in iClone.
Basic Character Structure
-
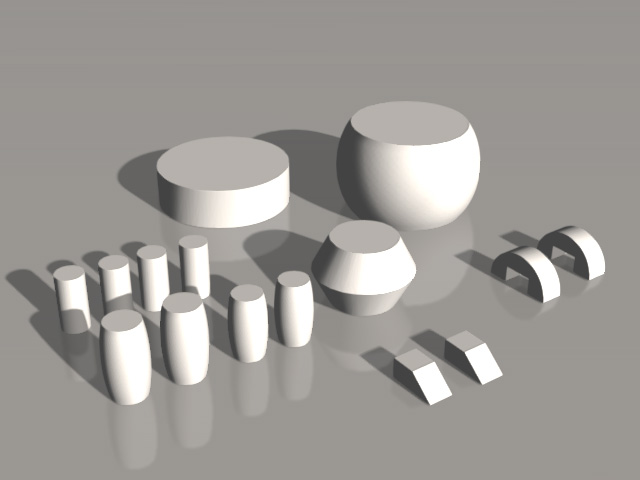
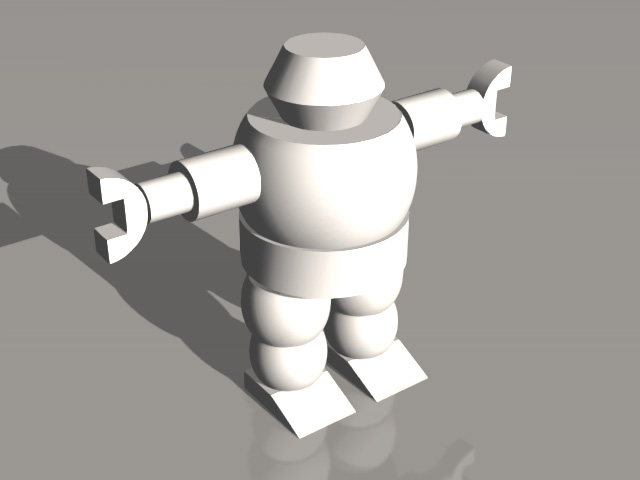
In iClone, apply at least fifteen props. These fifteen props
respectively represent the Head,
two Upper Arms, two Forearms, two Hands, two Thighs,
two Calves and two Feet.
You must compose these isolated props into a tree structure as shown on the illustration below: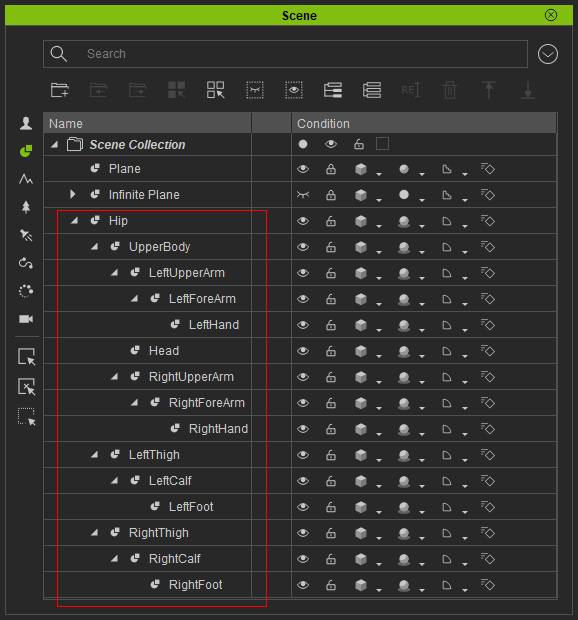
- Transform and re-position the props to form a character-like structure with a T-Pose.
-
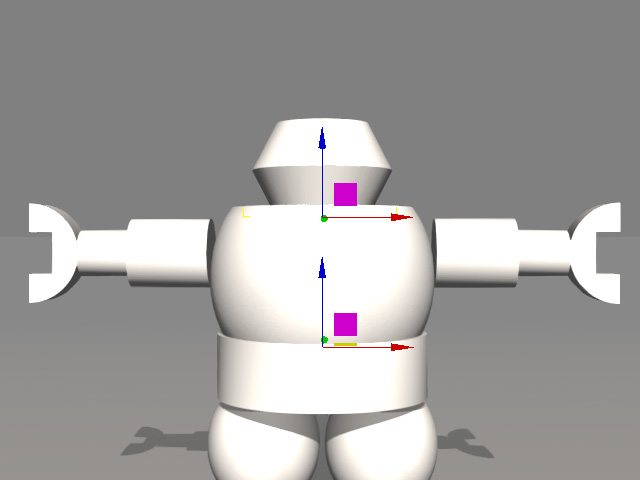
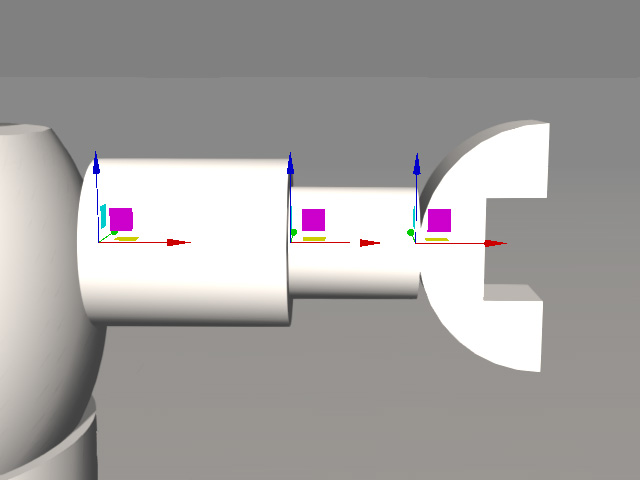
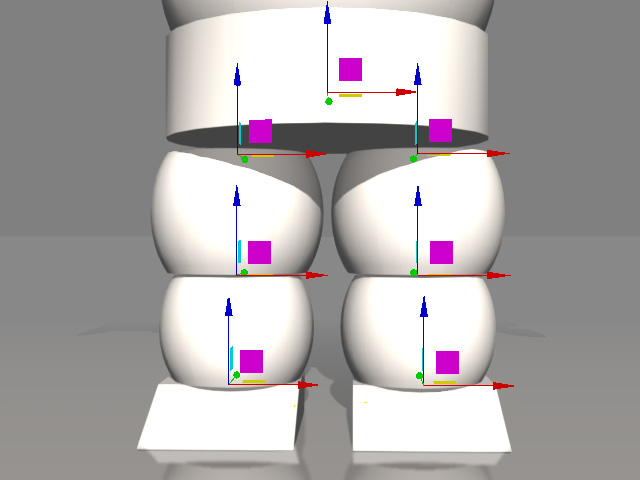
Adjust the pivot points of each prop to the joints of the character-like structure, make sure that the pivot of the
Hip is located at the center of itself.
- Head Pivot and Upper Body Pivots:
- Hand Pivots:
- Feet Pivots and Hip Pivot:
 Note
NotePlease note that the pivots of the props that compose the legs MUST be vertically aligned; while the pivots of the props that compose the hands MUST be horizontally aligned.
- Head Pivot and Upper Body Pivots:
-
Attach the hand prop to the forearm prop and then the forearm group to the upper-arm prop.
Repeat the same step for the other hand structure.
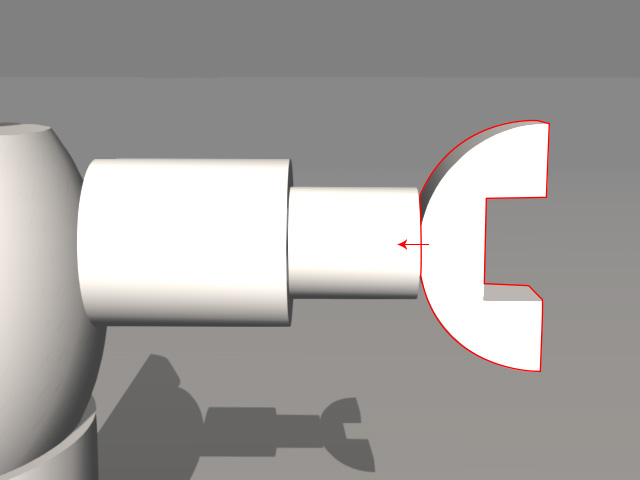
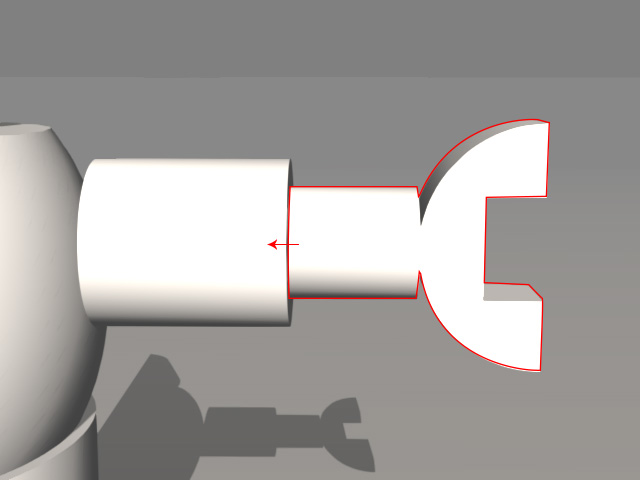
Attach the hand to the forearm.
Attach the forearm group to the upper arm.
-
Attach the feet prop to the calf props and then the calf group to the thigh prop.
Repeat the same step for the other leg structure.
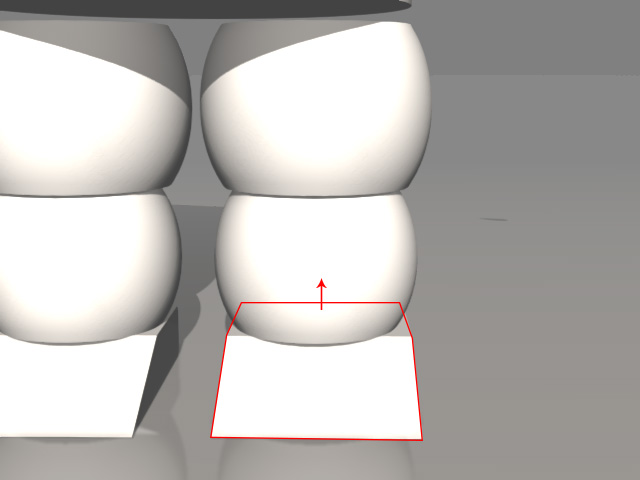
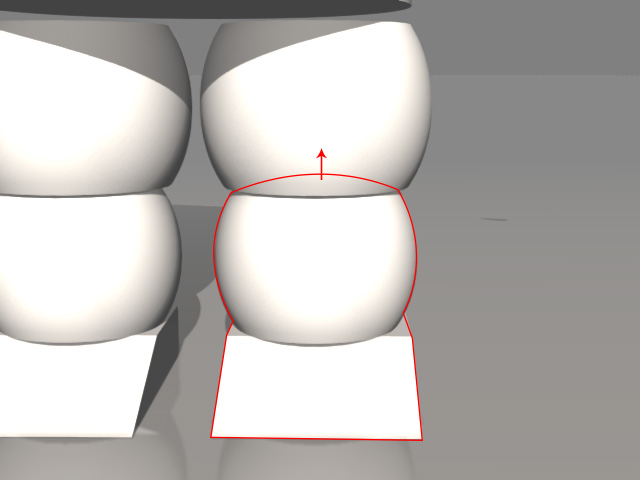
Attach the foot to the calf.
Attach the calf group to the thigh.
-
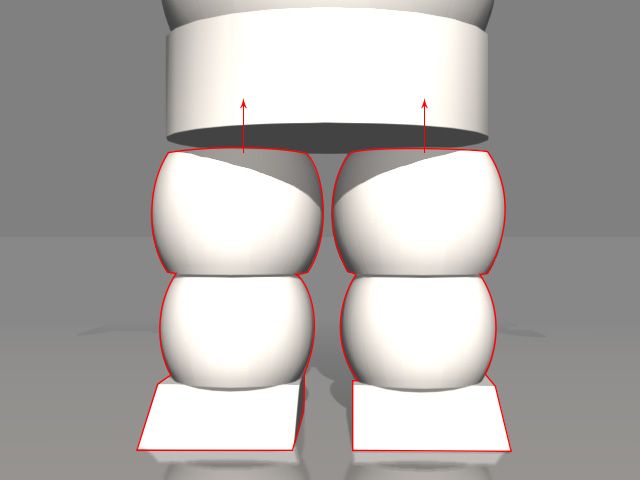
Attach the two hand groups and the head to the upper-body prop. Attach the foot groups to the hip prop.
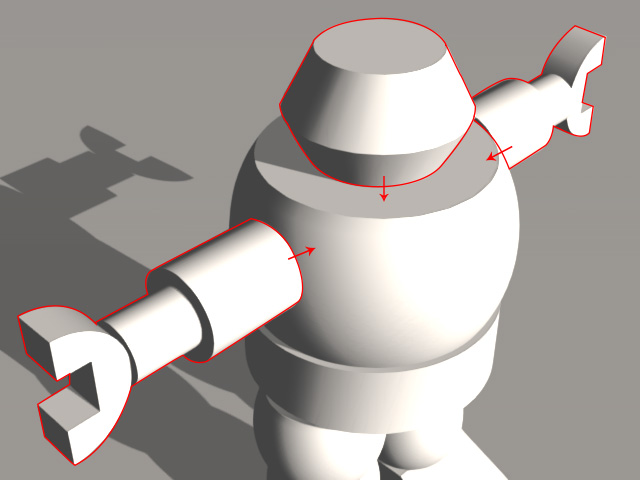
Attach the hand groups and the head to the upper body.
Attach the leg groups to the hip.
-
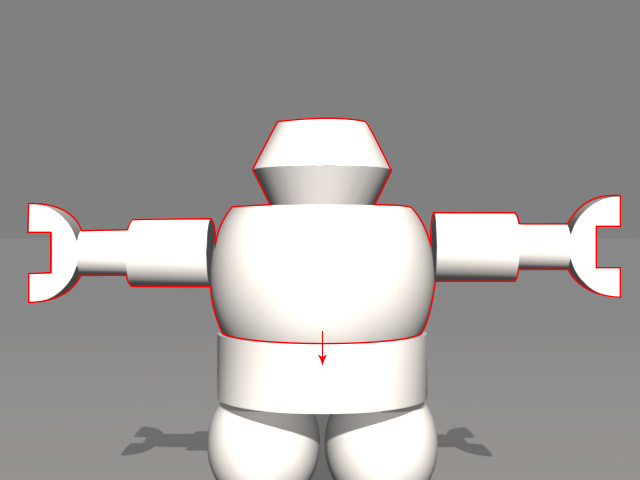
Attach the upper body group to the hip group.
Advanced Character Structure
In the previous section, the structure can be already converted into a character, theoretically. However, if you wish for the character to have more sophisticated motions, then you need to add more props to the character-like structure to form the neck bones, spine bones and finger bones.
If you do not want to have these motions, then skip this section.
Spine and Neck
You might divide the single upper body prop up to ten spine-bone props with shoulder bones, and then divide the head prop up to ten neck-bones and head props.
Spine-bone props and collar-bone props
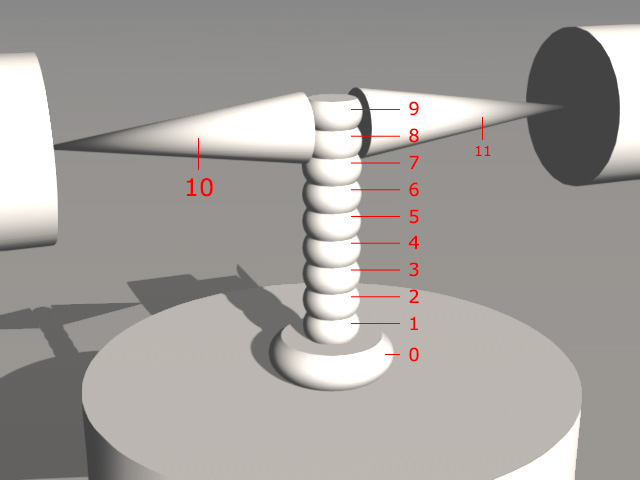
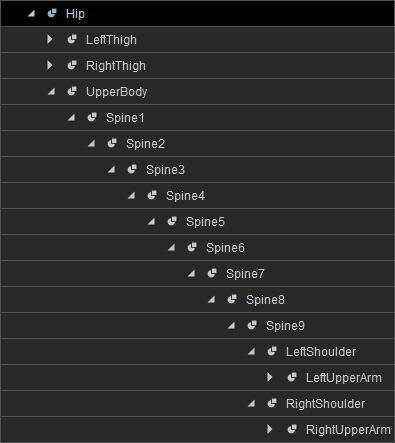
- Attach the hand groups to the collar props (10 and 11).
- Attach the collar props to the highest spine-bone prop. In this case, the Spine 9.
- Attach the higher spine-bone prop to the prop right under it. In this case, the Spine 9 is attached to the Spine 8, the Spine 8 is attached to the Spine 7 and so on.
- Attach the spine-bone prop with lowest number to the hip prop. In this case, the Spine 0.
Neck-bone props and head prop
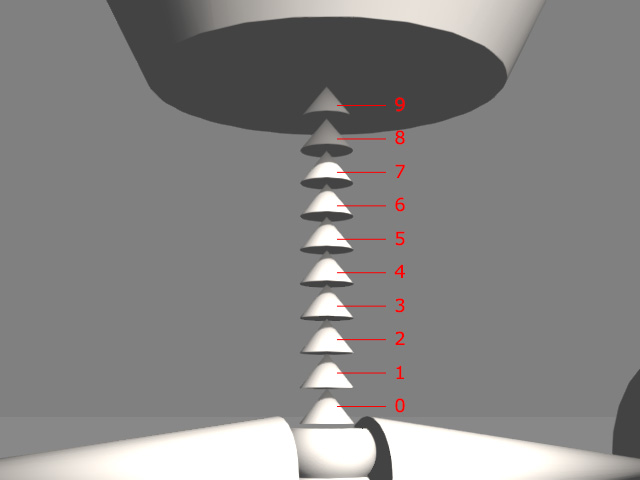
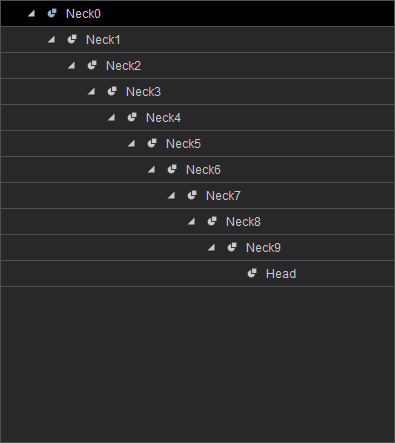
- Attach the head prop to the highest neck-bone prop. In this case, the Neck 9.
- Attach the higher neck-bone prop to the prop right under it. In this case, the Neck 9 is attached to the Neck 8, the Neck 8 is attached to the Neck 7 and so on.
- Attach the neck-bone prop with lowest number to the highest spine-bone prop. In this case, the Spine 9.
Hands
In order to have the custom character act hand gestures and motions in iClone, you need to construct finger-like structures.
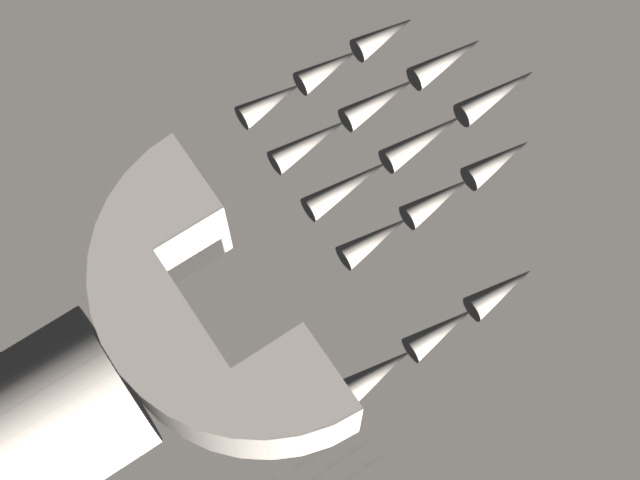
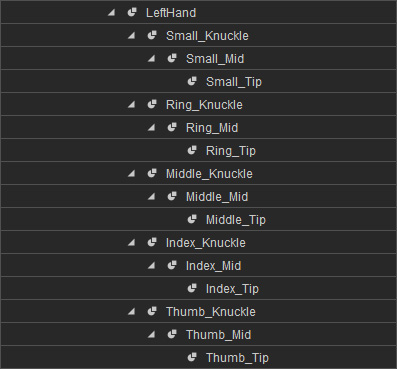
Finger-like prop structure
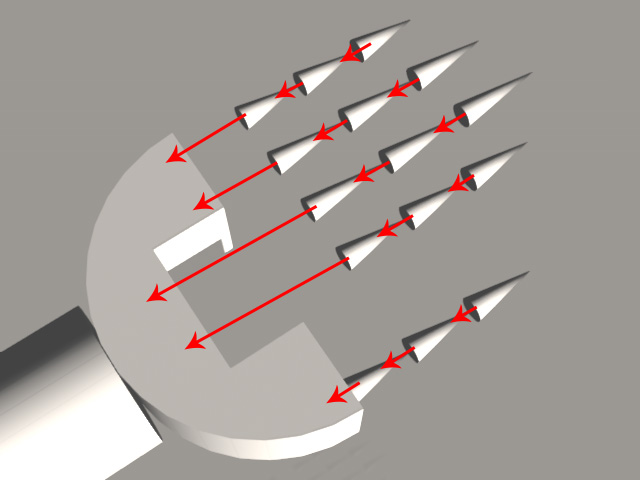
Attach from tips to knuckles
Note
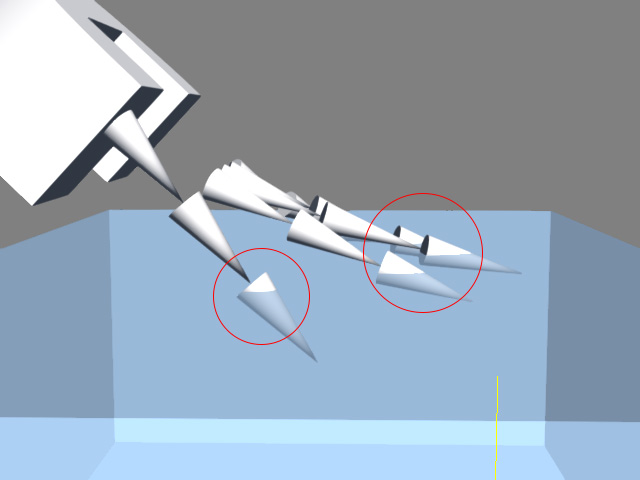
- After you load the structure into Character Creator, the bones' length will be measured in accordance with the distances between the pivots of two adjacent props. However, because there are no props at the fingertips, the lengths of the fingertip bones cannot be determined by Character Creator.
- Basically, even if the lengths of the fingertips are unknown, the gestures and animations of the hand will still work fine. Nevertheless, once the character's animation involves Hand Contact with the terrain, then the fingertips will probably penetrate the ground since the lengths of the bones are left undetermined.
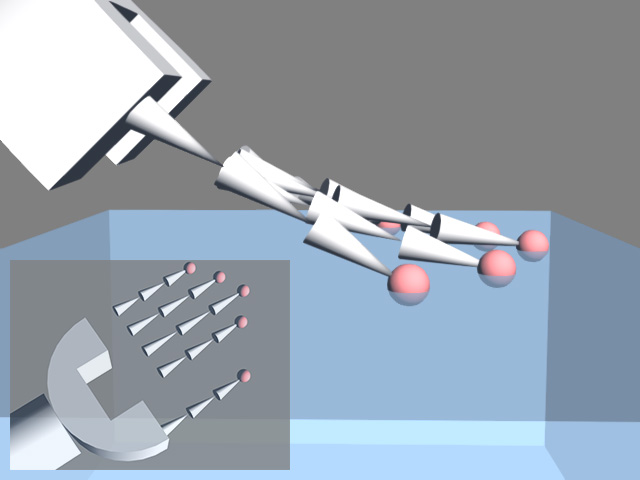
- You can attach more props to the fingertip props to use their pivots to determine the lengths of the fingertips. Please refer to the Mapping Finger Bones and The Regulations for the Contact Planes sections for more information.
Adding Character-like Structure to Library
-
Make sure the Hip node is selected in the Scene Manager.
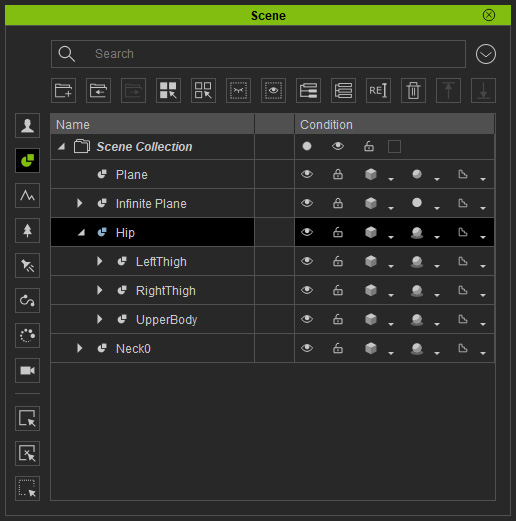
-
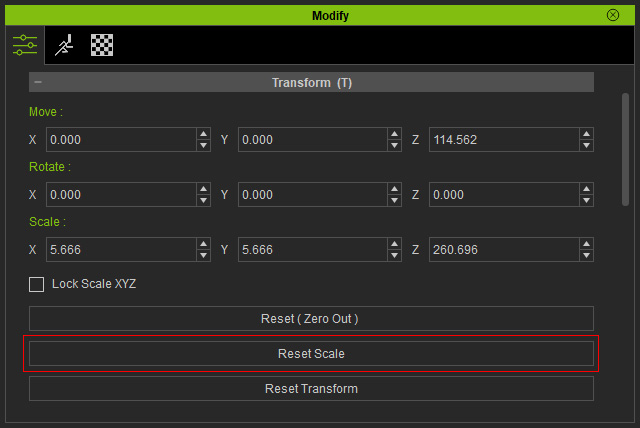
Scroll to the Transform section and click the Reset Scale to initialize the
size for all sub-nodes to prevent bone-structure distortions in the characterization procedure.
-
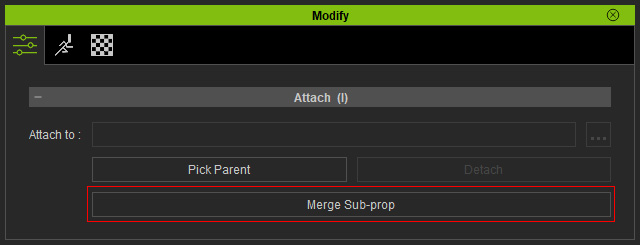
Scroll to the Attach section of the Modify panel. Click the Merge button.
-
Save the merged prop into the Content Manager.
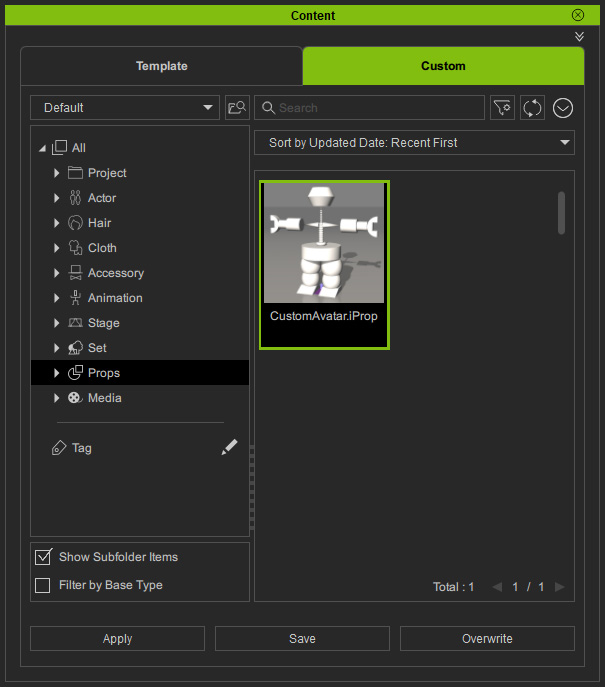
The custom prop, with character-like structure, is now ready to be loaded into Character Creator and be converted into a Humanoid Character.
|
The converted Humanoid character with |

