


Advanced Sculpting for CC1 and CC3 Base Characters
The advanced sculpting method for characters involved with not only the basic sculpting, but also the Displacement and Normal maps exported from ZBrush.
Editing Mesh with ZBrush
- Create a CC1 Base or CC3 Base character.
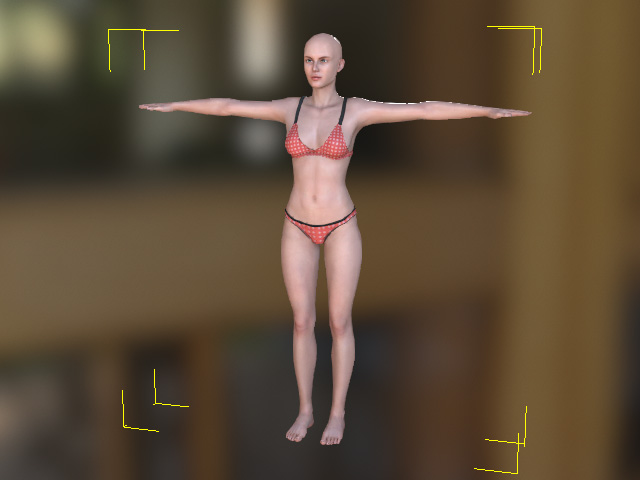
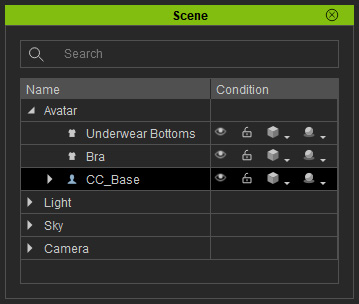
- Select the character from the Scene Manager.
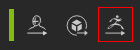
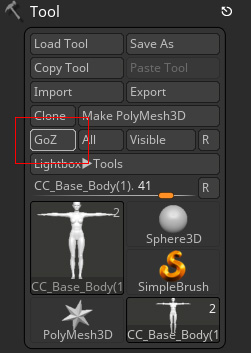
- Click the GoZ button on the toolbar.
Alternatively, access the File menu >> Export >> GoZ command.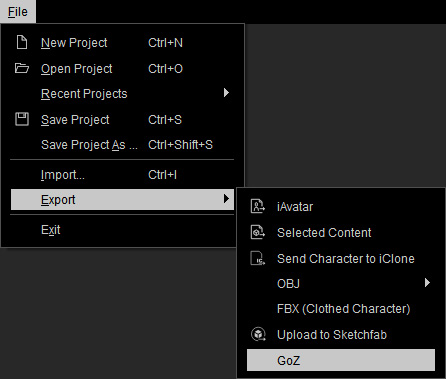
- Click the GoZ button to send the object to ZBrush.
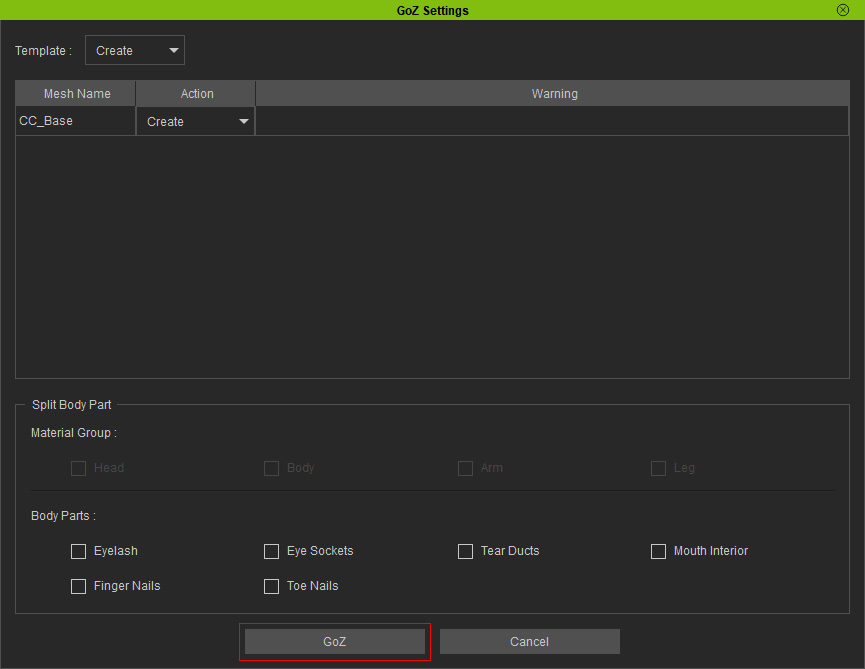
Refer to the GoZ Setting User Interface Introduction section for more information. Note:
Note:The tool files for GoZ feature are stored in the path below (by default):
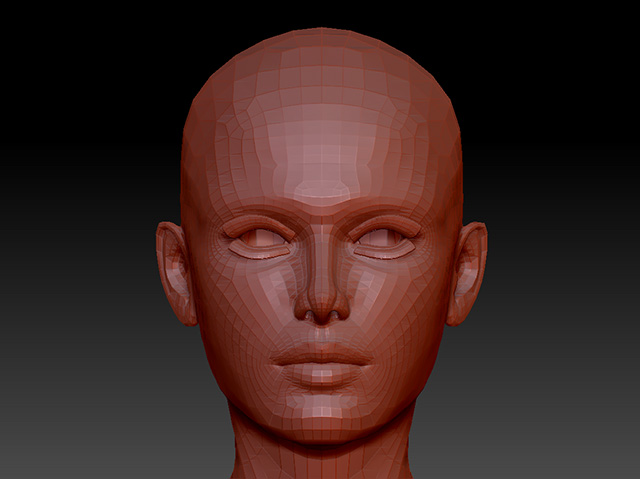
C:\Users\Public\Pixologic\GoZProjects\Default - Paint with the tool on the canvas in ZBrush.
- Subdivide the mesh to at least 3 levels (in this case, SDiv 4) by clicking the Divide button.
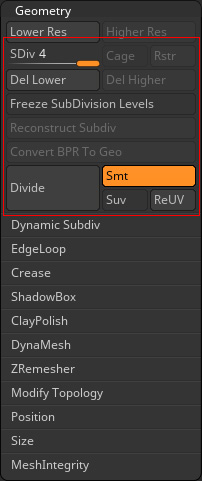
The meshes will be smoothed.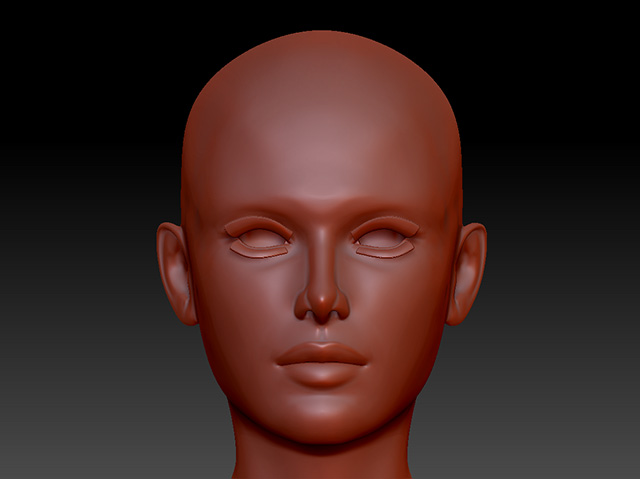
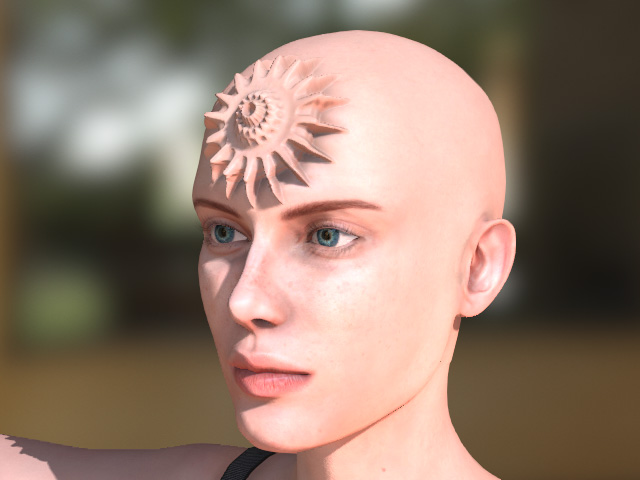
- Use the tools to morph the mesh (DO NOT use the append brushes to add elements onto the meshes)
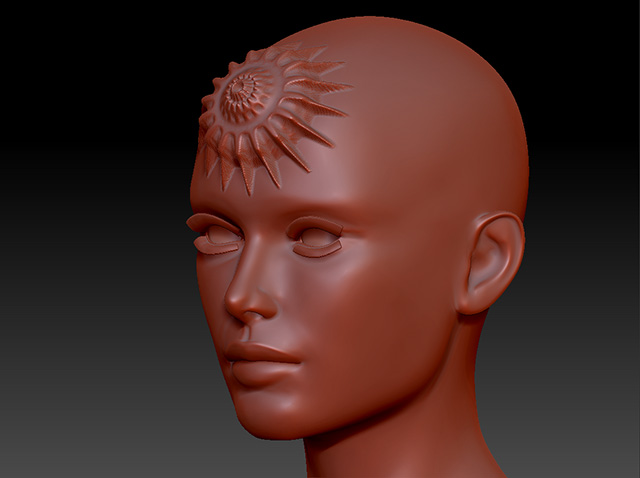
- Drag the subdivision slider (SDiv) to level 1 again, it turns back to the original topology of the mesh.
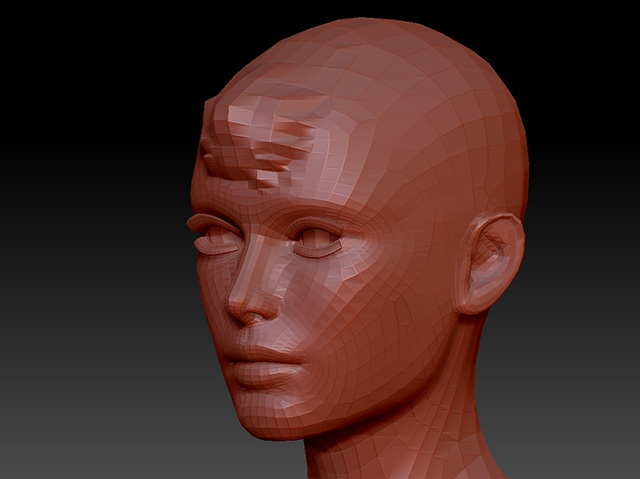
- Press the GoZ button on the ZBrush to send the model back to Character Creator.
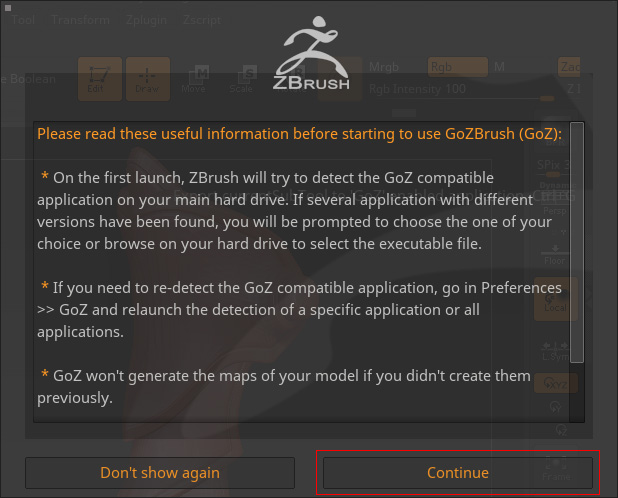
- Click the Continue button in the up coming message box.
- Click the Update button when the dialog box shows in Character Creator.
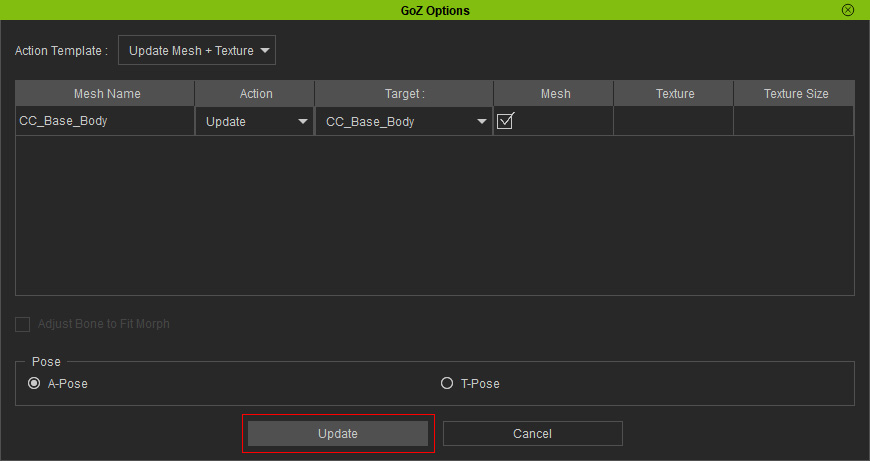
- The character will be updated by the new shape sculpted in ZBrush.
Exporting Normal and Displacement Maps from ZBrush
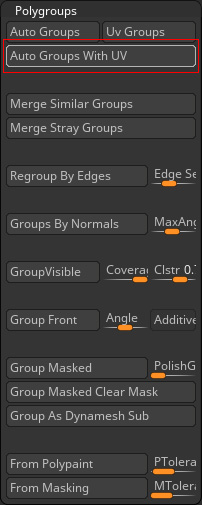
- Switch back to ZBrush, Open the Auto Group with UV
button to divide the mesh into groups according to the original material deployments.
Hold Ctrl + Shift and click on the face to pick the face mesh only.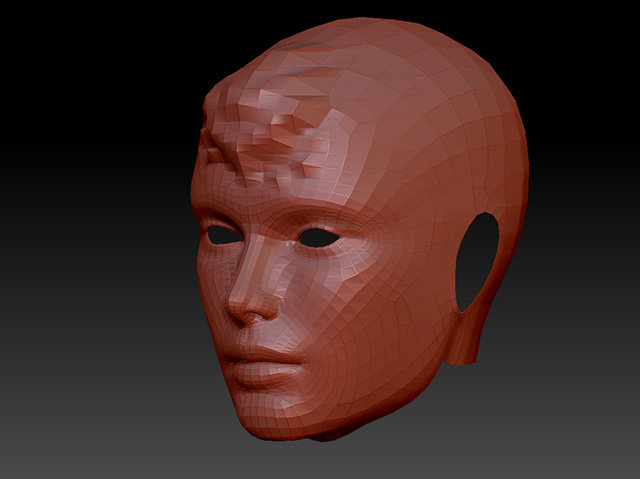
- Open the Displacement Map cabinet and click the Create DispMap button to generate the Displacement map for this mesh.
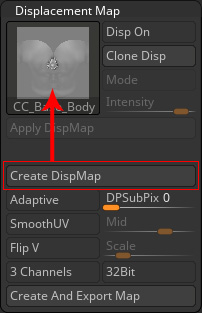
Click the Clone Disp button to load the map to the brush shelf on the left.
- Open the Normal Map cabinet and click the Create NormalMap button to generate the Normal map for this mesh.
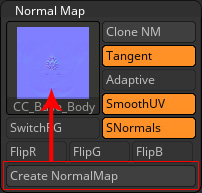
Click the Clone NM button to load the map to the brush shelf on the left.
- Press on the Displacement thumbnail, and click the Export button to save it as a grayscale image.
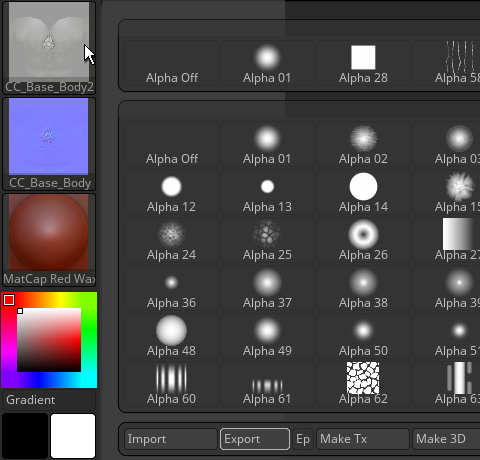
- Press on the Normal thumbnail and click the Export button to save it as a normal map image.
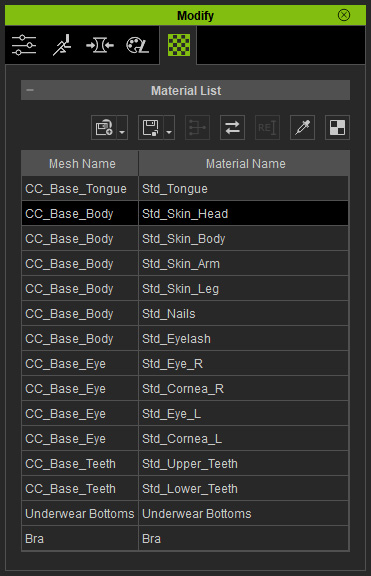
- Go to Character Creator, make sure the character is selected.
- Switch to the Material tab in the Modify panel and select the Head material from the list.
- In the Texture Settings section, load the exported normal map to the Bump channel and the displacement map to the Displacement channel.
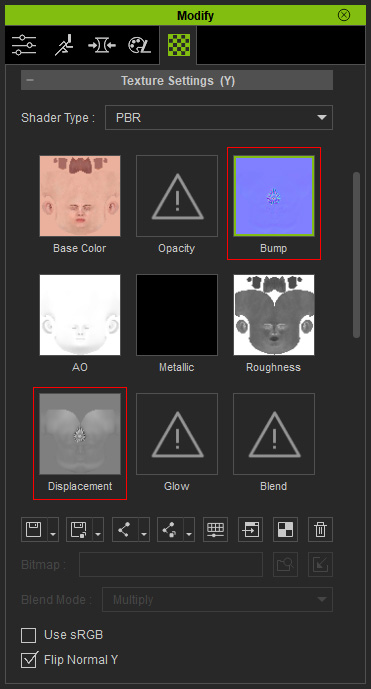
 Note:
Note:- For the Normal map, you may need to activate the Flip Normal Y box in order to have the best bump effect.
- For the Displacement map, you can increase the Strength to enhance the displacement effect.
