Editing Source Maps for Changing Wrinkles (New for v. 4.2)
There are five source maps that underpin the expression wrinkle
system. These maps are editable to swap and modify the wrinkle patterns.
See the Texture-based Details of Expression Wrinkles section for more information.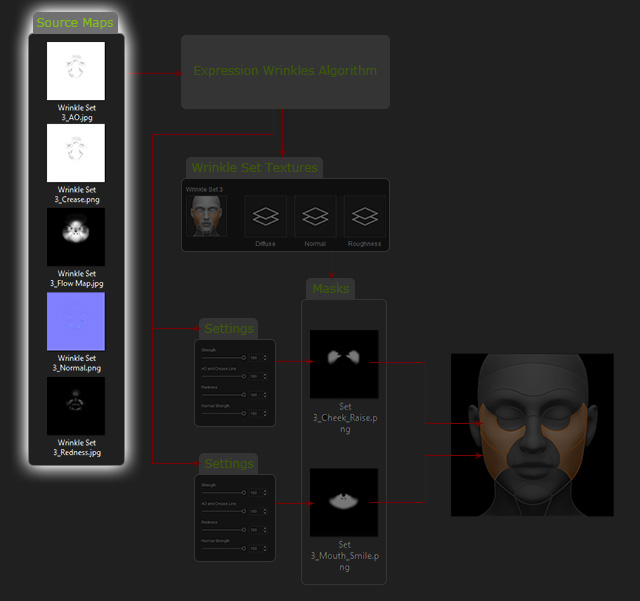
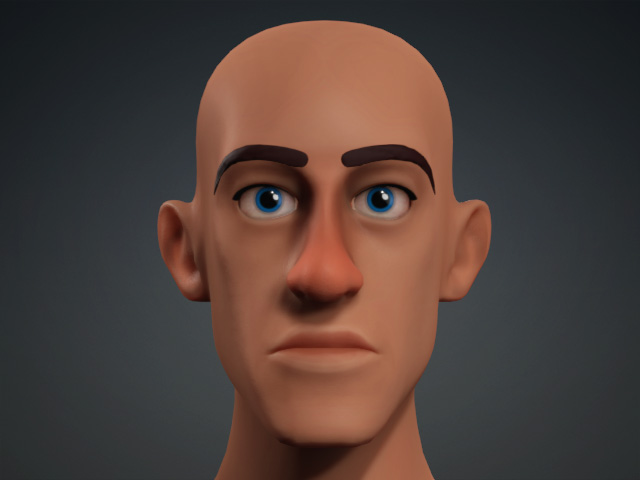
- Create a character with wrinkles applied already.
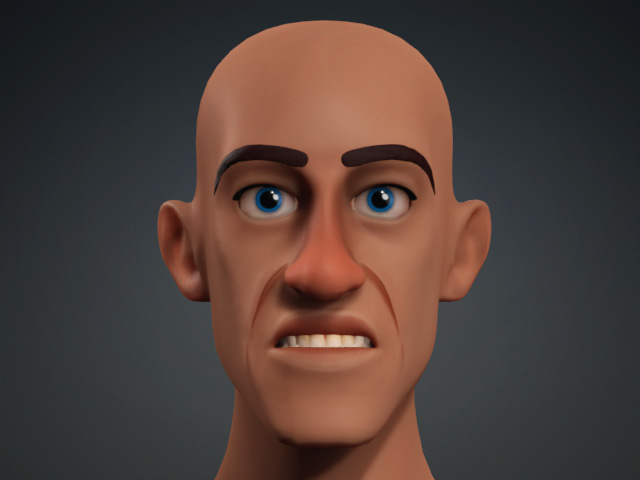
- Make sure Modify > Expression Wrinkles > Regional
Influence > Check with Expression is activated and click on
any region of the face in the pictogram.

- The expression and wrinkles will instantly appear.
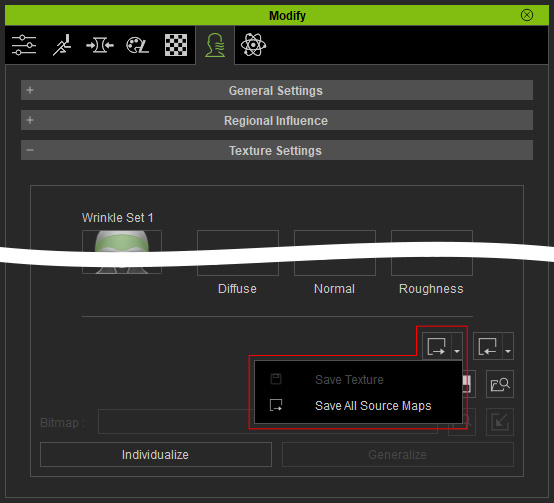
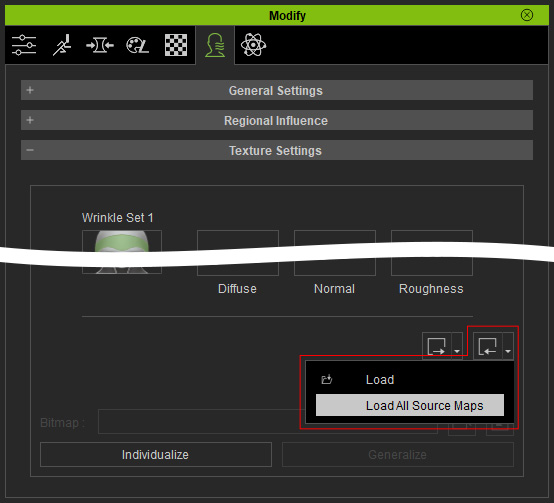
- Click the Save All Source Maps button under
Modify > Expression Wrinkles > Texture Settings to
export all the source maps to a target folder.
- Open the target folder to view the 15 source maps for the three
wrinkle sets.
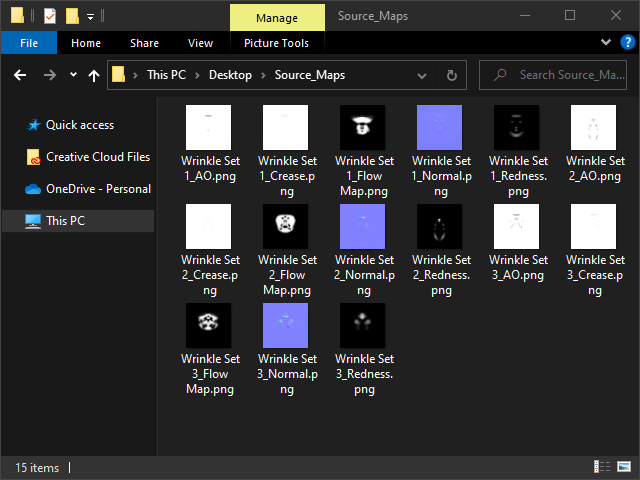
- Based on the blue color of the region we chose to edit in step
2, the set we need to edit is Wrinkle Set 2.

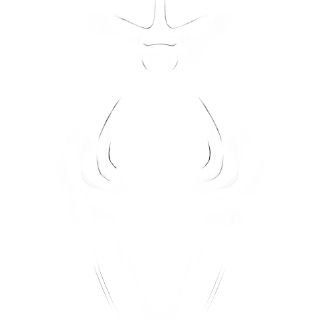
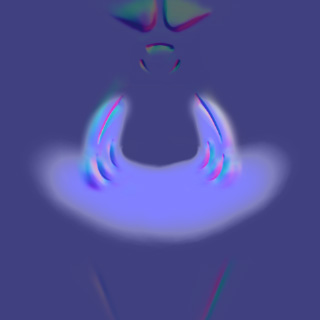
- AO: Used to accentuate the shadows caused the recesses of the wrinkle patterns.
- Crease: Defines the actual wrinkle lines.
- Flow Map: Controls the timing of the wrinkle patterns when they emerge on the face. Lighter areas appear sooner than dark areas.
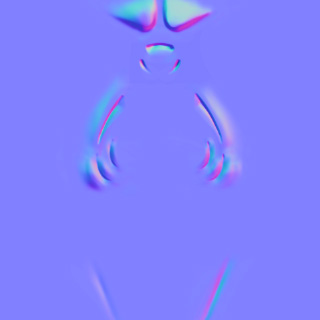
- Normal: Defines the bumpiness of the wrinkles.
- Redness: Controls the way in which skin flushes when expressions are made.
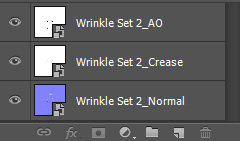
- Open the ao, crease and normal maps in your image editor and layer them
into one document.
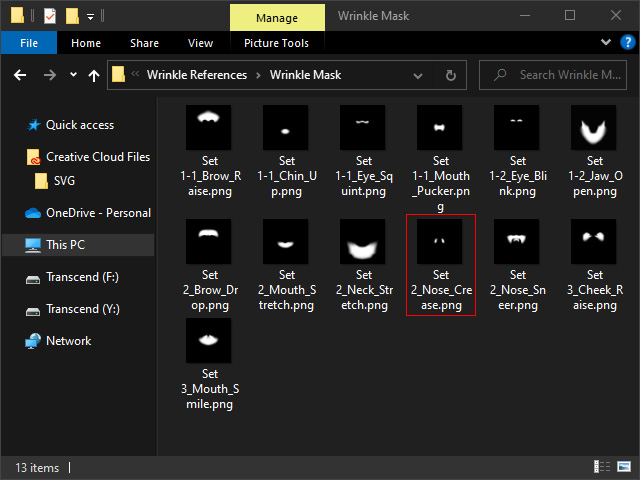
- Go back to Character Creator and find the mask for the region,
e.g., "Set 2_Nose_Crease.png".
- Overlap the mask to the document as the reference layer.
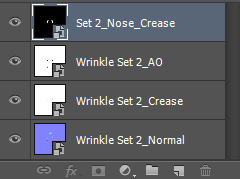
If the wrinkles span across regions, then the corresponding masks will need to be layered as well.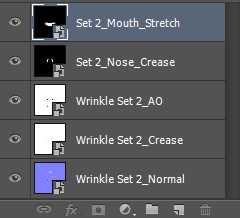
- Edit the three layers based on the mask. Make sure the edits
align perfectly.
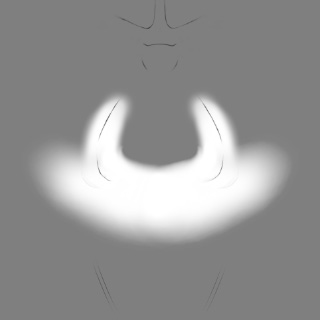
- AO layer:
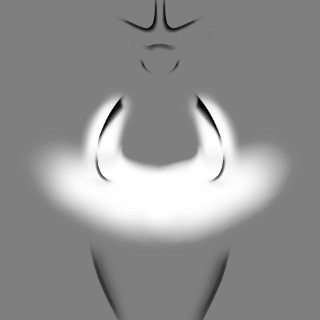

Before (AO with Mask)
After (AO with Mask)
AO without Mask
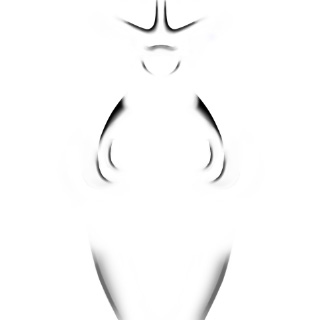
- Crease layer:

Before (crease with mask).
After (crease with mask).
Crease without mask.
- Normal layer:

Before (normal with mask).
After (normal with mask).
Normal without mask.
- AO layer:
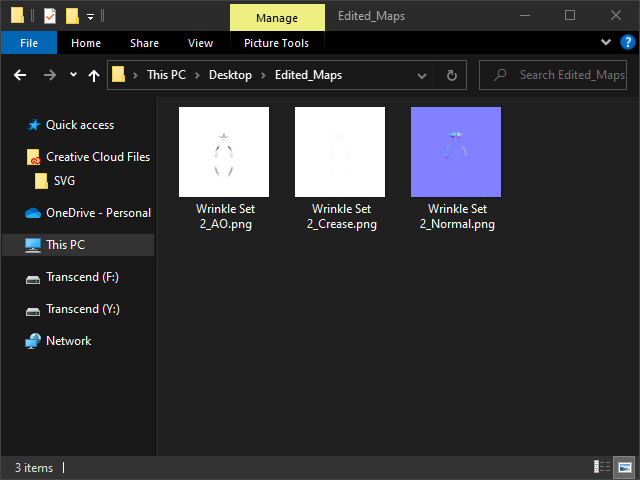
- Individually save these layers to image files in PNG format and
follow the strict guidelines for the naming convention (You can save
them into a new folder or overwrite the ones in the folder for
export).
- Load the source maps back to Character Creator by clicking on
Modify > Texture Settings > Load > Load All Source Maps and select the folder containing the edited maps.
- The wrinkles will be updated instantly.

- Because the parameters are still adjustable, you can also follow the same steps for the rest of the wrinkles on the face. Refer to the Individualization and Generalization section for more information.
