Finding Mask for Texture Editing (New for v. 4.2)
Finding Masks for Regions
In the Relationships between Regions and Wrinkle Sets section, the three wrinkles sets are in charge of different regions on the face delimited by embedded mask textures.
- Verify the color of the desired region for texture-editing in the pictogram.
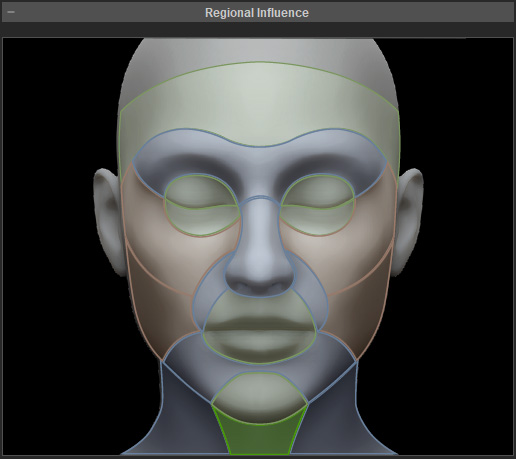
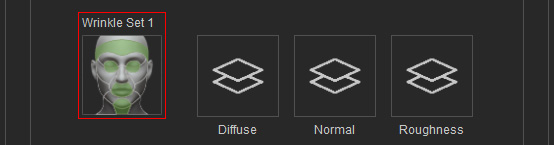
- Determine the target Wrinkle Set by the color (in this case, "Wrinkle Set 1" for
green regions).
- Click the Find Mask button in the Texture Settings section to
browse the mask folder.

- You will be led to a directory with one folder and four PNG image files.
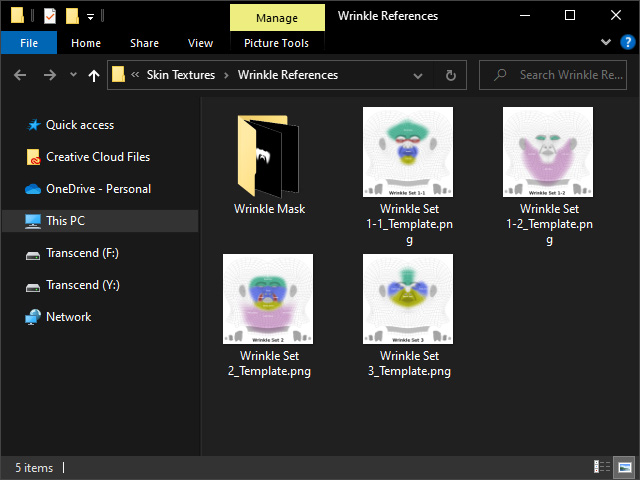
- Browse through the image files to find the expression for specific facial features. In step 1, the target region is the jaw, while in step 3, the target wrinkle set is 1.
Therefore, the Jaw_Open in the "Wrinkle Set 1-2_Template.png" is the target mask.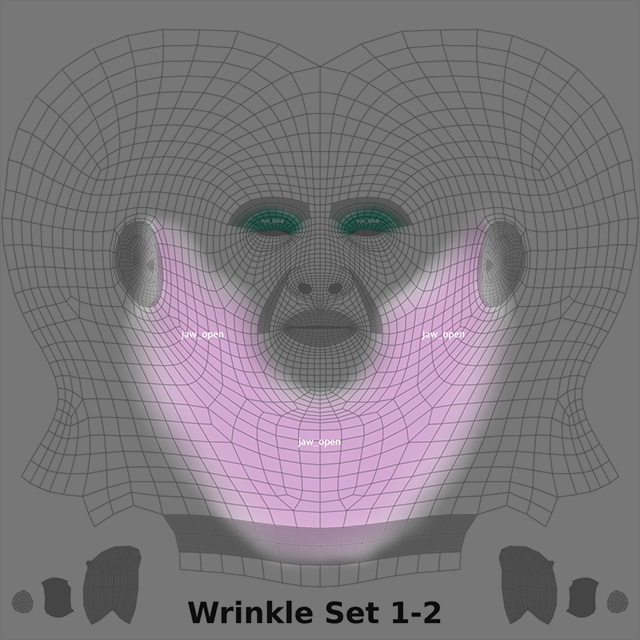
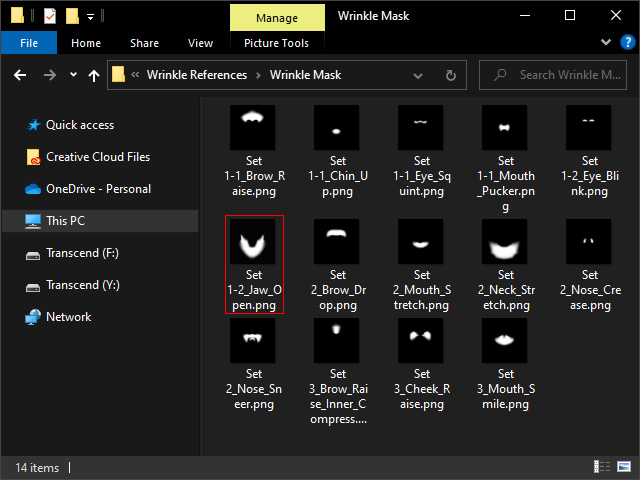
- Open the "Wrinkle Mask" folder. You will find mask files belonging to the three wrinkle sets.
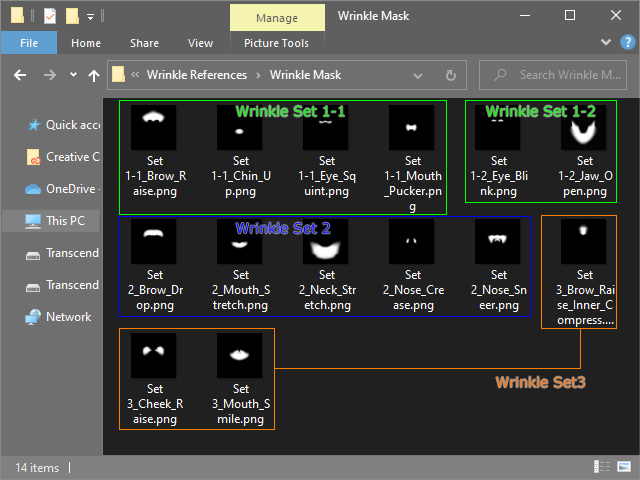
- According to step 5, search for the mask file whose name matches
the one composed of the wrinkle set and the region names, e.g., "Set 1-2_Jaw_Open.png".
Refer to the Mappings of Regions and Mask Files for more information. - When you want to edit the source maps, adjust the wrinkle set textures or exchange the wrinkle set textures, this file can be taken as the reference for editing.
