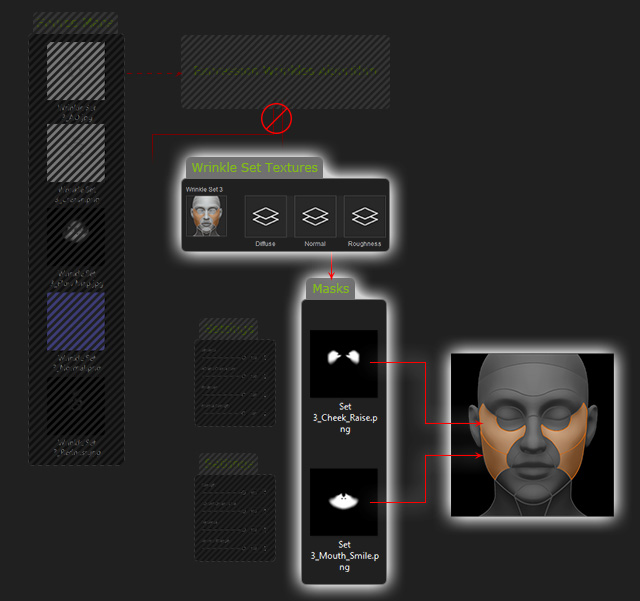
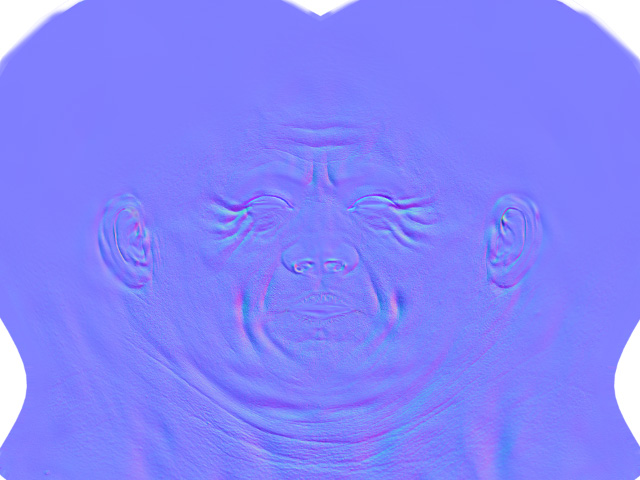
Adjusting Wrinkles by Editing Wrinkle Set Textures (New for v. 4.2)
By editing the wrinkle set textures and
using masks as references, you are able to customize the wrinkle appearance of specific regions with
an image editor. See Texture-based Details of Expression Wrinkles section for more information.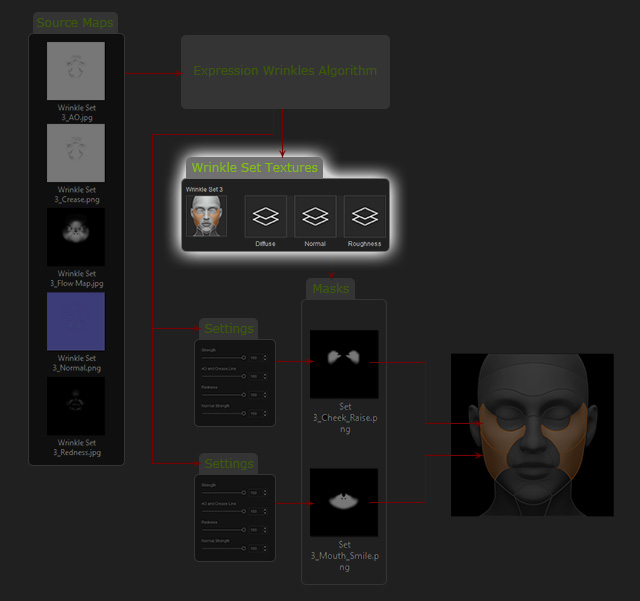
- Create a character with wrinkles
already applied.
- In the Texture Settings section, click the
Individualize button to obtain the texture for the
selected channel for editing.
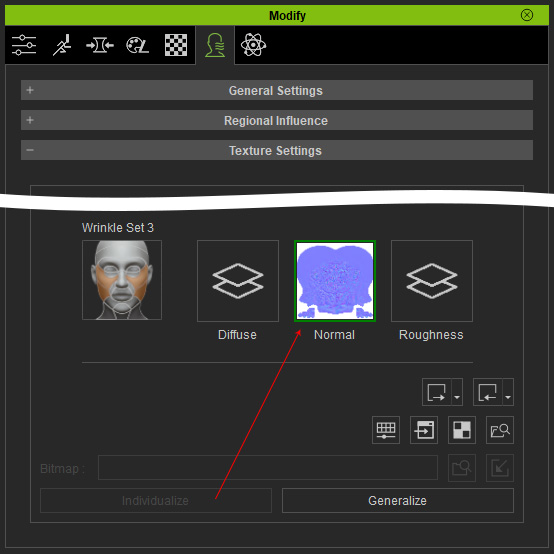
- Click the Launch button to export the texture to your image editor.

- In this case, you will see the normal texture open in the image
editor e.g., Photoshop.
- Find the suitable mask texture files.
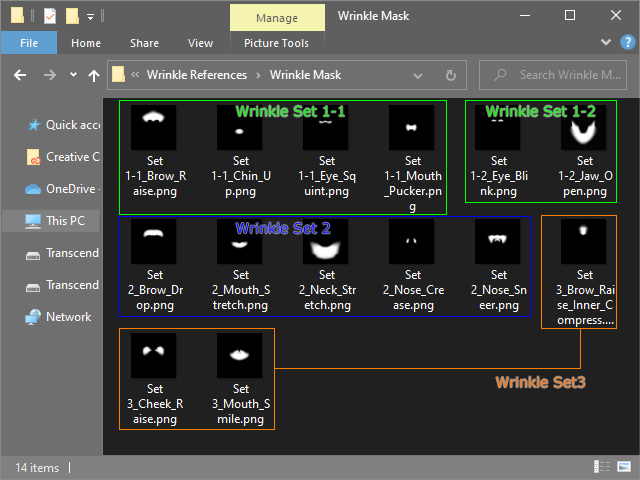
- Overlap the mask on top of the texture to visualize the region,
e.g., "Set 3_Mouth_Smile.png".
- Edit the texture in the region.
- Remove the mask layer and merge the entire texture. Save the document.
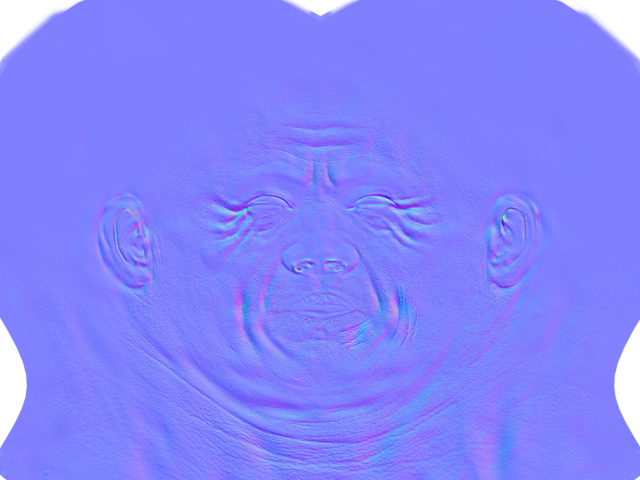
- The edited result can be instantly seen in Character Creator.

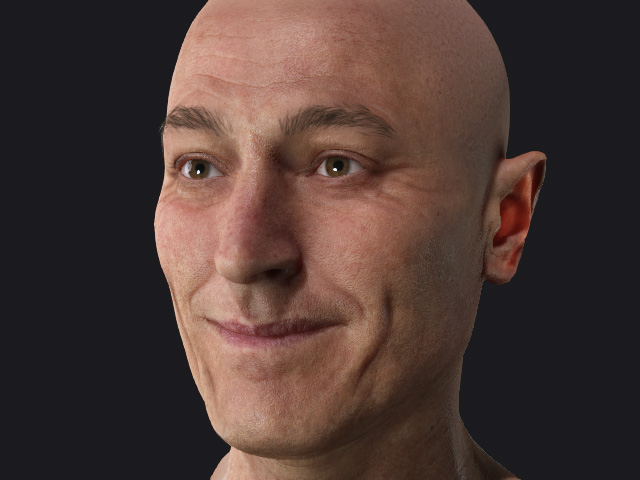
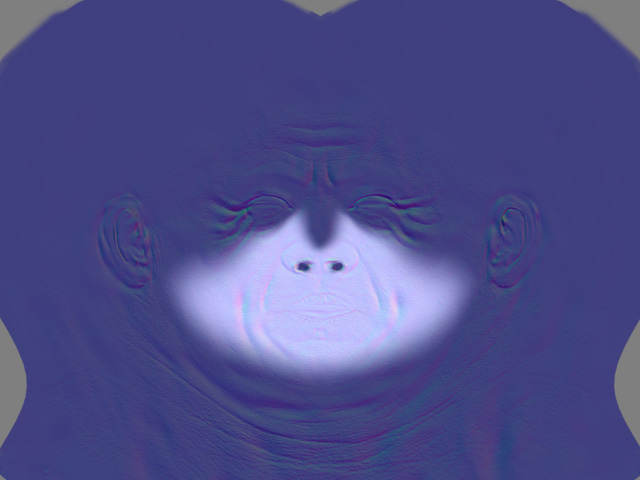
Before
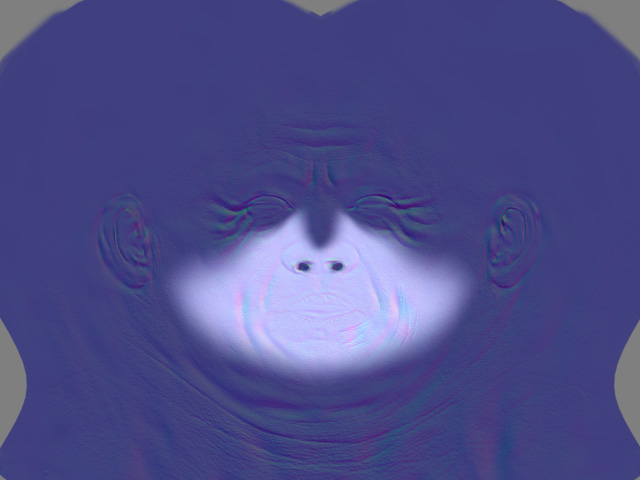
After
- After performing these steps, the original composite flow is
broken and parameters
for the regions no longer take effect.