Exporting Motions to BVH (New for v. 4.4)
BVH (Biovision Hierarchy) files were originally character animation files created via motion capture devices. It is widely used in the animation community for humanoid motions.
Character Creator also supports the export of BVH files so that you can convert all Reallusion standard character motions (*.iMotion, *.iMotionPlus, *.rlMotion, *.rlPose) for other 3D tools (such as Blender, DAZ 4, and so on) that also support BVH file format.
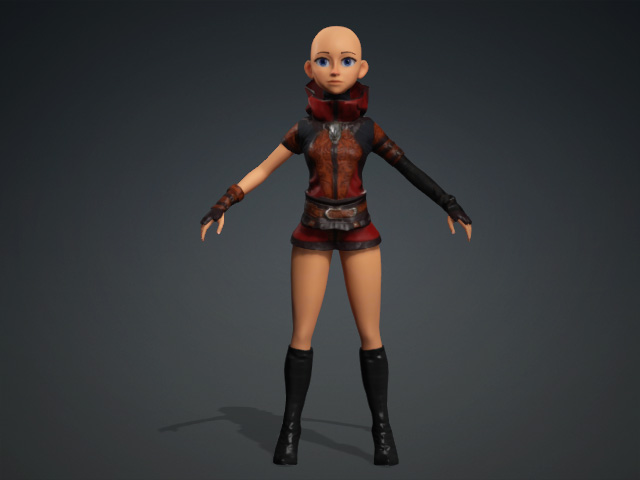
- Add a character to a new scene.
- Specify the source motions.
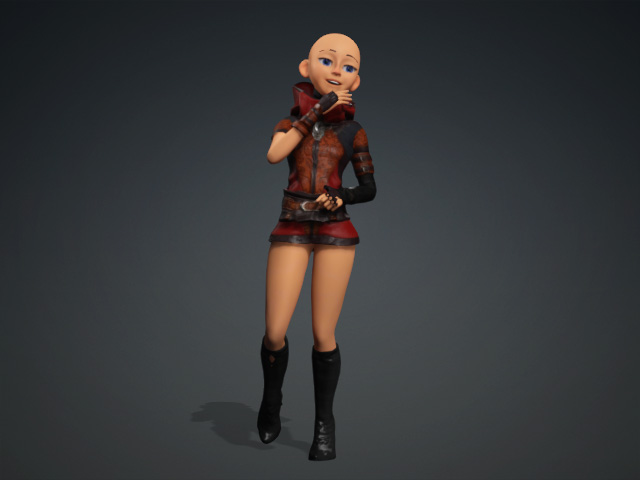
- Applying Motion: If you want to export only one motion after previewing, then simply apply a motion (*.iMotion, *.iMotionPlus, *.rlMotion, *.rlPose) to the character (by applying templates or importing motions).
- Adding
motions to the Perform List: If you want to batch-export motions without previewing, then add the motions to the Perform List.

- Applying Motion: If you want to export only one motion after previewing, then simply apply a motion (*.iMotion, *.iMotionPlus, *.rlMotion, *.rlPose) to the character (by applying templates or importing motions).
- Make sure the character is selected and perform File > Export > BVH.
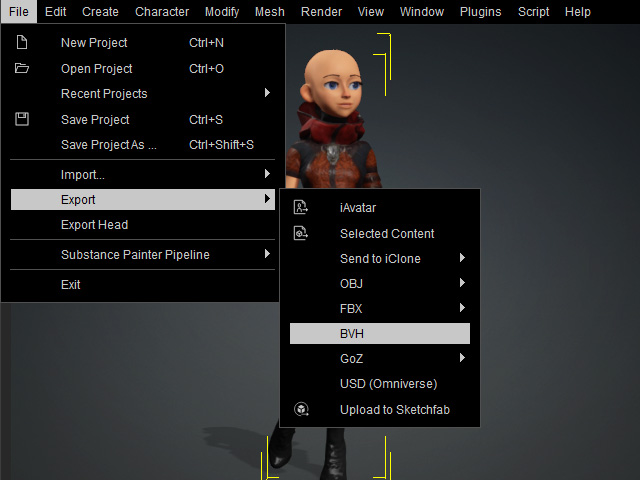
- The Export BVH panel will appear.
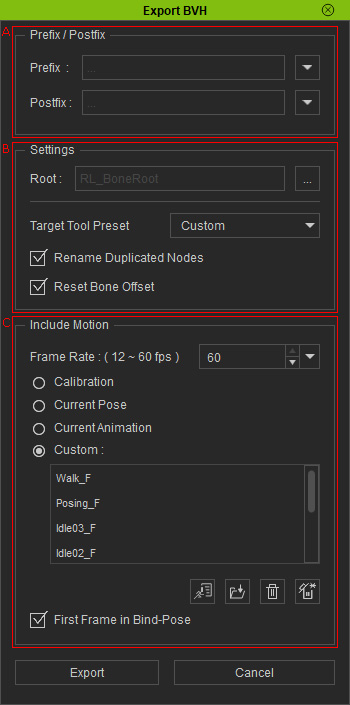
- Prefix /
Suffix:
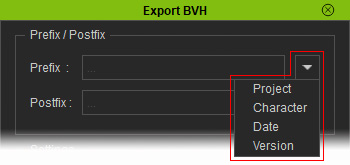
- You can specify the desired string to the BVH file name.
- Click the drop-down list to
change the embedded strings.
- Settings:
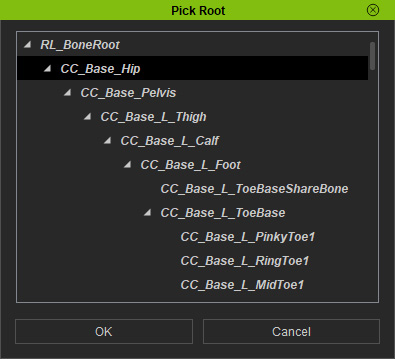
- Click the
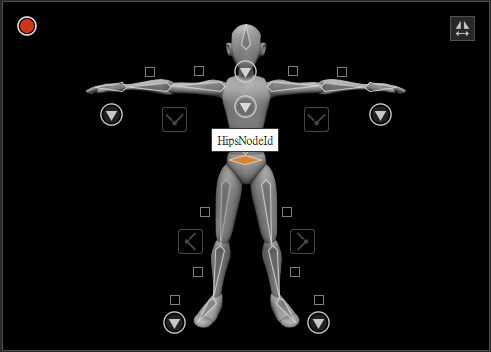
... button to designate one bone as the motion root in the
Bone panel. Basically, you need to select the bone that is mapped to the
"Hips" node of the dummy in the characterization mode.
- Target Tool Preset: You are able to select the adequate preset for Blender from the
Target Tool Preset drop-down list.
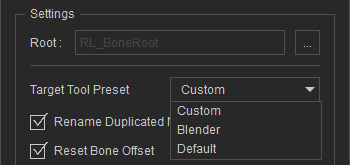
- Rename Duplicated Nodes: If more bone nodes in your model contain identical names, the exported BVH files will be blocked from loading by Blender. Activate this checkbox if your target 3D tool is Blender.
- Reset Bone Offset:
Also activate this checkbox if your target 3D tool is Blender in order to produce a normal bone appearance in Object and Pose Modes, as well as a correct bone structure in the Edit Mode of Blender.
Blender Object/Pose mode
Blender Edit mode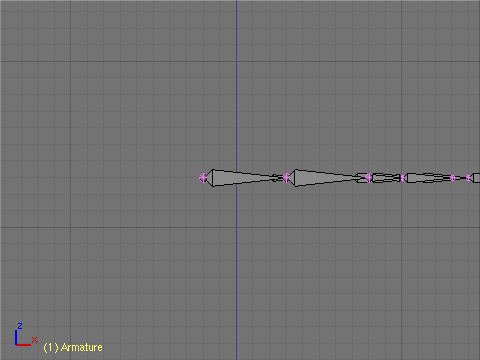
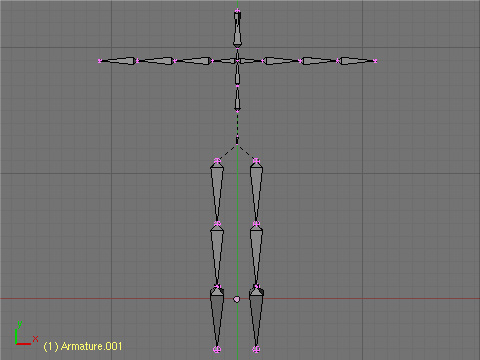
Reset Bone Offset = Off
Reset Bone Offset = On
 More
about the Blender Bone Structure
More
about the Blender Bone Structure-
You can directly use the loaded bone structure with
animation in Blender. However, if you want to use a
custom bone structure (called "Armature" in Blender), then you must map the loaded bone to the armature structure.
Refer to the tutorial below for more information:
Blender Motion Capture Addon - Tutorial 1 - Basic Retargeting - The bones for the BVH motion data that must be mapped are shown below:
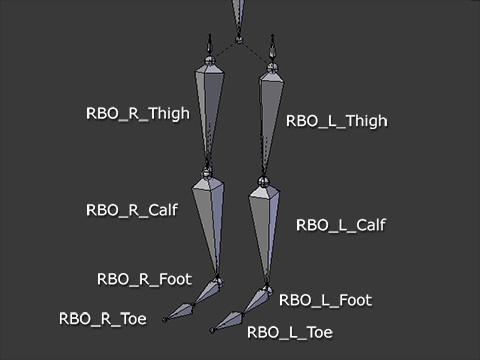
Feet
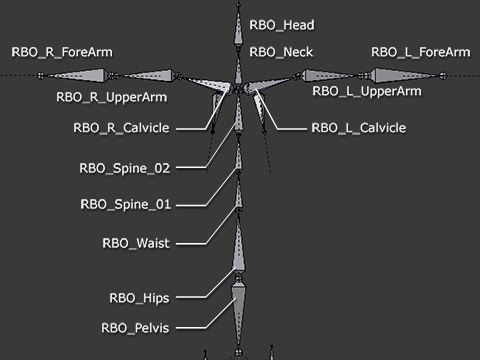
Spine, Neck, Head and Arms
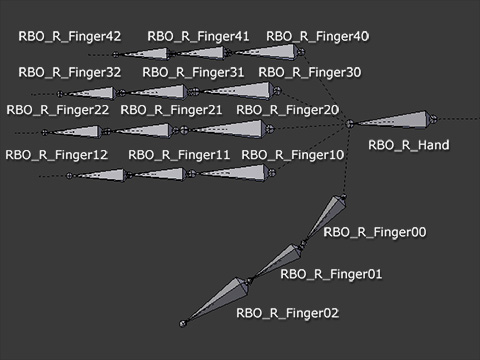
Right Hand and Fingers (Optional)
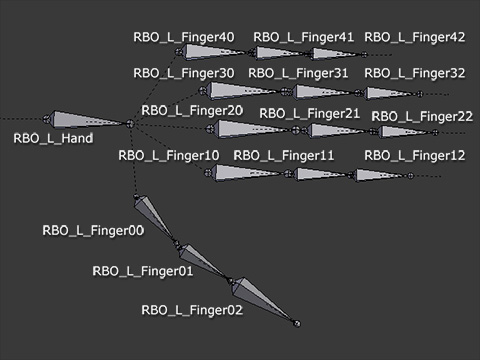
Left Hand and Fingers (Optional)
- Click the
... button to designate one bone as the motion root in the
Bone panel. Basically, you need to select the bone that is mapped to the
"Hips" node of the dummy in the characterization mode.
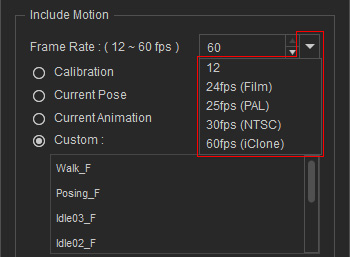
- Include Motion:
- Frame Rate: You can manually type in a number to define the frame rate for sampling the motion
to BVH data (also by selecting a number from the drop-down list to set the sampling rate).
Higher numbers equate to more fidelity.
- Calibration: Exports the calibration motion to BVH.
- Current Pose: Exports only the character's current pose on the view port.
- Current Animation: Exports the entire character motion you add in step 2-a to BVH.
- Custom: Exports the motions in the lists to individual BVH files. The items in the list can be from:
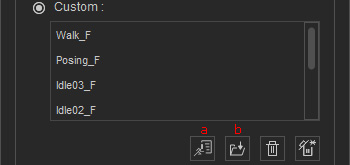
- Load Perform: Loads the motions you included into the perform list in step 2-b.
- Open File: Opens the desired motion files into the list.
- Frame Rate: You can manually type in a number to define the frame rate for sampling the motion
to BVH data (also by selecting a number from the drop-down list to set the sampling rate).
Higher numbers equate to more fidelity.
- Prefix /
Suffix:
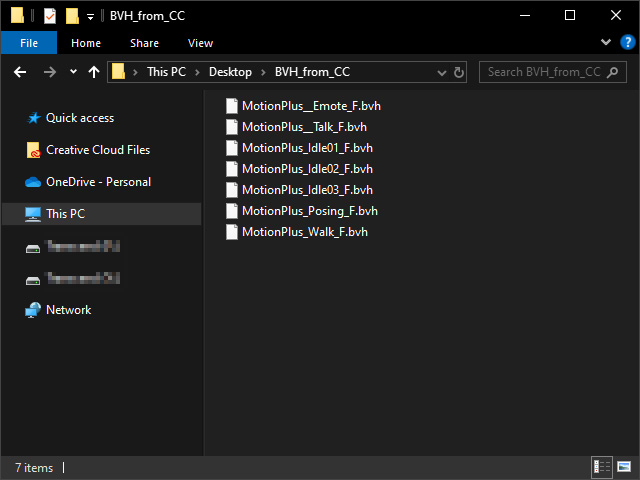
- Click the Export button, choose a folder and type in the file name.

- Click the Save button and the motions will be converted to BVH files according to the settings.
-