Converting DAZ Studio FBX to CC Characters with Mesh and Normal Details
In the Converting DAZ Studio FBX to CC Characters with Mesh Details in Advanced Mode section, an OBJ file can compensate for the FBX's lack of surface detail, though only up to Subdivision Level 2. If a DAZ Studio character possesses surface details beyond Level 2, this additional information can be calculated from the differences between High and Low-poly OBJ models and then baked into a normal map.
In Advanced Mode, Character Creator automatically searches for and loads a comprehensive set of textures (including Normal, Specular, etc.) from the source folders.
The following steps use a DAZ Studio G8 character as an example.
Exporting Character from DAZ Studio - FBX
- Create a character in DAZ Studio, including all morphs and clothing.
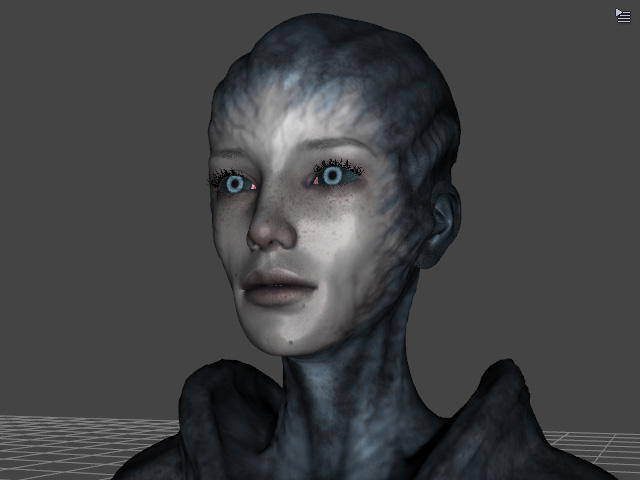

Close Up
Full Body
- In Character Creator, select the appropriate A-pose for the DAZ Studio character based on your requirements.You will see the A poses compatible to CC 3+ and CC5 HD characters for DAZ Studio characters.
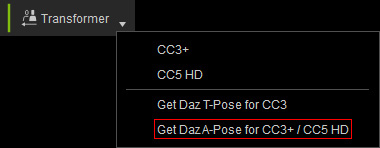
- Transformer Toolbar: select Get Daz A-Pose for CC3+ / CC5 HD from the menu.
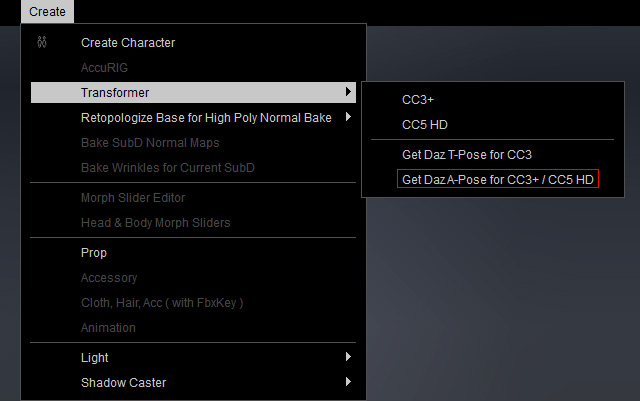
- Create Menu: Select the A or T poses from the Create > Transformer > Get Daz A-Pose for CC3+ / CC5 HD menu.
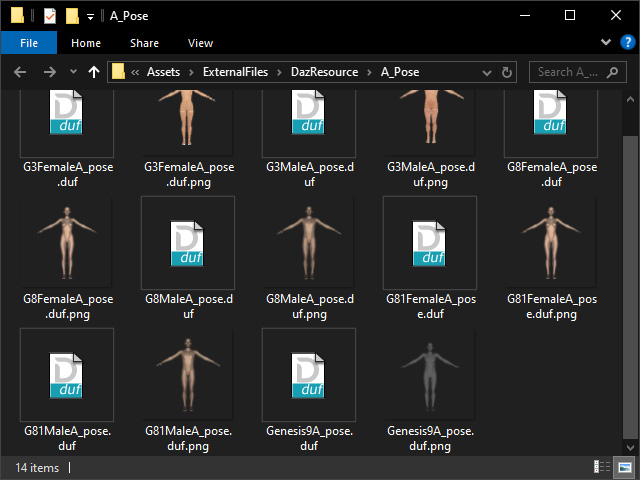
 (The compatible A-poses are located at: C:\Program Files\Reallusion\Character Creator 5\Program\Assets\ExternalFiles\DazResource\A_Pose).
- Transformer Toolbar: select Get Daz A-Pose for CC3+ / CC5 HD from the menu.
- Drag and drop the suitable A-pose for the current DAZ Studio character (e.g., G8FemaleA_pose.duf).
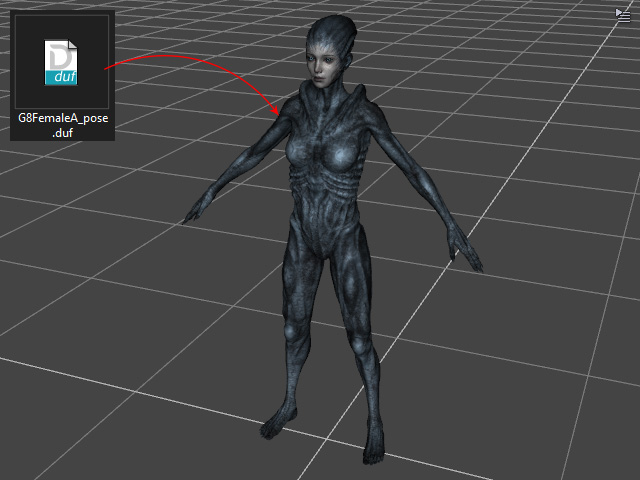
- In the Apply Pose Preset panel, select the character and click Accept.
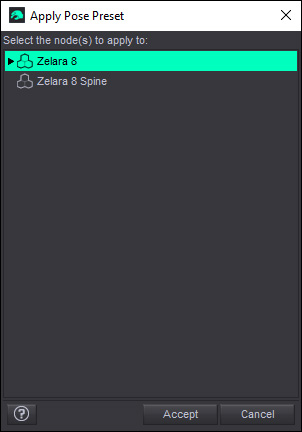
The character will assume the A-pose and be ready for export.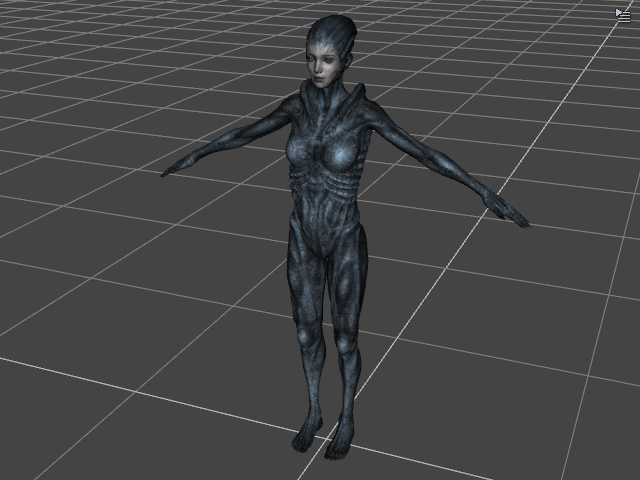
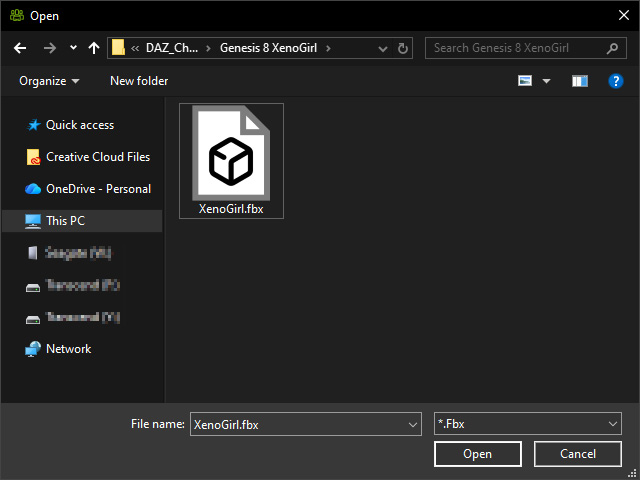
- Export the FBX using the settings shown in the illustration (FBX 2012 -- Binary is required).
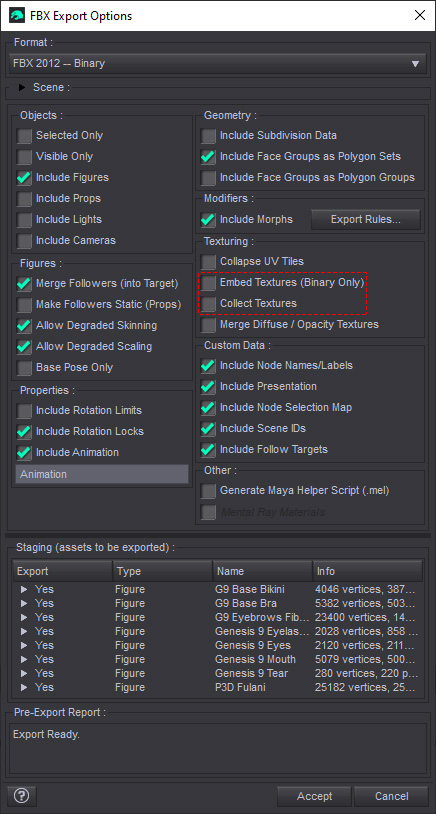
* Ensure that the "Embed Textures" and "Collect Textures" checkboxes are deactivated. - Save the character as an FBX file.
Exporting Character with Mesh Details - OBJ
Since the FBX lacks surface bump details, you must export a separate OBJ model to capture these details for the CC Transformer.
- Select the character from the Scene > Outline panel.

- In the Parameter panel, select the character body, eyes, eyelashes, and mouth (teeth), then set the View SubD Level to 2 (corresponding to SubD Level 2 for CC characters).

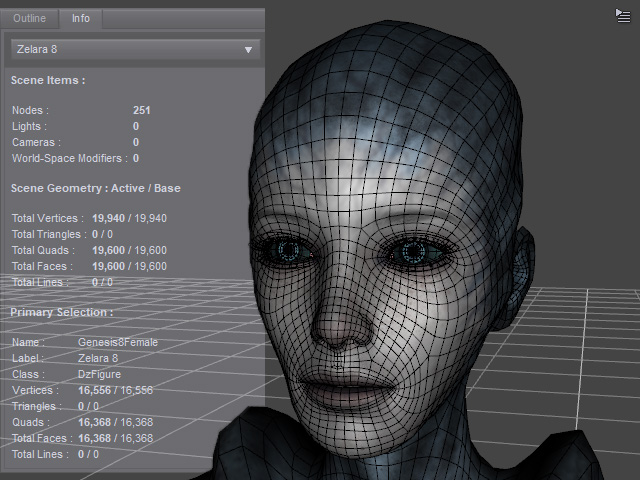

SubD Level = 0
SubD Level = 2
- Export the OBJ using the settings shown in the illustration and click Accept.
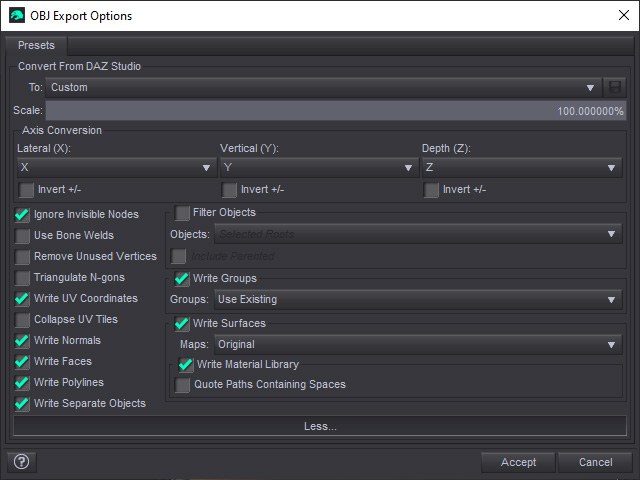
- Save the character as an OBJ file.

Exporting Character with Low and High Mesh Details - OBJ
To preserve details higher than SubD Level 2 when converting a DAZ character to CC, you must bake those higher-level details into a normal map, as CC is limited to a maximum of Level 2 for geometry.
- In DAZ Studio, find the suitable UV Prep Poses by the Smart Content panel.

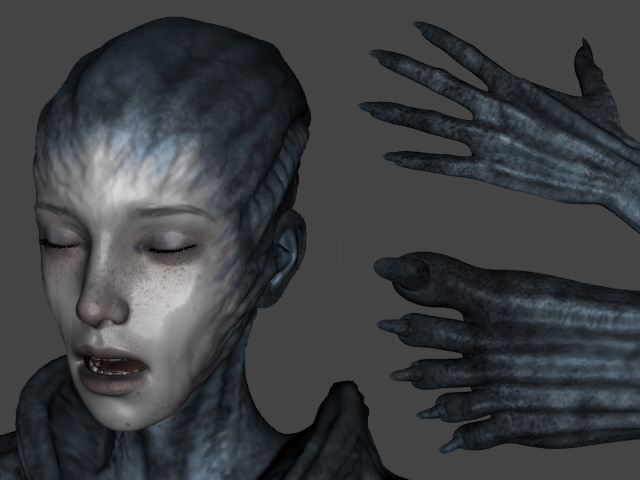
- Apply the UV Prep Pose to ensure the character's eyes are closed and the mouth, fingers, and toes are positioned correctly for optimal normal map baking.
- In the Parameter panel, ensure the View SubD Level for the character, eyes, eyelashes, and mouth (teeth) is set to 2.
- Export this as an OBJ file using the shown settings and click Accept.
- Save the character as a "Low-poly" OBJ file.

- In the Parameter panel, increase the View SubD Level for the character, eyes, eyelashes, and mouth (teeth) to your desired higher value (e.g., Level 3 or 4).
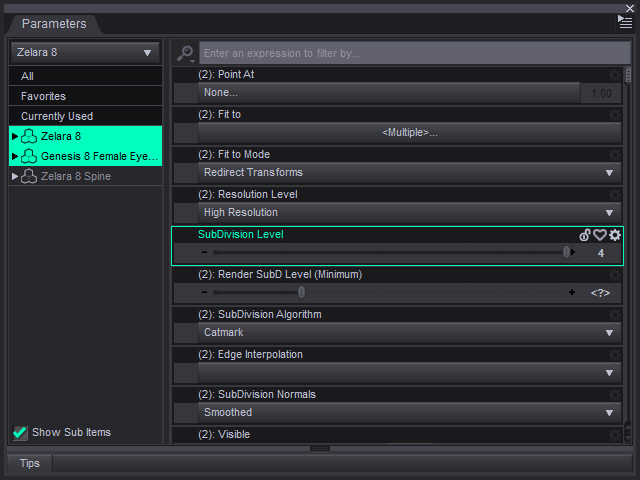
- Export the character again in OBJ format and save it as a "High-poly" OBJ file.

Importing into Character Creator
After completing the steps in the previous sections, you should have four essential files: a Level 0 FBX, a Level 2 mesh detail OBJ, two OBJ files (High and Low) used to calculate surface differences, and the MTL file exported with the OBJ (not required).
- Launch Character Creator 5 and start the Transformer feature.
- Transformer Toolbar: Select CC3+ or CC5 HD from the menu.
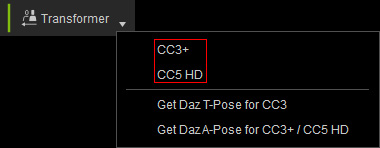
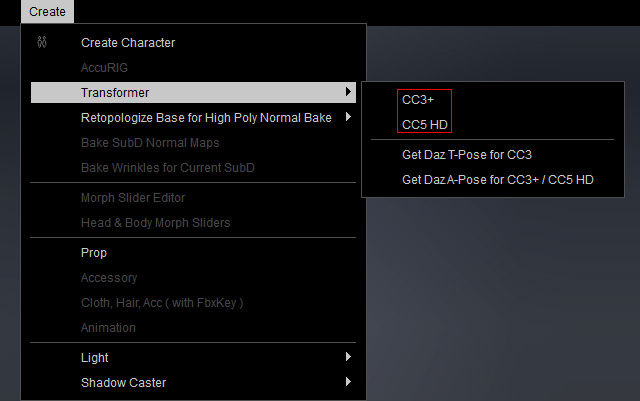
- Create Menu: Select CC3+ or CC5 HD from the Create > Transformer menu.
- Transformer Toolbar: Select CC3+ or CC5 HD from the menu.
- Select the Level 0 FBX and click Open.
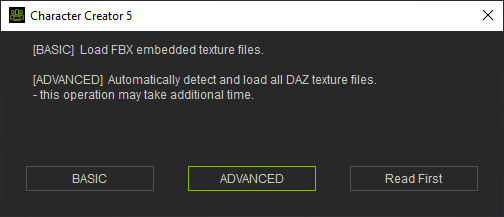
- In the dialog box, click ADVANCED button, Character Creator will automatically search for textures based on the character's material settings in DAZ Studio.
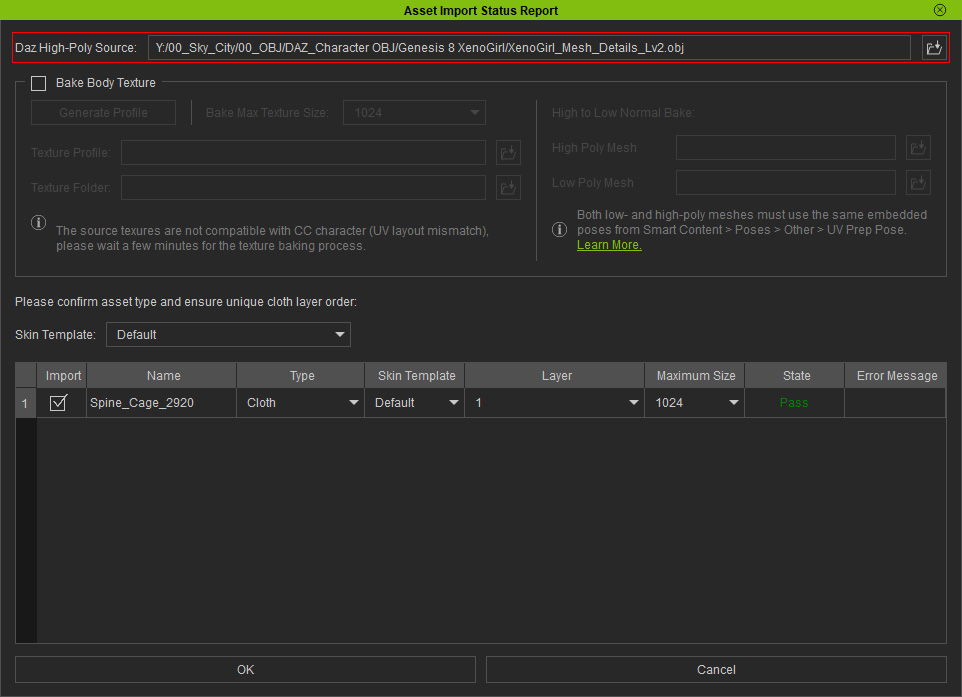
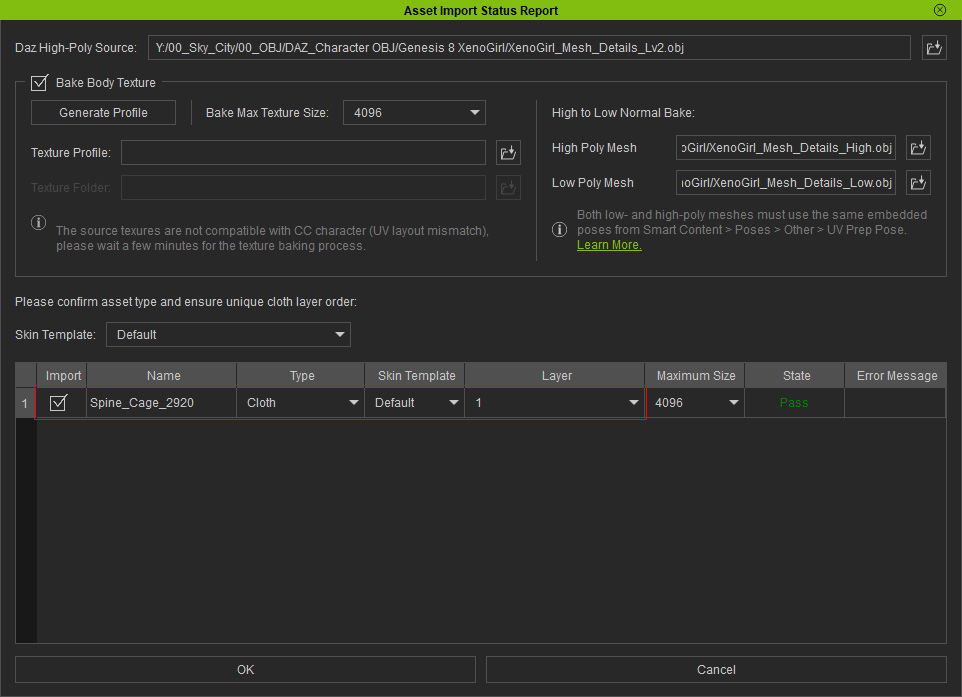
- In the Asset Import Status Report panel, load the Level 2 OBJ file into the DAZ Studio High-Poly Source field.
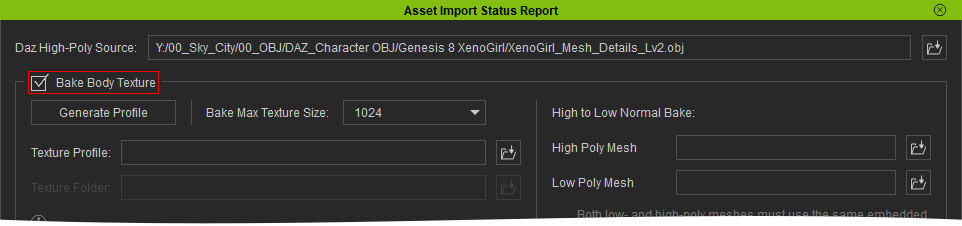
- Activate Bake Body Texture to apply DAZ Studio textures to the character's skin, eyes, eyelashes, teeth, and nails. Character Creator will automatically search for textures based on the character's material settings in DAZ Studio.
You can set the baked texture resolution using the Bake Max Texture Size drop-down list.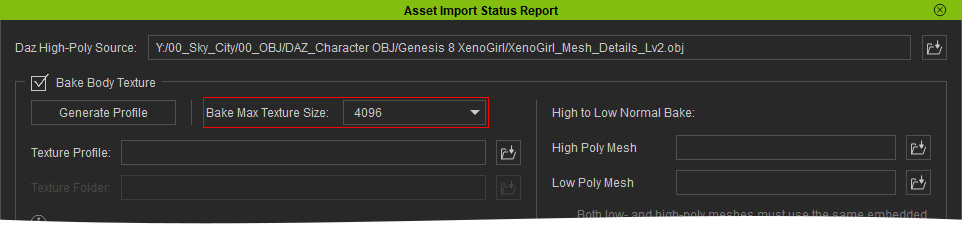
 Importing Complete Textures
For a more comprehensive texture import, fill in the Texture Profile (*.ini) and Texture Folder fields.
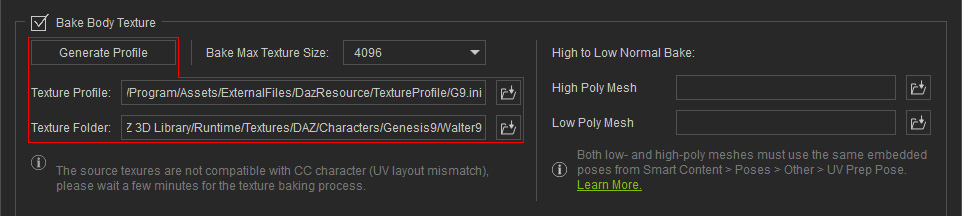
For detailed instructions, please refer to the Using INI for Loading All Body Texture section. - Load the high-level OBJ into the High Poly Mesh field and the low-level OBJ into the Low Poly Mesh field.

- Identify the asset types in the Asset Import Status Report panel.
 Note:
Note:- Typically, the Hair type must be selected manually.
- Tear Object (CC Tearline): This item can either be set to the Hair type or deactivated entirely.
- To set as Hair: Select "Hair" from the Type drop-down menu.

- To deactivate: Uncheck the item in the Import column.

- To set as Hair: Select "Hair" from the Type drop-down menu.
- Click OK to import the character and its assets. The DAZ Studio character is now successfully converted.
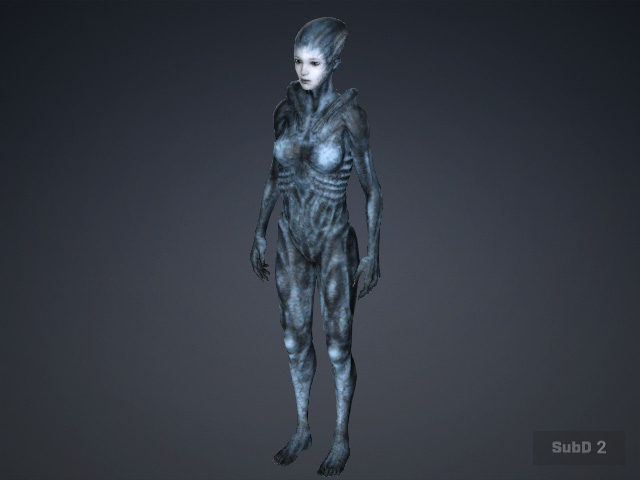
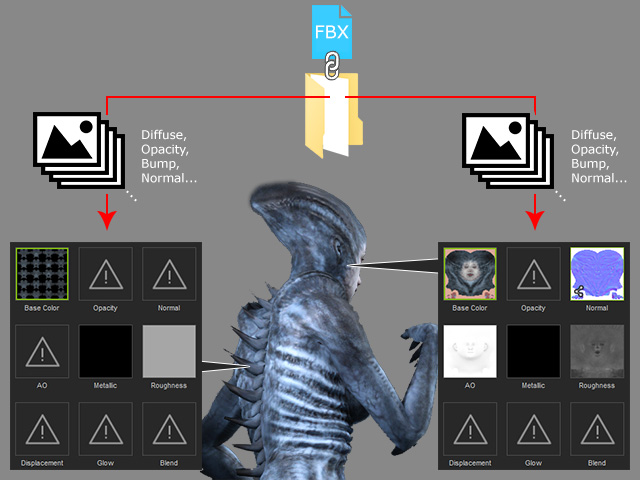
- All identified texture maps (including Diffuse, Opacity, Normal, Roughness, Metallic, etc.) will be auto-loaded. The default folder path is: C:\DAZ 3D\Applications\Data\DAZ 3D\My DAZ 3D Library\Runtime\Textures\...
 Note:
Note:The empty Metallic and Roughness channels will be filled up automatically with default textures by Character Creator.
- Mesh:
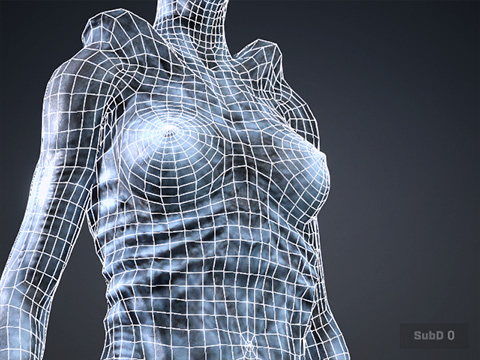
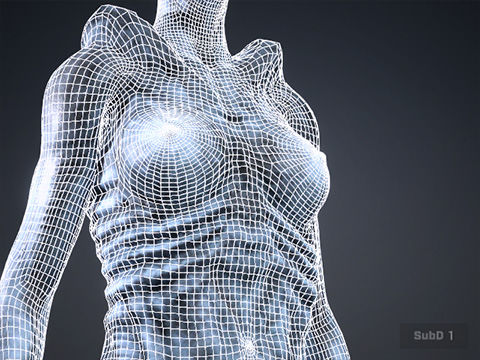
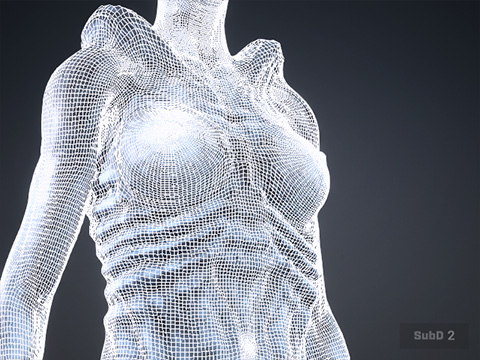
Subdivision Level = 0
Subdivision Level = 1
Subdivision Level = 2
- Normal Map (Shared):
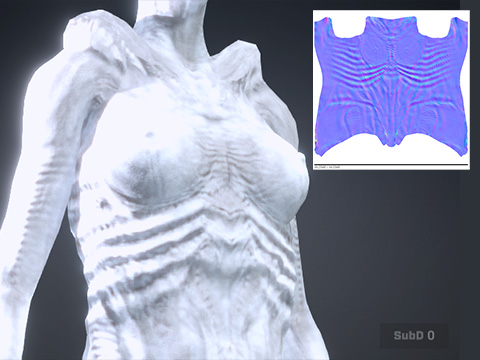
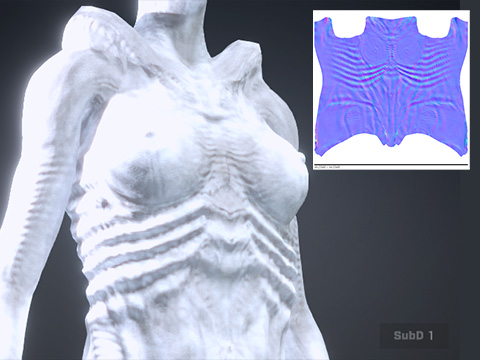
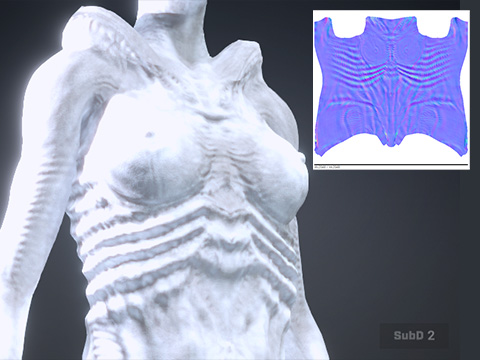
Subdivision Level = 0
Subdivision Level = 1
Subdivision Level = 2
For further steps, please refer to the Procedures After Conversion section.
