Transferring Characters to Unreal and Animating in iClone
Transferring Character(s) to Unreal
- In iClone, create a project with one or more character (standard and non-standard only).
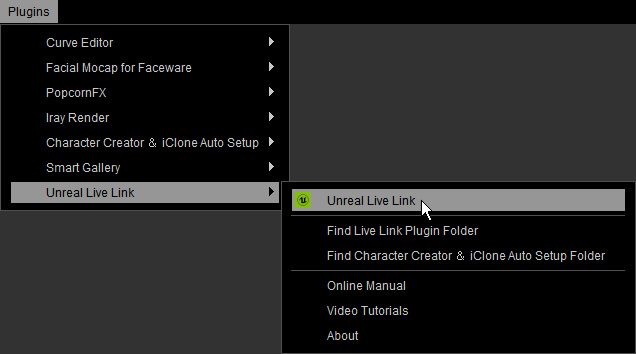
- Open the Live Link panel with the Plugins menu >
Unreal Live Link > Unreal Live Link command.
- Activate the character(s) that you want to transfer to Unreal.

- Confirm in the Skeleton drop-down menu that the desired Unreal Skeleton has been selected.

- Click on the Transfer File button to start transferring.
The character(s) activated will be transferred to Unreal as its assets and auto-applied on the current level.
 Note:
Note:- The starting pose is the Unreal default pose since, after this step, Live Link plug-in merely transfers characters without motions.
- Also refer to the sections below for more information:
Sending Streaming Motions to Unreal
- Connect iClone and Unreal.
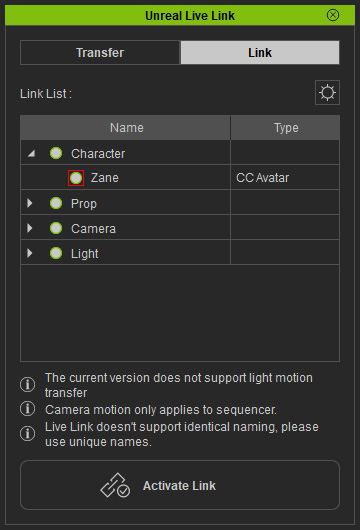
- In iClone, open the Live Link panel.
- Switch to the Link mode and enable the green circle(s)
for the character(s) that you want to use as the motion sources.
 Note:
Note: : Not used for sending streaming motions.
 : Prepared to send streaming motions to Unreal.
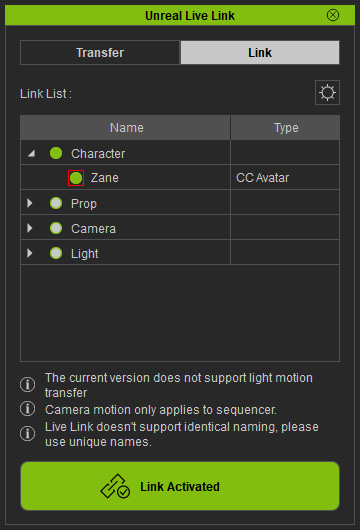
- Click the Active Link button on the Live Link panel to start sending streaming motions to Unreal.Note:
The circle will turn solid green in the Live Link panel in iClone. It implies that the character's motions are synchronized between iClone and Unreal.
- Edit or animate the character(s) in iClone, the corresponding assets in Unreal will be instantly driven to move.
