Recording Camera Animations
The camera animations created in iClone can be sent to Unreal to control the camera. Furthermore, these animations can be recorded in Unreal for further usage. With Unreal v 4.21, the camera's animations are kept by means of the Sequence Recorder.
Mapping Cameras in iClone and Unreal
- Prepare a camera in Unreal and iClone by one of the 3 methods below:
- Connect iClone and Unreal with Live Link plug-ins.
- Playback to view the camera animation in Unreal authoring mode.
- Go to the start frame in iClone.
Recording Camera Animation in Unreal
- In Unreal, select the controlled camera.

- Open the Sequence Recorder panel, click the Add button to add the camera into the list.

- Press the Record button to start recording.

The Unreal viewport will start to countdown.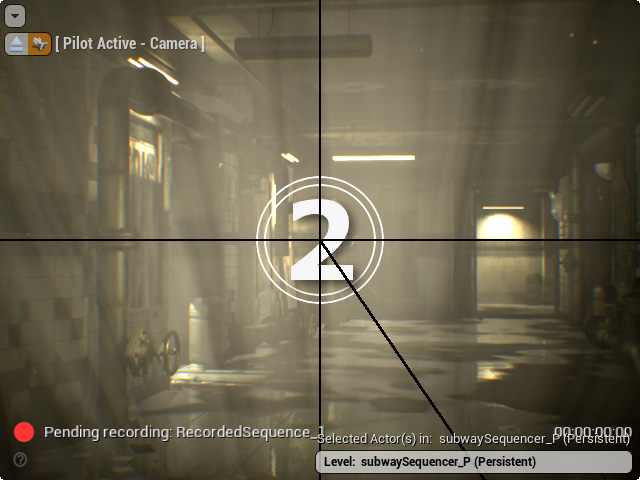
- Playback the project in iClone to animate the camera after the countdown ends.
- Click the StopAll button in Unreal after the iClone project finishes.

- By default, the recorded file is saved in Content > Cinematics > Sequences > RecordedSequence folder.

- Double click on the sequence and you can see all the camera's animation-related data in the Sequencer panel.

Examining Recorded Camera Animation
- Select the camera in the recorded sequence (marked with a lightning bolt).

- In the Live Link section on the Detail panel, delete the Subject Name.

Keep in mind that this step ensure the camera's animation coming from the recorded sequence instead of the camera in iClone.
Alternatively, you can remove the source from the Live Link panel instead of deleting the Subject Name of the camera.
- Set the viewport to look through the selected camera.

- Click the play button to check out the recorded camera animation through the viewport.

- You will see the camera shooting result by the animation.
