Quick Guide for Using Motion Planning Sets
The Planning Set (MP Set) brings together digital doubles, interactive MD props, and blueprints in a ready-to-use template that streamlines your workflow. Easily adjust roles, rearrange floor layouts, and launch live simulations with a single click. Replace placeholder props with your own models, customize animations, and save your personalized MP Set for future use.
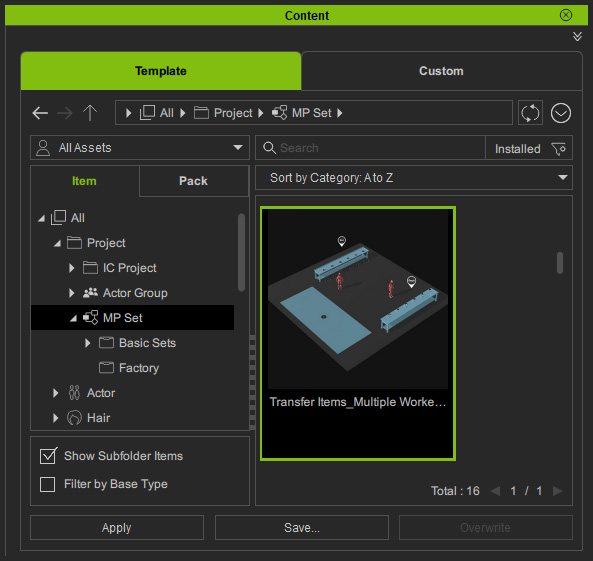
- Create a new project and apply the desired MP Set from the library.
- You will be prompted to replace the characters using the Randomize Actors panel.
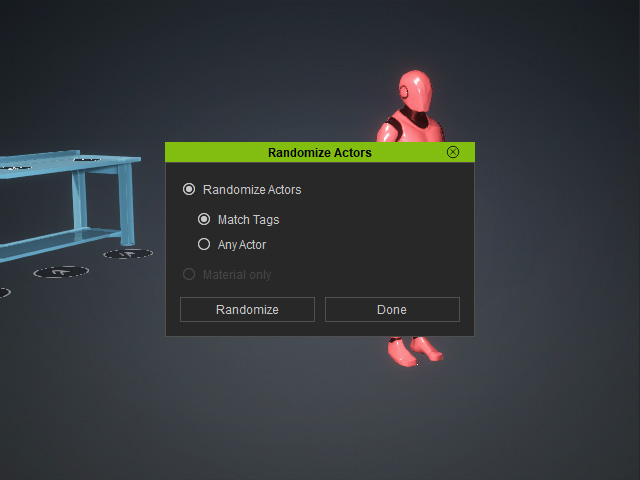
 Camera View Manipulation
You can adjust the camera view to see the entire scene even when the Randomize Actors panel is displayed.
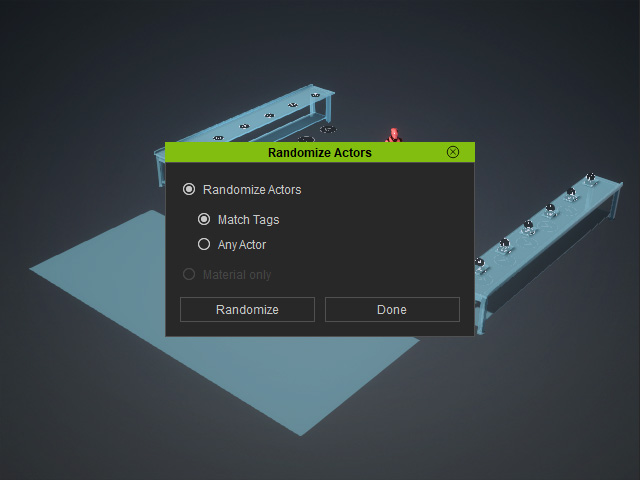
- Alt + LMB: Pan Camera
- Alt + RMB: Orbit Camera
- Alt + MMB: Rotate Camera
- Alt + both mouse buttons or Alt + mouse wheel: Zoom in / out
- When you are satisfied with the characters, click the Done button.
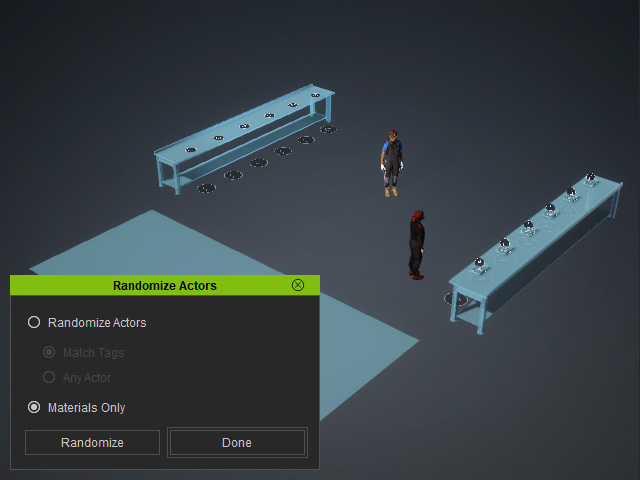
- Manually reposition the characters and dummy MD Props.
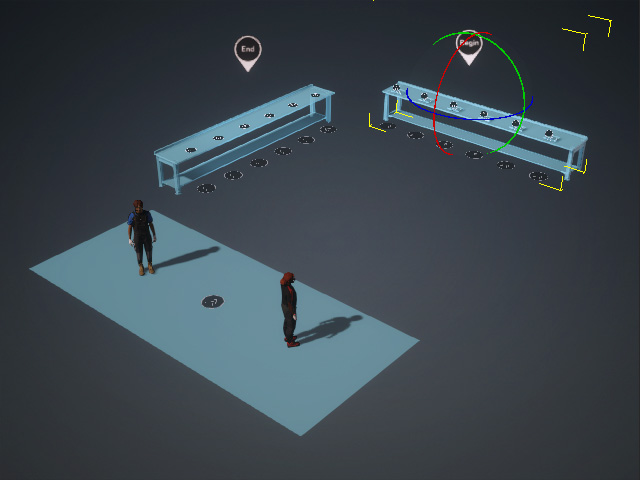
- Manually add new characters if needed.
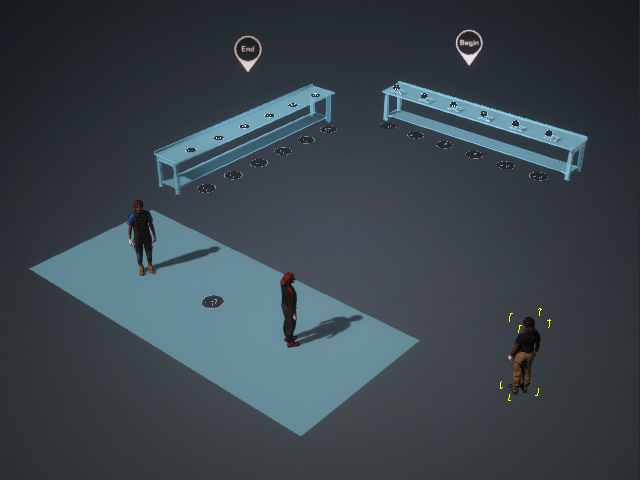
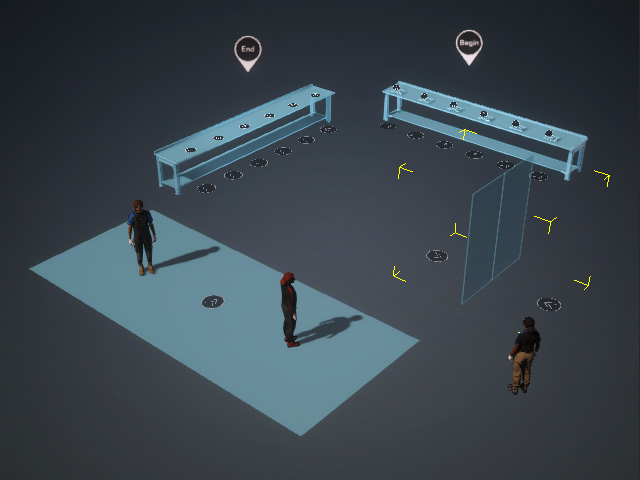
- Add additional dummy MD Props (from the MD Prop and Factory MP Set Packs) as required.
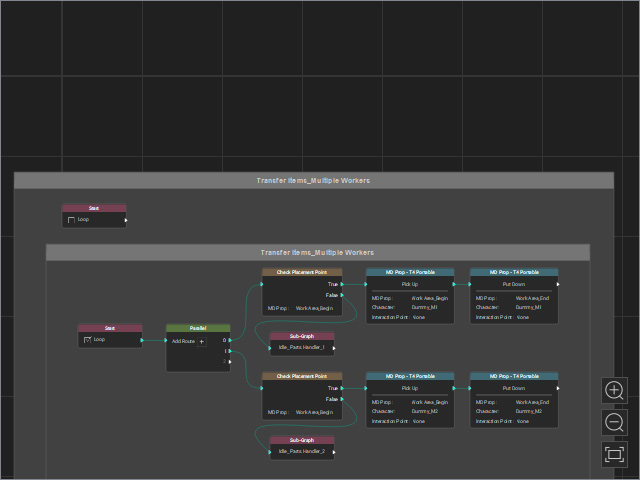
- Customize the Motion Planning graph by connecting nodes for characters, props, and MD Props.
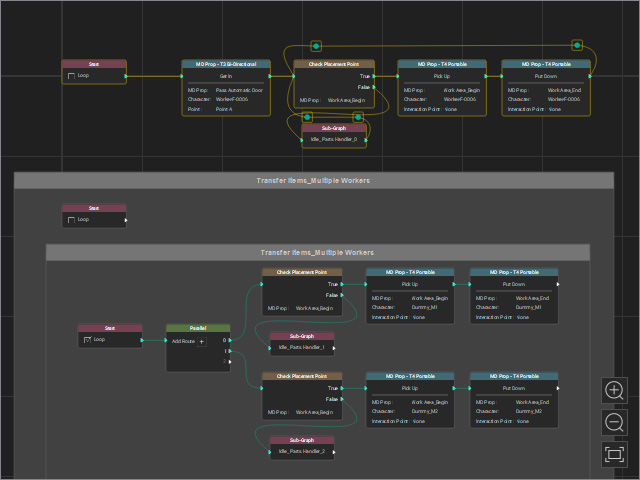
Before
After
How to Customize?Refer to the following sections for more information:
- Replace the dummy objects with actual props (Factory Devices and Factory Devices Vol. 2 are recommended) by dragging and dropping them with the right mouse button.
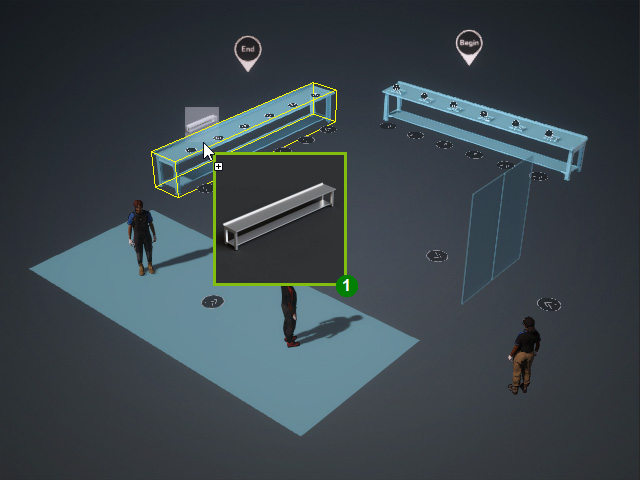
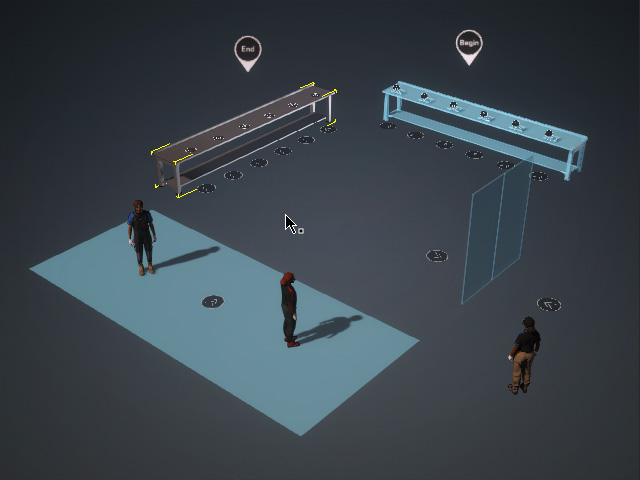
Before
After
- Repeat the same steps until all dummy MD Props are replaced.
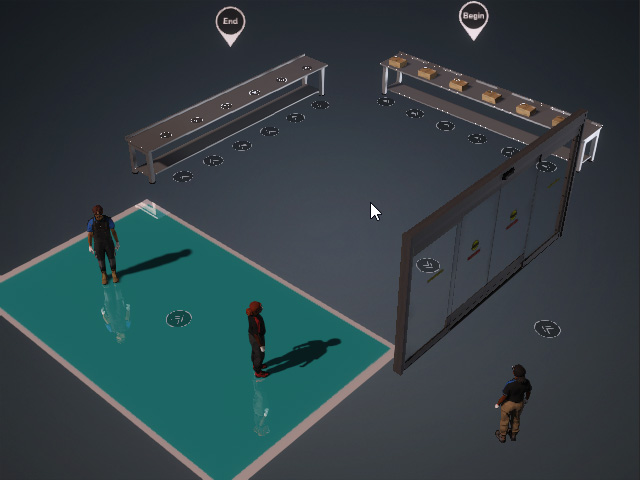
- Start Go MD mode to view the animation result.
