Reproducing Camera Switch Effect in Omniverse (New for iClone V.8.3)
The camera switching can be reproduced in Omniverse by transferring the Switch camera and its animations. However, the transfer must be done after all other assets and their animations are finished and transferred to ensure proper synchronization between iClone and Omniverse.
- Connect iClone and Omniverse. See here.
- Build a scene in iClone.
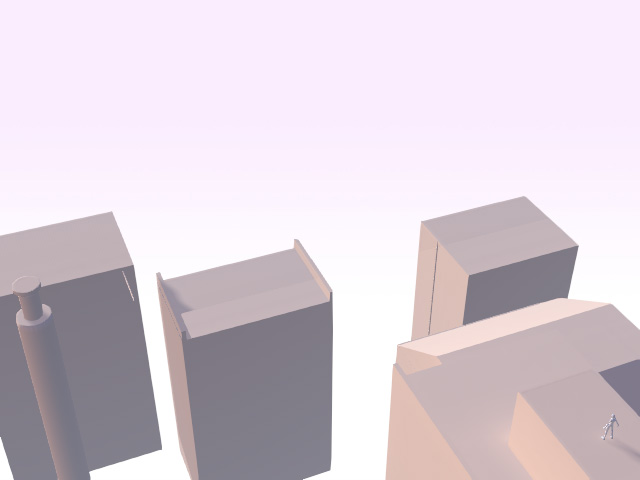
- Transfer the items to Omniverse.
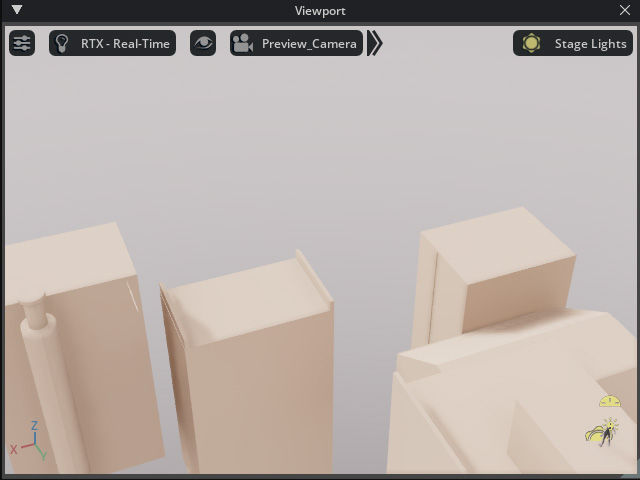
- Create an animation in iClone.
- Make sure Omniverse is set to 0 frame and playback the project in iClone to preview the animation.
- If you are satisfied with the animation result and do not intend to edit again, then transfer the animations to Omniverse.
- Create camera switch effect in iClone.
- In iClone, switch the camera view to Switch on the Camera Toolbar.

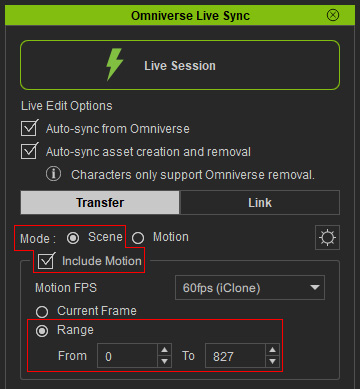
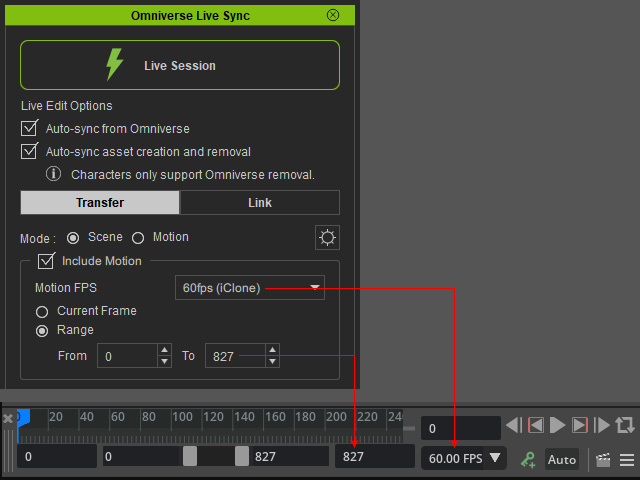
- In the Omniverse Live Sync panel, choose the Scene mode radio button, activate the Include Motion checkbox and set the Range that includes the animations.
- In the Transform List, activate the EditorActiveCamera in the Camera node.
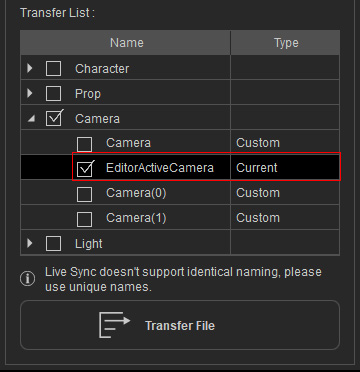
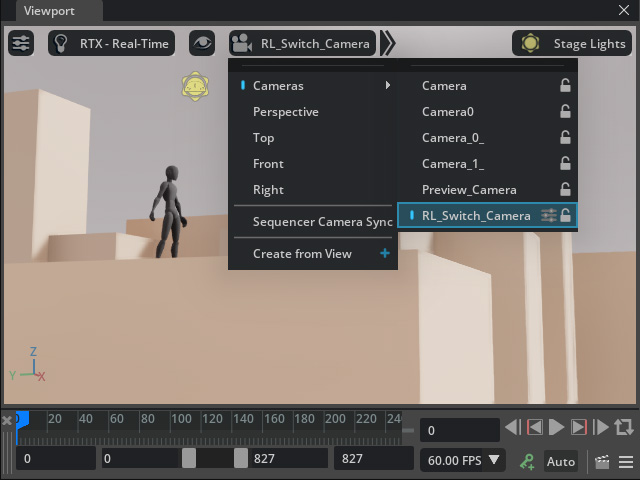
Step 8 to 10 will sample the camera switch effect and transfer the effect along with the picked camera. - In Omniverse USD Composer, toggle the camera view to RL_Switch_Camera.
 Note for FPS and Project Length
Make sure you always set the Omniverse FPS and the Project Length identical to iClone.
- Playback in Omniverse to view the camera switch effect.
