Customizing Color Group Structure
The color shapes in an object can be grouped by colors, by sprite. However, you can also customize the group structure especially for your custom objects, including character and props.
If the shapes of the object (prop) are not grouped, then follow the steps below:
- Create an object (in this case, a prop).

- Switch to the Composer mode and click the SVG Group Editor button on the toolbar.

- Choose the Group by Colors radio button in the Auto Color Group panel. This step groups the shapes that are of the same color.
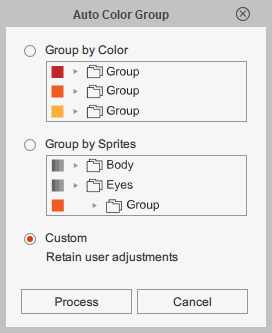
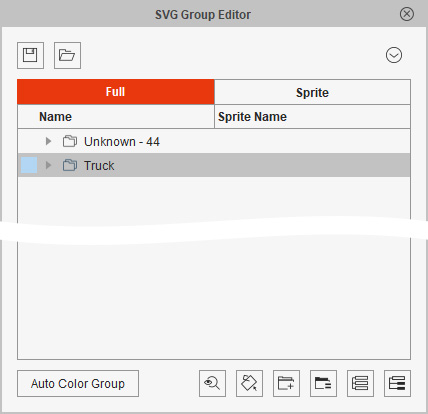
- Click the Process button and the SVG Group Editor will display on the screen; all shapes are not grouped and located in the Unknown folder, and the number (45, in this case) indicates the amount of the shapes.
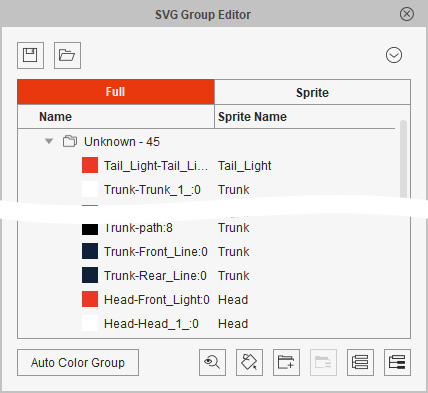
- Click a shape of color in the viewport. It starts to blink.
- Click the Group button at the bottom of the SVG Group Editor.
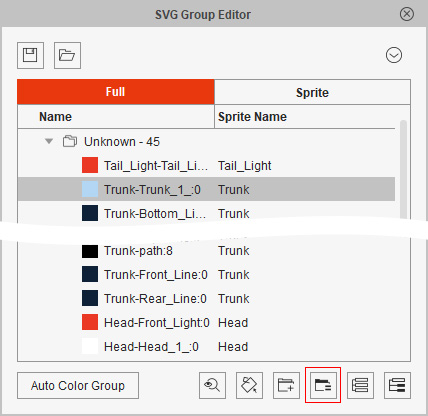
The shape will be included into a new group.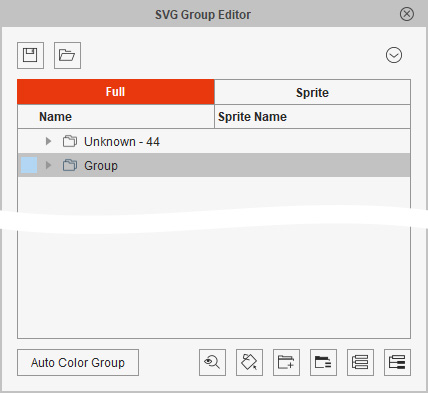
- Double click on the group name to rename it.
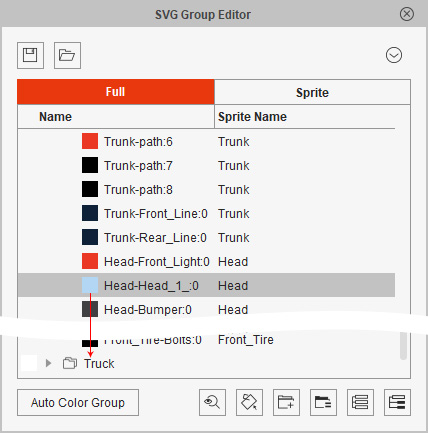
- You can drag and drop another shape into the group in order these shapes' colors can be adjusted at once.
- Select the new group and the shapes in it will start to blink.
- Press down the Select shapes with the same colors button.
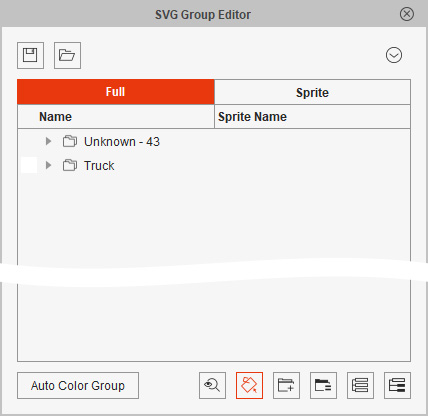
- Click on one of the shape in the viewport. The shapes with the same color will start to blink together.
- Click the Group button at the bottom of the SVG Group Editor.
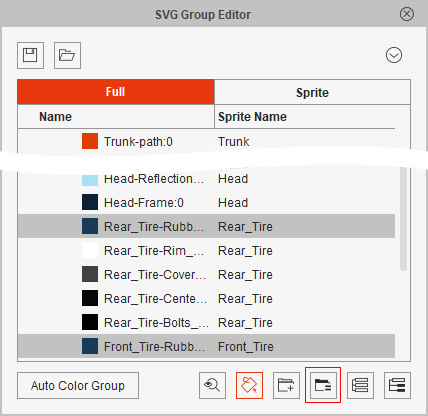
The shape will be included into a new group. Rename it.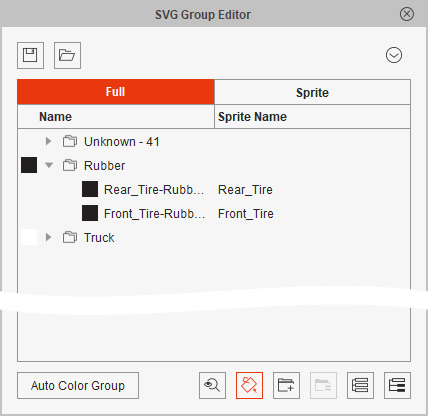
- Repeat the same steps to include all shapes into groups.
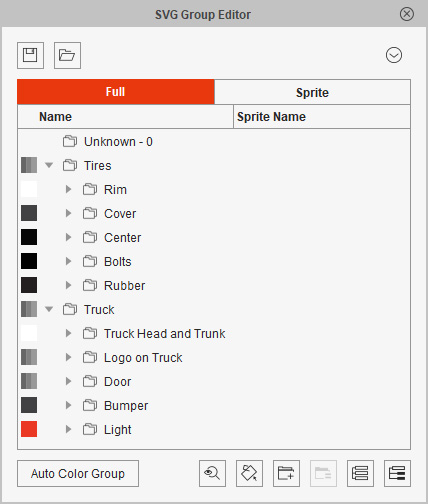
- Close the SVG Group Editor and you can adjust the groups and their shapes with the SVG Color Adjustment panel.

In addition to automatically group the color shapes by sprites, you can also create color groups by sprite one by one.
- Take the object in the previous section as an example.

- Switch to the Composer mode and click the SVG Group Editor button on the toolbar.

- Choose the Group by Colors radio button in the Auto Color Group panel. This step groups the shapes that are of the same color.

- Click the Process button and the SVG Group Editor will display on the screen; all shapes are not grouped and located in the Unknown folder, and the number (45, in this case) indicates the amount of the shapes.

- Select one layer in the Layer Manager, the layer is also a sprite.
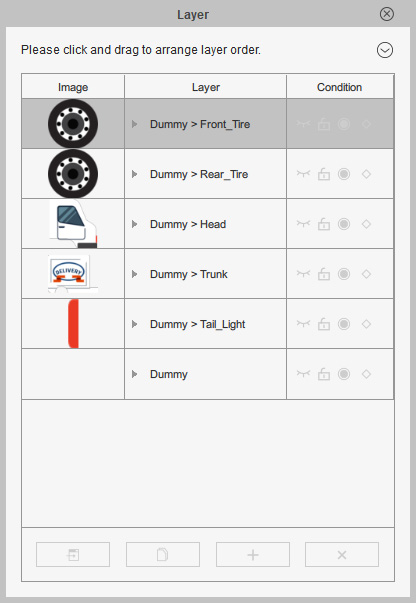
As you can see the viewport only shows the sprite (and its elements, if exist) of the layer.
- Switch to the Sprite tab in the SVG Group Editor. You will see the different color shapes in the selected sprite.
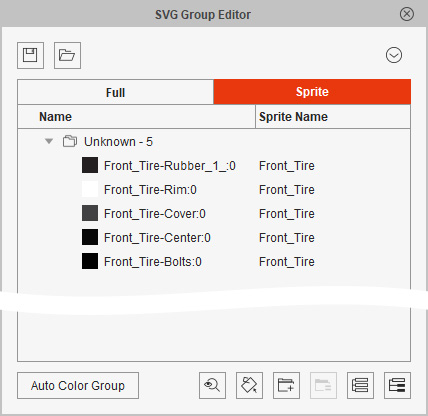
- Click the Auto Color Group button at the bottom left of the panel. The shapes will be automatically distributed into various groups.
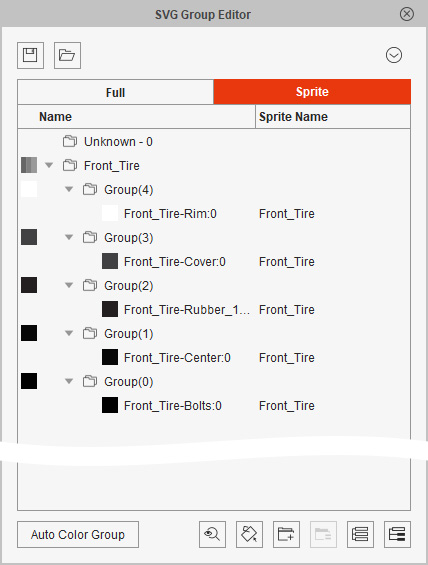
- Repeat the same steps until all color shapes of every sprites are grouped.
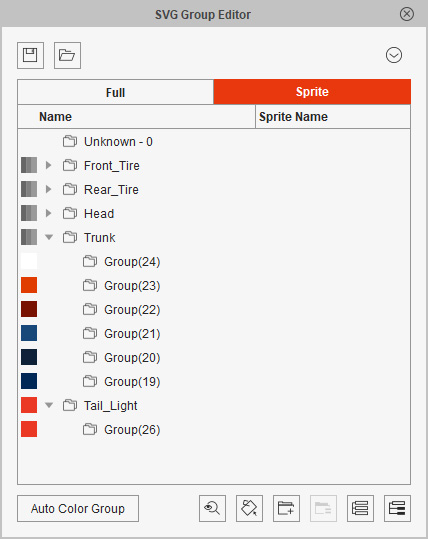
* Notice that only the shapes of the selected sprite can be shown in Sprite mode. - Close the SVG Group Editor and you can adjust the groups and their shapes with the SVG Color Adjustment panel.

You can also manually reorganize the group structure afterward.