Creating G3 Free Bone Characters with Bitmap Editor
By working with an image editor, you can turn any PSD images into a G3 Free Bone character in Cartoon Animator. The converted character can then be animated with the custom bone structure for key frame motions.
The following steps will describe how to create a G3 free bone character with a Bitmap Editor,
and then bring it into Cartoon Animator for animation.
- Import to create the character by the following methods:
 Main Menu or Left Toolbar button
Refer to the Creating Actor sections in the PSD Importing Methods page for more information.
 Bitmap Editor button on Toolbar
- Click the custom Bitmap Editor button (in this case, Photoshop) on the toolbar.

-
Choose either import options in the following dialog window
(e.g., New Object).
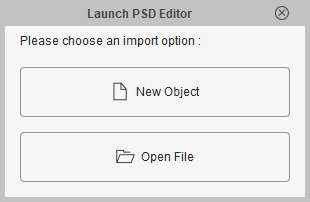
- New Object: Launches the custom Bitmap Editor with a blank new file.
- Open File: Opens an existing PSD file and loads it into the bitmap editor.
- Click the custom Bitmap Editor button (in this case, Photoshop) on the toolbar.
- You can start to design the
object which will be converted to a G3 free-bone character in
Cartoon Animator.
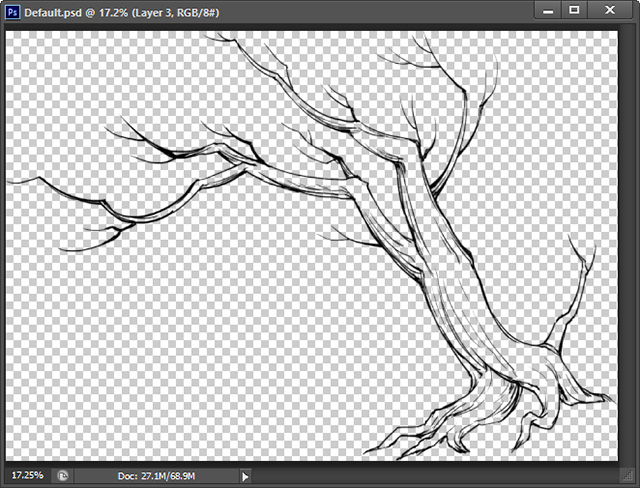
- When you are satisfied with current result, press the hot keys: Ctrl + S in the Bitmap Editor to send the image to Cartoon Animator.
 Note:
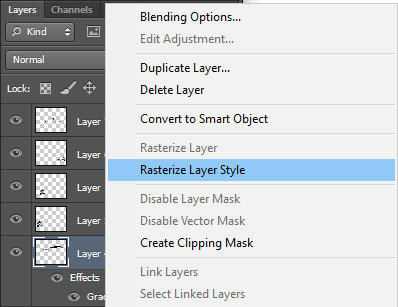
Note:Please make sure that you Rasterize the image layer before saving the project in order for the effects applied by your image editor to be flatten onto the layer. Otherwise, the effects will be ignored in Cartoon Animator.
-
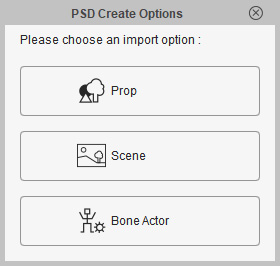
Return to Cartoon Animator, and click the Bone Actor button in the dialog.
-
The PSD image becomes a free bone character, synchronizing with the image editor.
It will be under the G3 Actor group in the Scene Manager.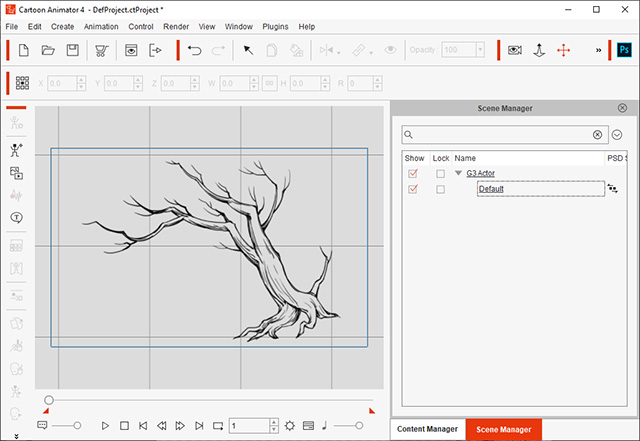
 Note:
Note:The Bitmap Sync
 icon indicates that this object is currently synced to its PSD project in the image editor.
 - Optionally edit the PSD file in the image editor.
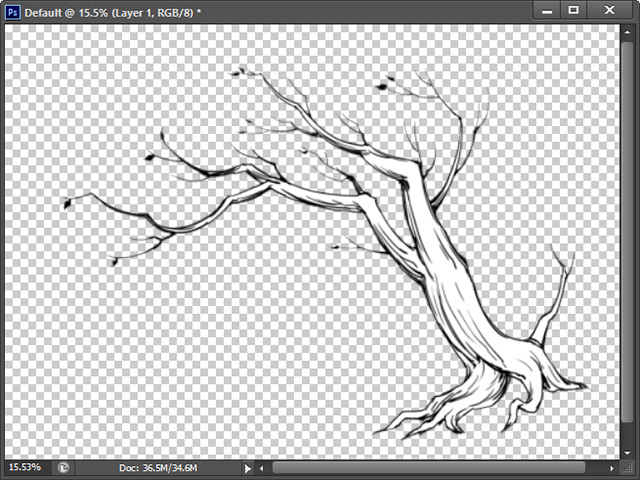
Click Ctrl + S to synchronize the changes to the character in Cartoon Animator.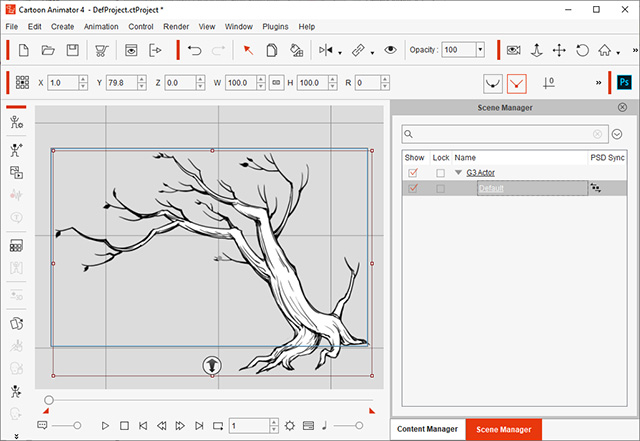
 Note:
Note:You can add this character into the custom Character library of Content Manager for further usage.
- Click the Composer
 button on the Functional Toolbar to customize a bone structure for the character.
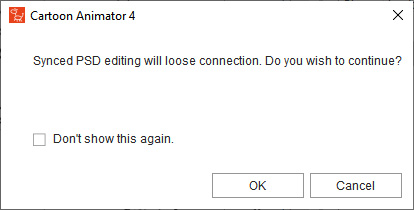
- You will be prompted that the character will be disconnected with its PSD editing project in the image editor. Click the OK button.
- Click the Bone Editor
 button on the Functional Toolbar to open the Bone Editor panel.
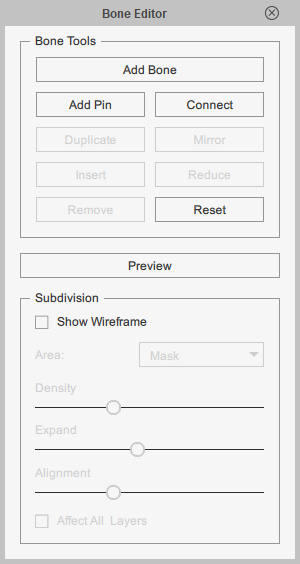
- Add new bones to the character.
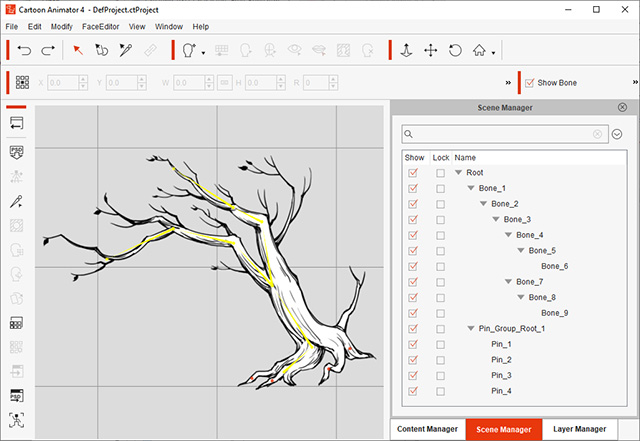
- Click the Back Stage
 button to go back to the Stage mode.
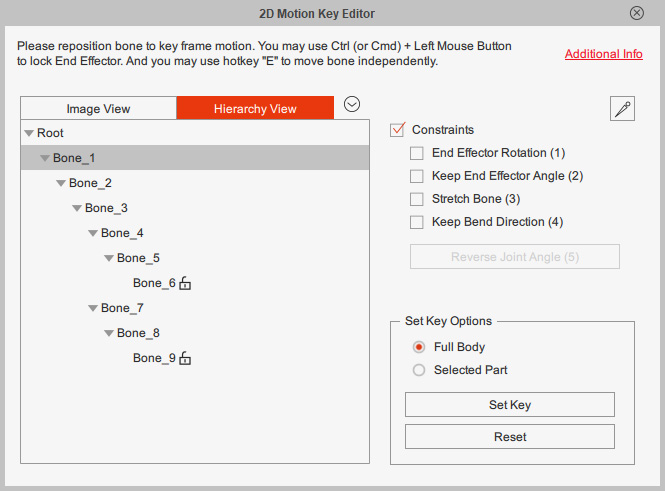
 - Select the character and open the 2D Motion Key Editor panel (Shortcut key: K).
 Note:
Note:You can control the character with IK and FK chains.
- Drag to animate the character and set motion keys in different time frames.
-
Playback to view the character animation.


