Creating Custom Smart Hair
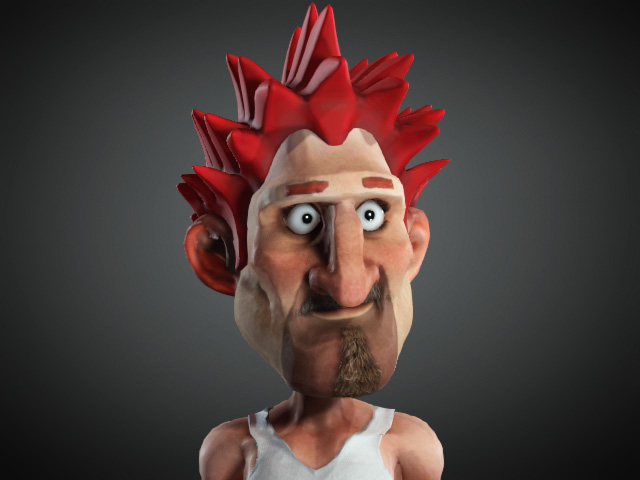
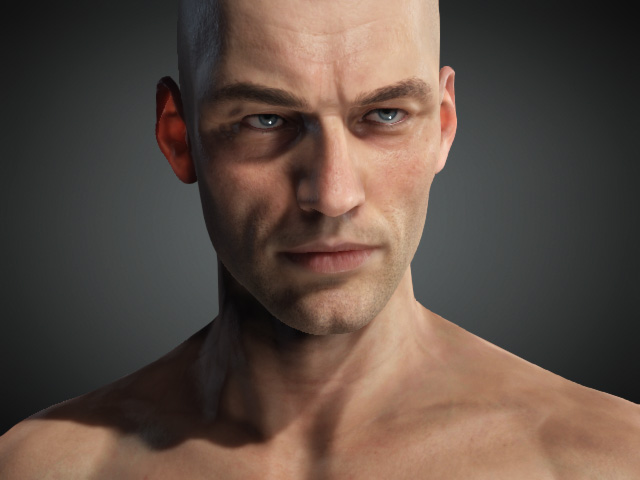
After version 3.4, you are able to not only create cartoon styles, but also even more exquisite and realistic hair.
- Create a new project.
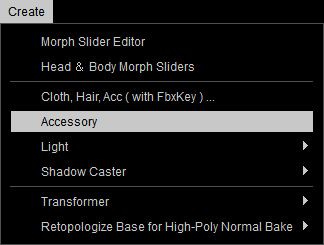
- Load a model file in OBJ or FBX format by accessing the Create menu > Accessory command.
- The model will be loaded. By default, it is loaded as an accessory and attached to the root of the character.
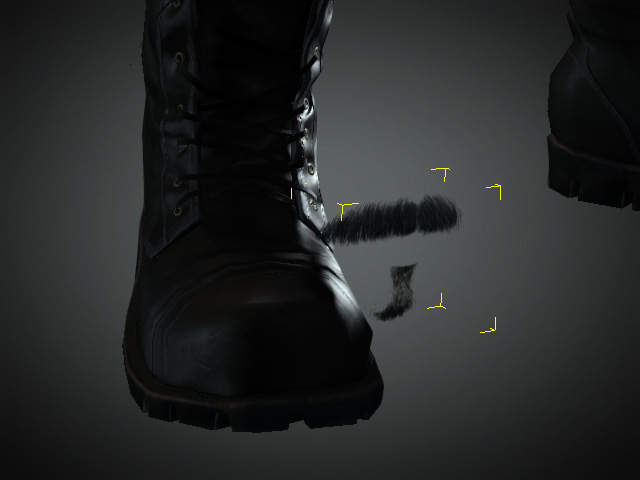
- Transform the accessory to a proper size, angle and position to fit the
dimensions of the character.
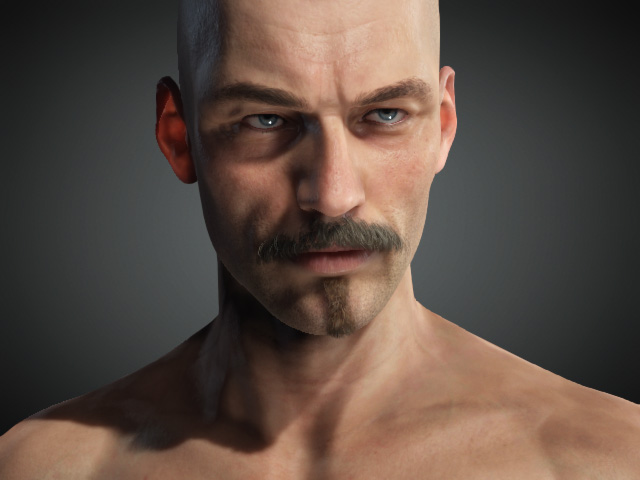
 Note:
Note:- The hair is currently an accessory, therefore, it will not move along with the facial expressions.
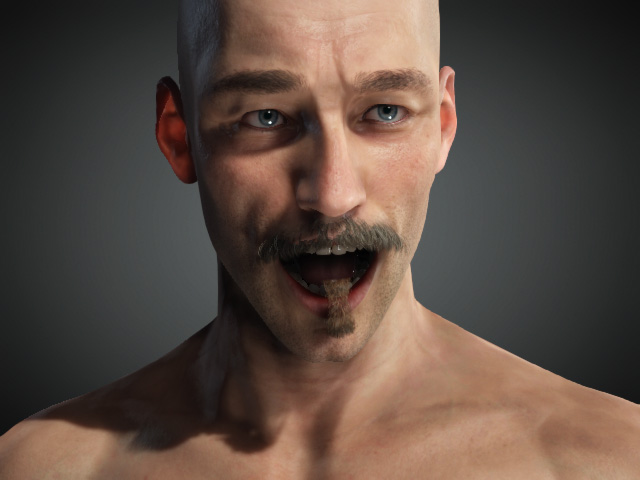
- Edit the mesh faces if necessary or any surfaces poke-through issues remain.
- Optionally smooth the normals of the accessory and set it to PBR shader type.
- The hair is currently an accessory, therefore, it will not move along with the facial expressions.
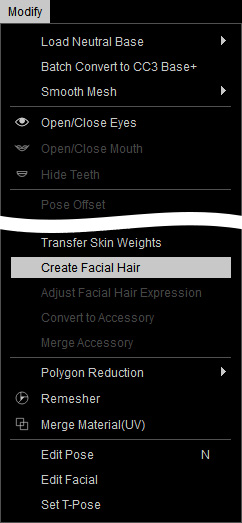
- In order to assign the skin weight to the accessory and turn it into a facial hair, select it and access Modify menu > Create Hair, Brows, Beard command.
Alternatively, go to the Modify panel > Attribute tab > Modify section and click the Create Hair, Brows, Beard button.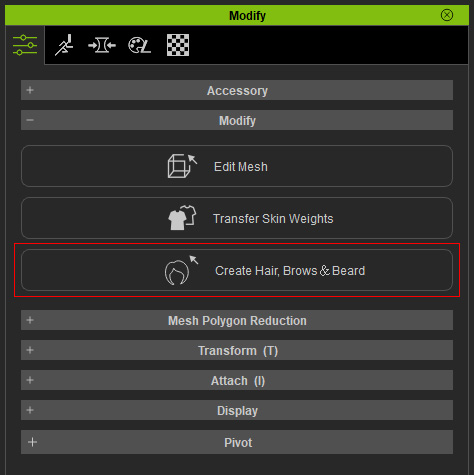
- In the Create Hair, Brows, Beard panel, pick the target Hair preset for the accessory to be turned to. This step not only assigns skin weights to the vertices, but also set the model as a new piece of hair element.
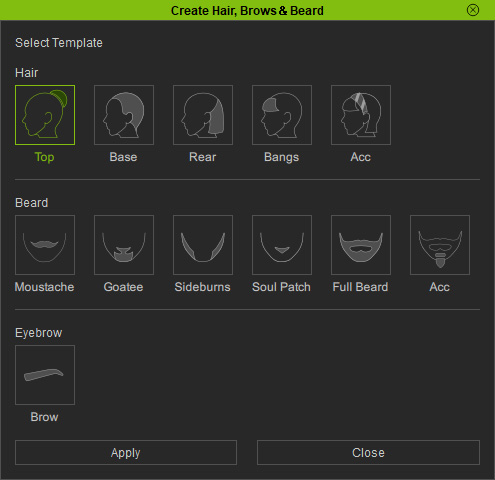
In this case, the BeardAll is selected. Refer to the Smart Hair Element System section for more information about the relations between the hair parts and the regions. - Click the Apply button to set skin weight automatically for the hair.
- Change the facial expressions for the character to observe the
conversion.
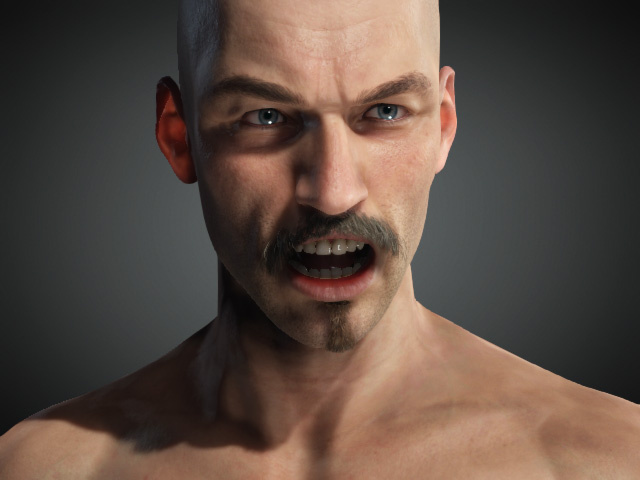
If you find any inappropriate skin-weight issues, then refer to the Modifying Hair in Character Creator section for more information. - If the result is ideal, then you can save it to the HairStyle, HairGroup or HairElement library for expanding the collection of your custom hairs.
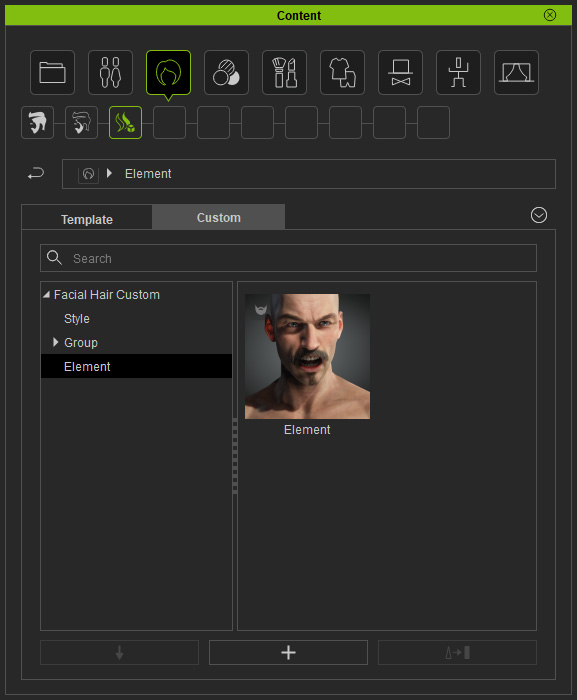
- You can then apply this custom hair template to any other character.
