Creating AI-Based Texture Aging Effects
FashionGen generates edge maps from 3D mesh and normal data to create natural-looking edge wear effects. By using area masks to limit the Stable Diffusion 1.5 AI-generated aging effects and blending with the base layer, you can produce realistic wear, tear, and natural-looking details such as dirt or stains for authentic aging effects.
- Ensure that ComfyUI with the proper AI models are installed and that FashionGen is successfully connected to ComfyUI to enable AI aging.
- Launch the Aging panel from the main menu (AI Generation > Aging), or click the
 Aging button on the AI Gen toolbar.
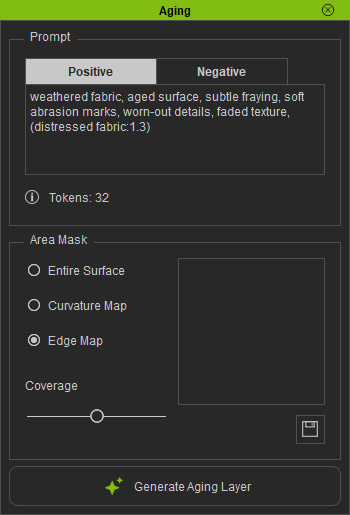
- Write prompts for AI Aging generation.
- Positive Prompt: Enter a clear description of the aging effect you want to generate.
For example, heavy worn edges, deep scuffs on toe cap, pronounced seam fray, cracked leather edges, eroded outsole rim, scraped sole border, rugged weathered texture, rough surface decay, color preserved but aged, gritty material wear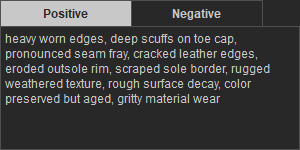
- Negative Prompt: Enter the details you want to exclude from the generated image.
This field is pre-filled with common removal terms, so you may leave it as is.
Default terms: low quality, blurry, jpeg artifacts, distortion, deformed anatomy, wrong proportions, deformed eyes and pupils, mutated or extra limbs, missing limbs, floating limbs, ugly, unpleasant, nsfw, nude, semi-realistic or 3d render look, poorly drawn details, mutated hands and fingers, disfigured features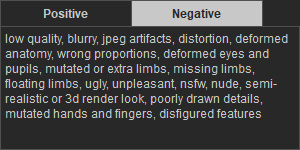
- Positive Prompt: Enter a clear description of the aging effect you want to generate.
- In the Area Mask section, select the Entire Surface option to apply aging effects across the entire 3D mesh.
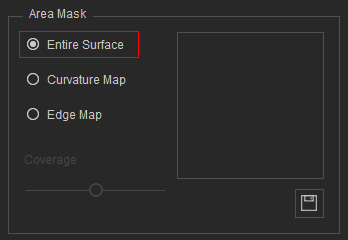
- Click Generate Aging Layer at the bottom of the panel.
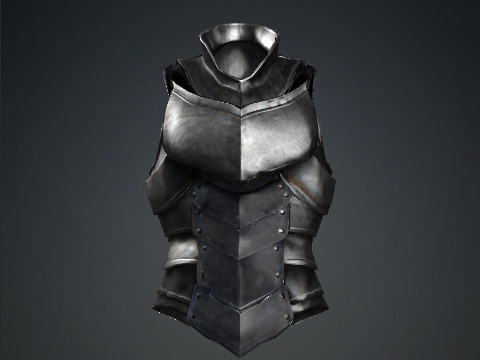
Once generated, the aging effect is automatically applied to the clothing.
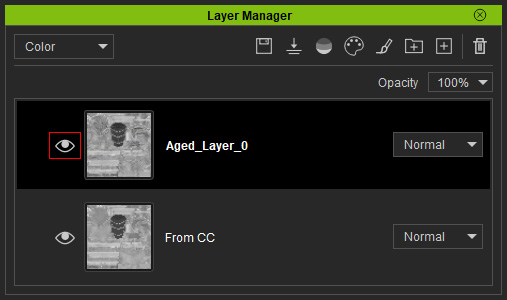
- A new aging layer will appear in the Layer Manager.
Use the eye icon to show or hide the layer and compare the before-and-after results.
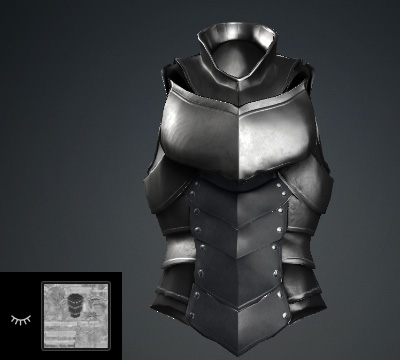
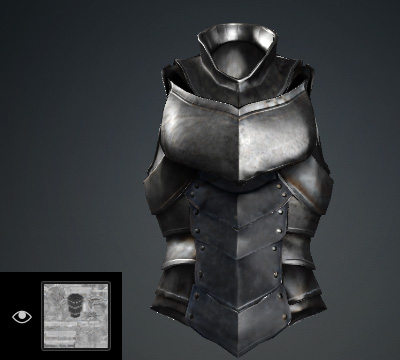
Base CC layer.
AI-generated aging effects applied across the entire surface.
- You can further layer partial aging effects over the existing full-surface aging.
Choose one of the following mask types to control where the AI applies the effect:
- Curvature Map: Uses the embedded Curvature data (as shown in the panel) to generate natural-looking aging effect distribution, where elevated mesh areas appear white, recessed areas black, with smooth gradient transitions between them.
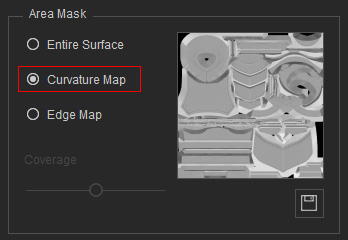
- Edge Map: Generates an edge map by analyzing the mesh normals to highlight concave and convex areas, serving as a mask for wear, dirt, and aging effects along boundaries, with adjustable coverage.
- Curvature Map: Uses the embedded Curvature data (as shown in the panel) to generate natural-looking aging effect distribution, where elevated mesh areas appear white, recessed areas black, with smooth gradient transitions between them.
- Select Edge Map, then adjust the Coverage slider to control the affected width.
3 levels are available: small, medium, and large.
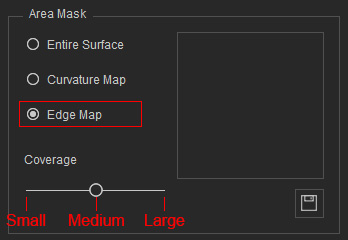
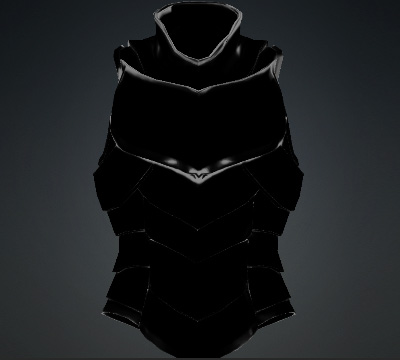
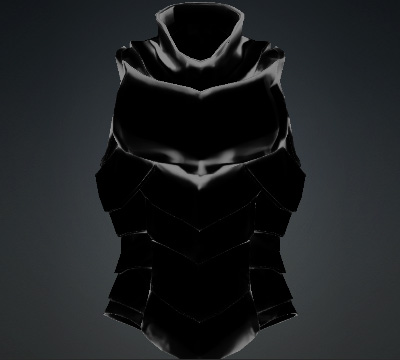
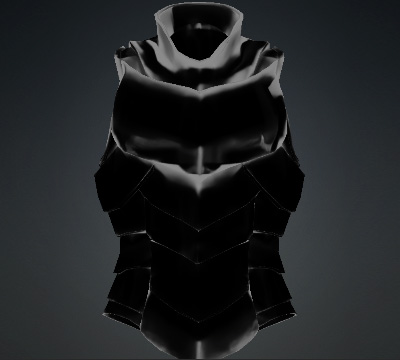
Coverage = Small
Coverage = Medium
Coverage = Large
- Click Generate Aging Layer to apply the aging effect using the same prompts.
Once generated, the effect is automatically applied to the mesh, and the created Edge Map is displayed on the panel.
You can save the map for further use on the mesh.
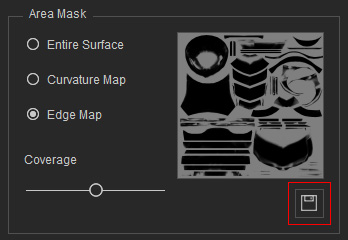
Show or hide the created layer and compare the before-and-after aging results in the Layer Manager.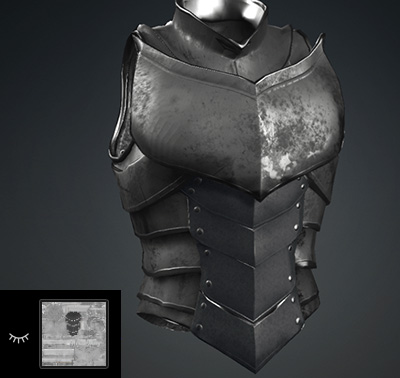
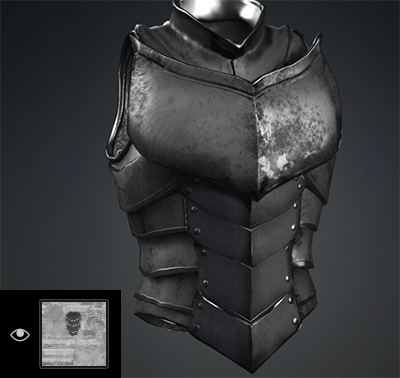
Previous Layer: AI-generated aging effect applied to the entire surface.
Current Layer: AI-generated aging effects applied to the mesh boundaries.
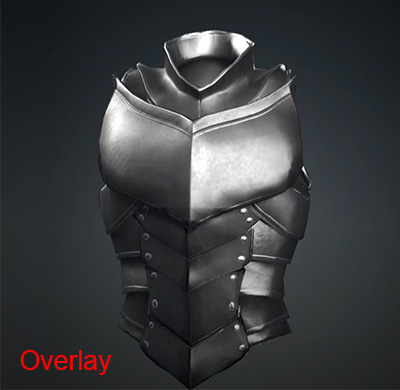
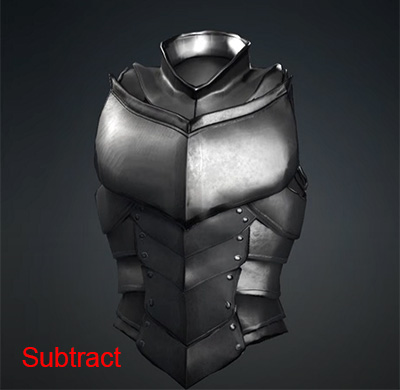
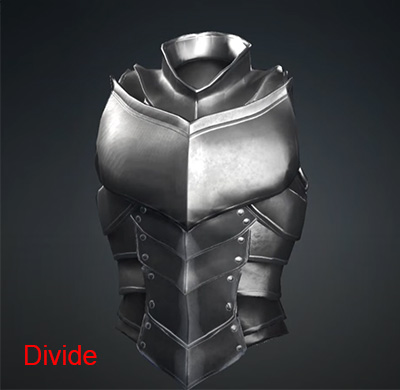
- Optionally, change the layer’s Blending Mode to observe the effects of different blending options.
- Execute File > Send Textures to CC (Keep Layers) or click the
 Send Textures to CC (Keep Layers) button on the toolbar to save the modified clothing in the Custom library of the CC Content Manager.