Applying Material Modifier to Props
By applying Material Modifier to props, you can divide the prop into several specific parts with Mask Maps (RGB Mask or Color ID Mask) and then individually adjust the parts to produce the final textures.
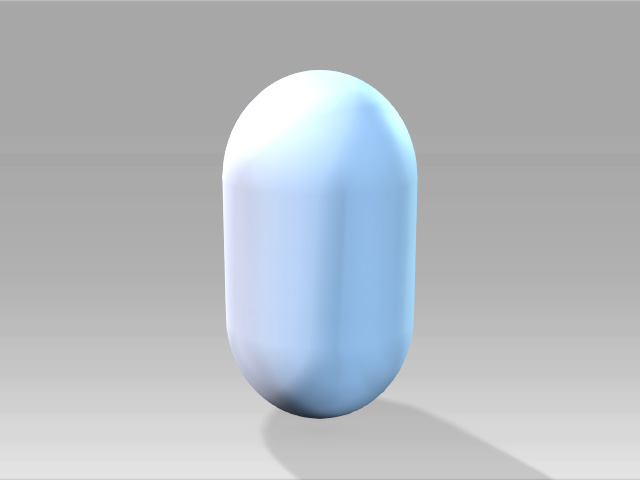
- Apply a prop to the scene, make sure the texture of the Base Color channel is
neither empty nor white.
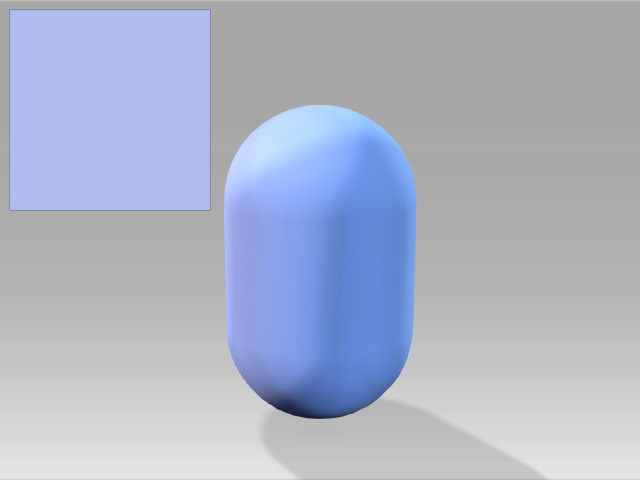
Transform it to ideal look.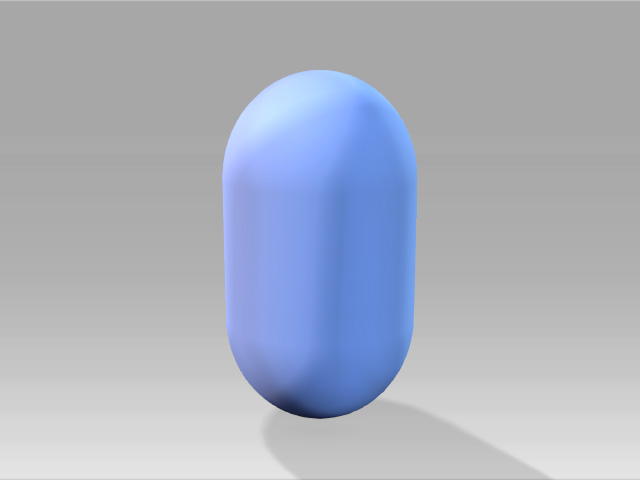
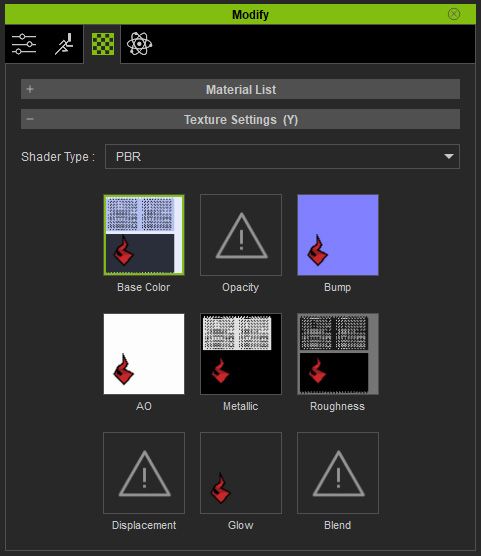
- Select either one of the channel in the Texture Settings section and click the UV Reference button.
The UV texture will be opened in your image editor.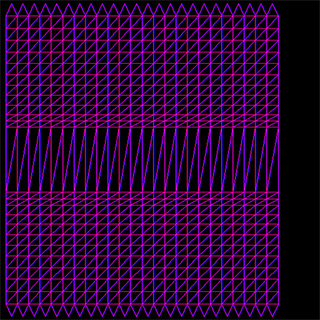
- Create a mask image (RGB Mask or Color ID Mask) in accordance with the UV Reference image. In this case, the RGB Mask is taken as an example. The mask image is composed of Red, Green, and Blue channels.
RGB Mask Texture
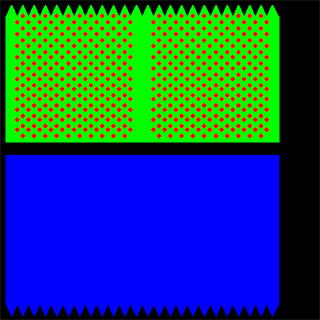
Grayscale Data in Red Channel
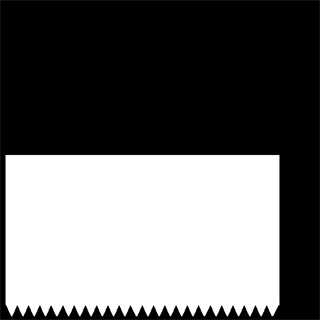
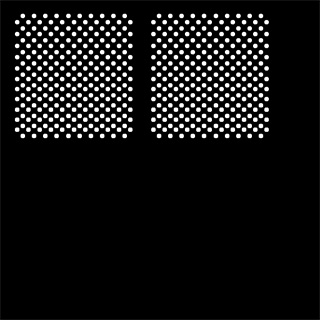
Grayscale Data in Green Channel
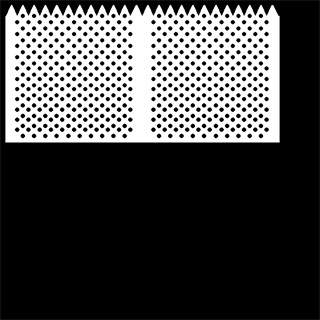
Grayscale Data in Blue Channel
- Save the image as a file in the format that retain the channels (in this case, *.tga)
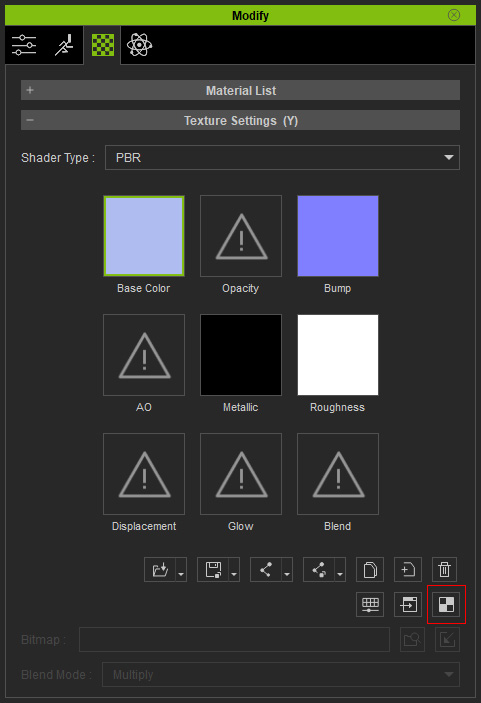
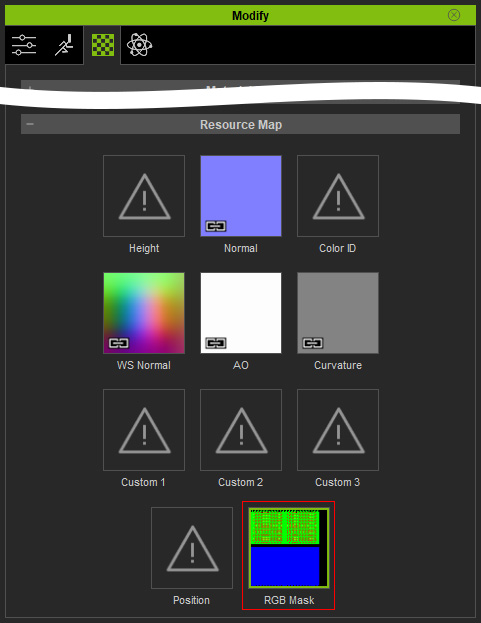
- Make sure the prop is selected and load the mask image into the
corresponding channel (like, RGB Mask) in the Resource Map section.
- Apply the Material Modifier template onto the prop.
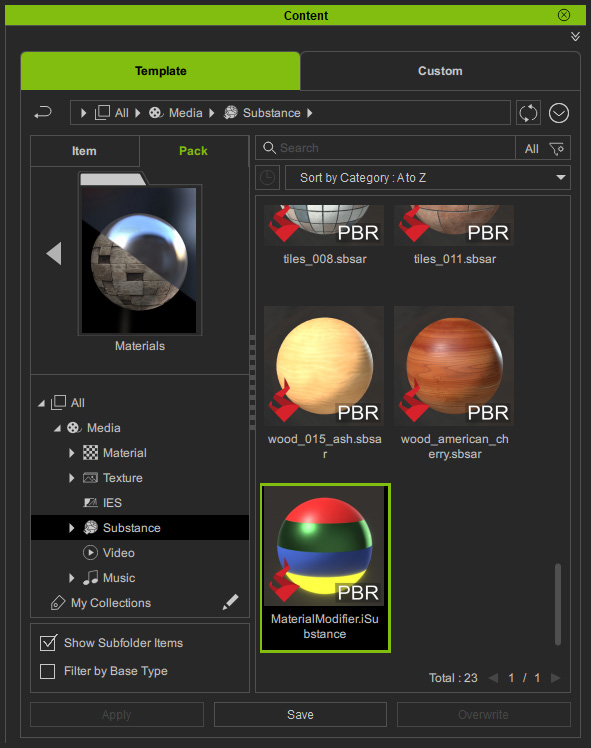
The Substance section will be enabled with settings for creating the textures in the Texture Settings section.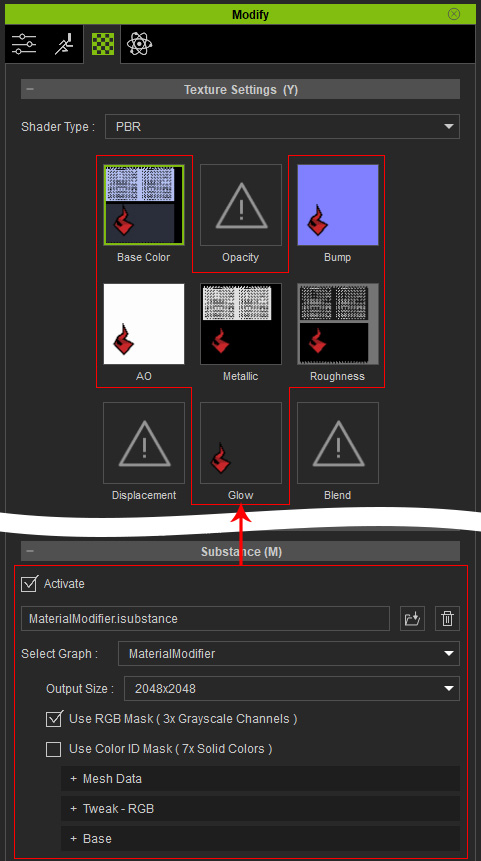
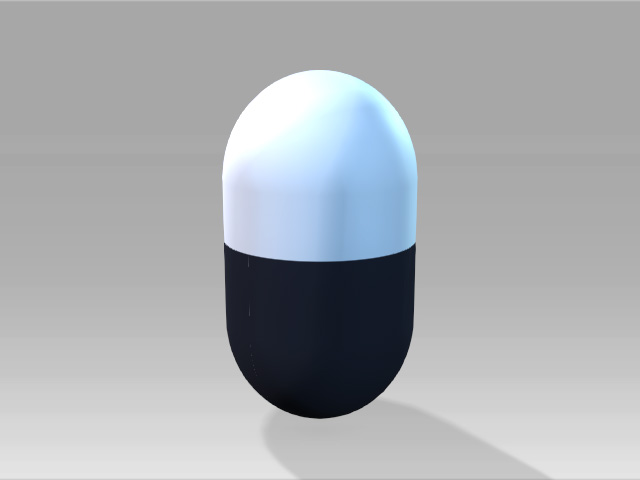
- Adjust the settings in the Base layer.
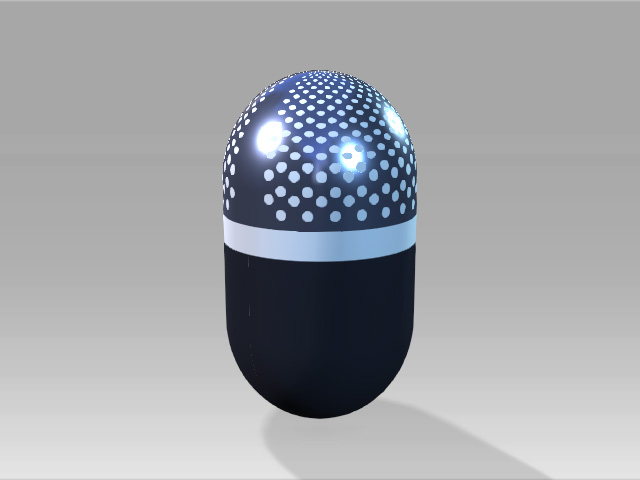
- Adjust the settings in the Red, Green, and Blue
sub-layers, like under Tweak - RGB subsection.
- Blue:
- Green:
- Red:
- Blue:
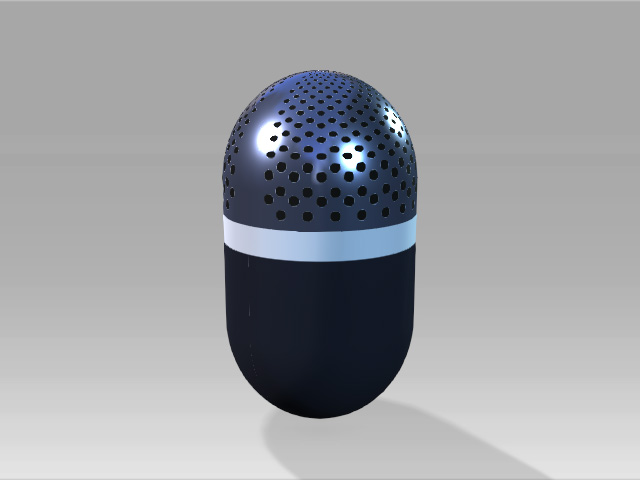
- You will get the desired textures after these steps.