Saving Clips
There are several ways to saving clips with slightly different procedures.
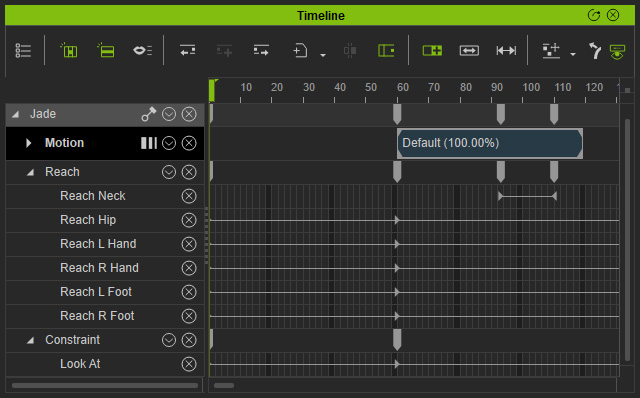
In the following example, the motion is created with the integration of Motion Clip, Motion Layer Keys and Constraint Keys (Look At, Link, Path-following and Reach).
Directly Saving Motion Clip
There are two quick methods to saving motion clips.
- Saving from Right-click Menu: You can save the motion clip into iMotion or rlMotion formats directly from the right-click menu.
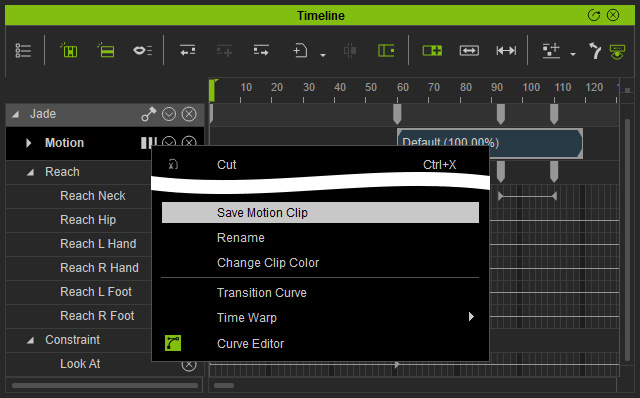
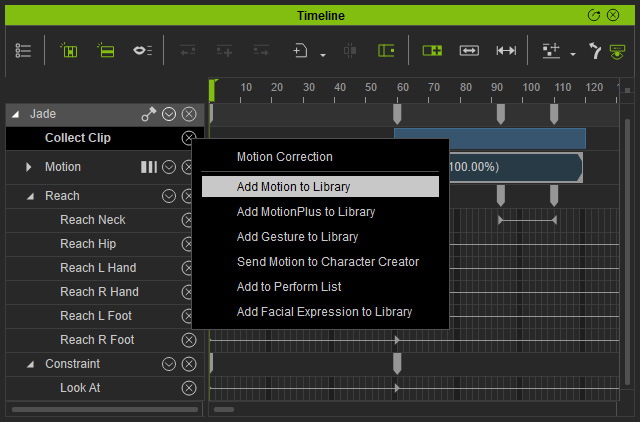
- Collecting Motion Clip: You can also set a range in the Collect Clip track, right click within the range and save the motion into a clip file.
However, these methods save only the motion clip and its encased motion layer keys.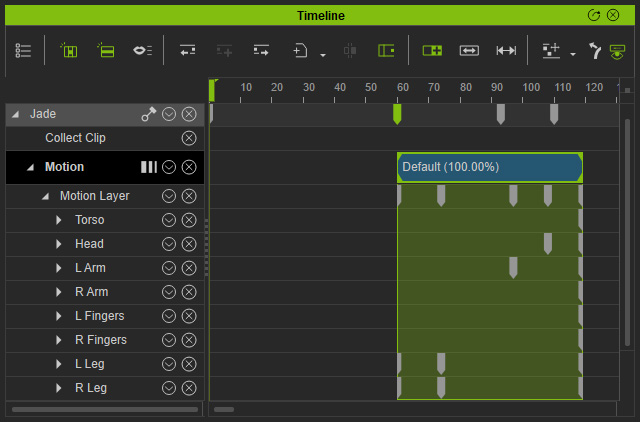
Therefore, after you apply the motion to another character, the motion will be totally different.
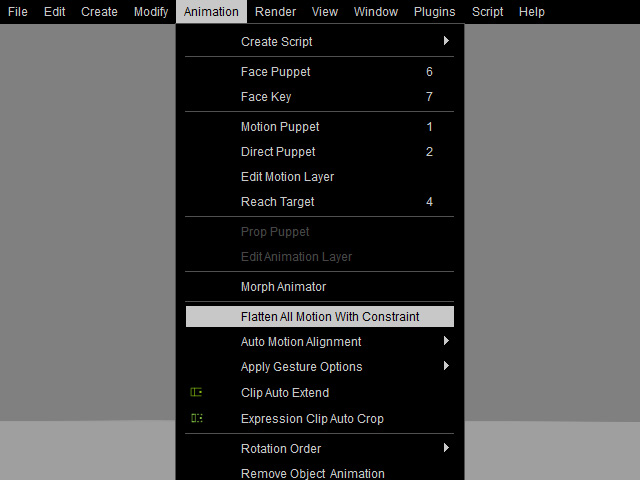
Baking Constraint Keys before Saving Clip
In order to include the constraint keys (reach, look-at and so on) into the saved motion clip, do the following steps:
- Access the Animation menu >> Motion Setting Options and execute the Flatten All Motion with Constraint command.
- Save the clip as described two methods in the beginning section (Directly Save Clip or Collect Clip) of this page.
The motions caused by the Constraint Keys, including the Reach, Look-at, Link and Path-following ones, will be baked into the motion clip when you export it.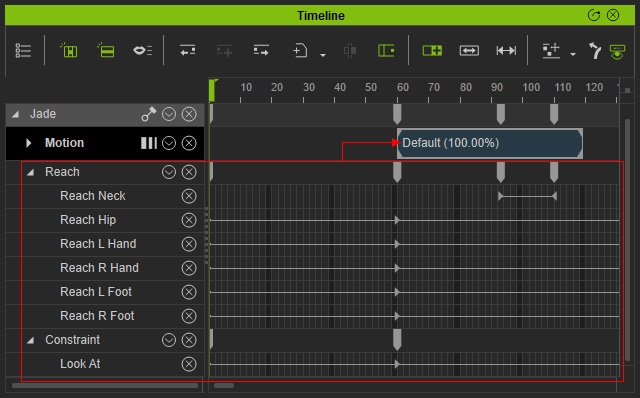
Apply the motion clip file to another character and you will find that the motion is identical as in the original project.
