How to add auto-load accessories to existing motion files (New in version 8.5)
The accessories integrated in a MotionPlus file can be auto-loaded when the file is applied. In addition to create motion files by saving, accessories can be directly added into existing motions in the Content manager.
The supported file formats are iMotionPlus, iMotion and rlMotion (not applicable to non-human motions and prop animations).
This technique can be used for custom motions (not the Template tab).
- Save a motion in the custom library.
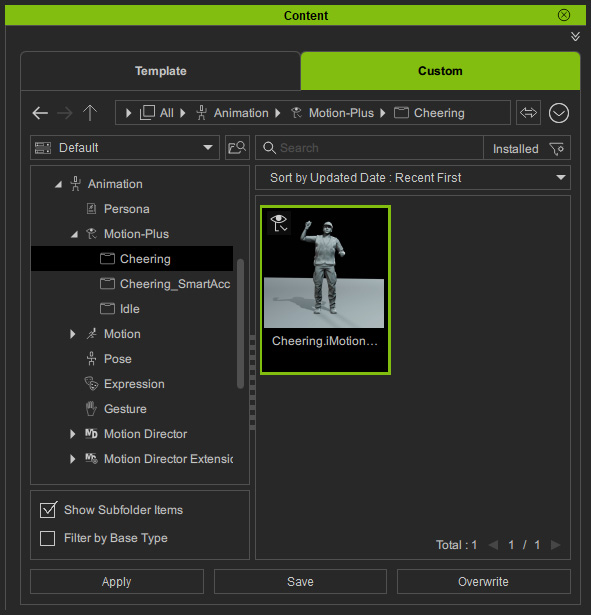
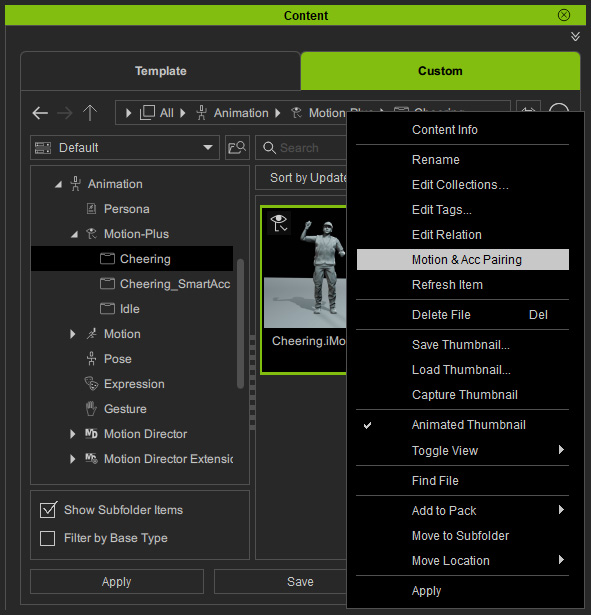
- Right-click on the template file and apply the Motion & Acc Pairing command from the context menu.
- The paring panel will appear.
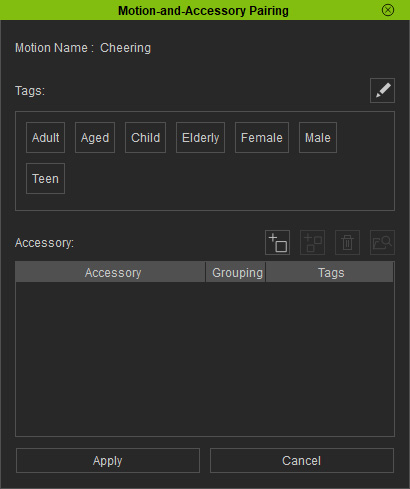
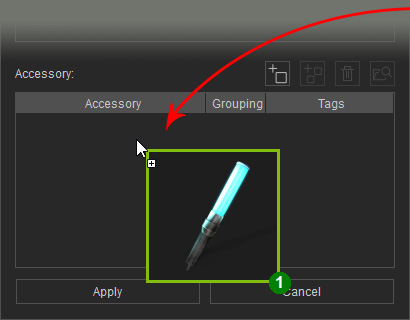
- Add accessories to the list using the following method:
- Click the Add Accessories button.

- Drag and drop accessories from library (multiple accessories are allowed).
- Click the Add Accessories button.
- The parent bone can be chosen via the dropdown list in under the Accessory column.
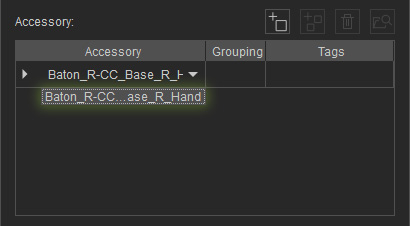
The drop-down list options will change when manually adding or deleting the parent bones. - You can expand the node to view all sub-items by following the directions below.
- Select the target node by clicking on the Grouping or Tags column and click the Add Random Accessory button.
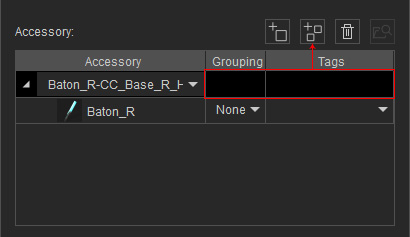
- Drag and drop accessories from the library (multiple accessories are allowed) to the node name or sub-item name.

- Select the target node by clicking on the Grouping or Tags column and click the Add Random Accessory button.
- The accessories will be included in the list as well.
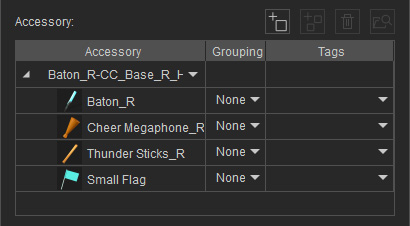
If you intend to apply the motion with accessories for the Crowd Generator panel, then use Group and Tags settings for specific distributions.
- Click the Apply button to include the accessories to the motion.
- You can then apply the motion to any other characters.
- See apply the motion to different characters with the default accessories (step 4).
- If you drag and drop the motion to specific target character by Right Mouse Button, then you can choose the accessory from the list for applying.
- See apply the motion to different characters with the default accessories (step 4).
