Creating Different Motions between Portable (Placement Point) MD Props (New for v. 8.5)
In theory, the placement point MD prop of Portable category can trigger character to perform its embedded picking up / putting down motions. However, the portable object's motions have higher priority for the character to perform the picking up and putting down motions. When any placement point is applied with Attribute tag, it will take back the priority and trigger the character to commence its embedded picking up and putting down motions.
- Create a project. Make sure there is at least one character of Edit Mode and a Portable Basement MD prop with correct behavior motion embedded and desired mesh props.
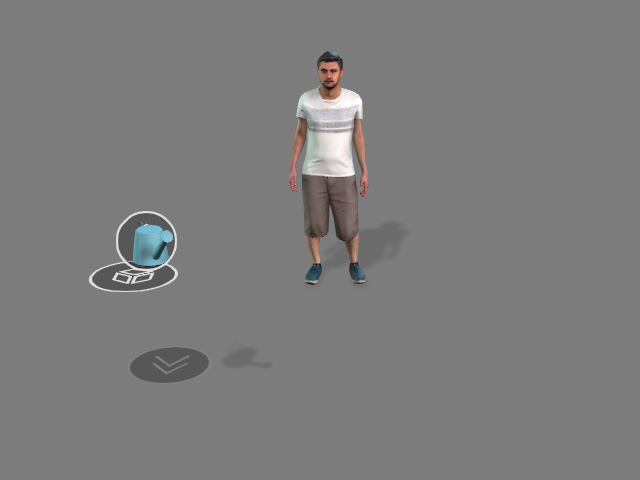
You can create the MD prop from Create > MD Prop > Portable > Base Template.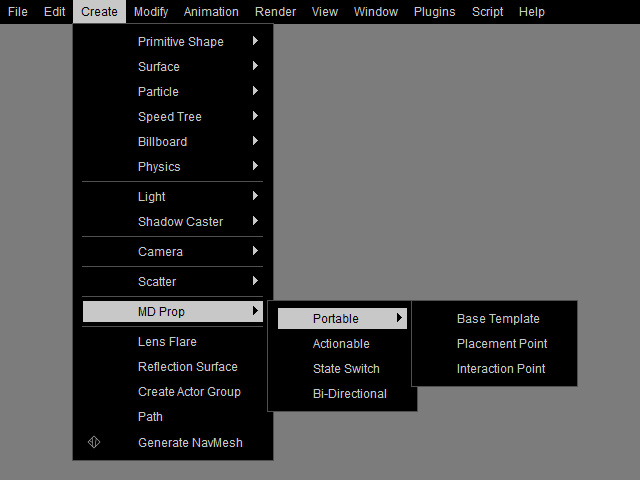
Start the MD mode to view the picking up and putting down motions. - Create a Placement Point to the project from the Create menu.
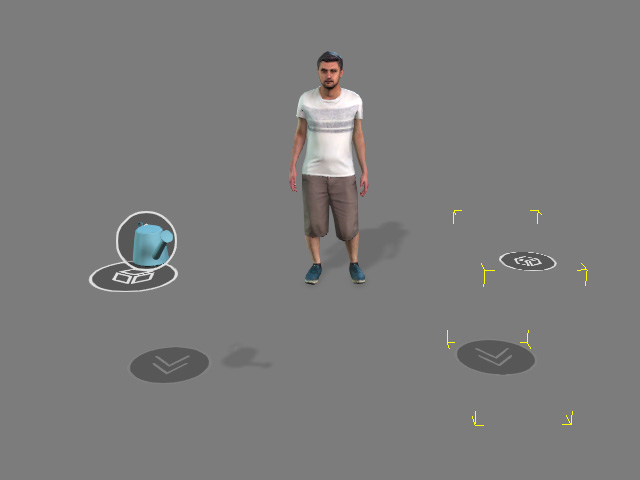
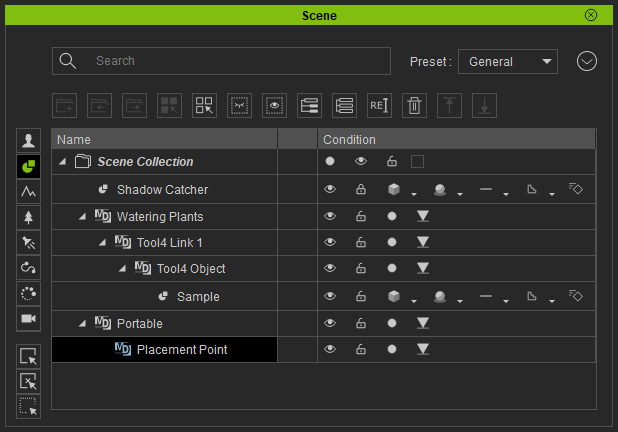
- Select the Placement Point dummy in the new MD prop.
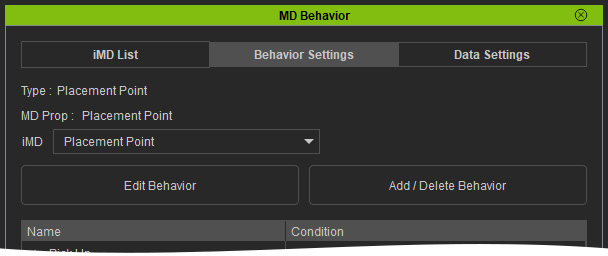
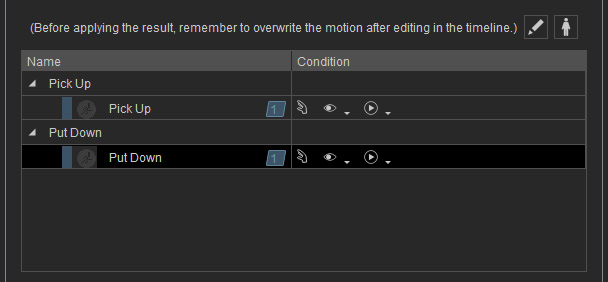
- Launch the MD Behavior panel and switch to the Behavior Settings tab, click the Add / Delete Behavior button to start editing the behavior motions.
You will be asked to choose the character and the Placement Point (there is only one in the MD Prop) for editing the motions. Click the Apply button.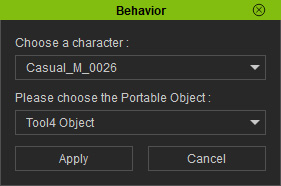
The character and the object will be snapped to the new MD Prop's position point.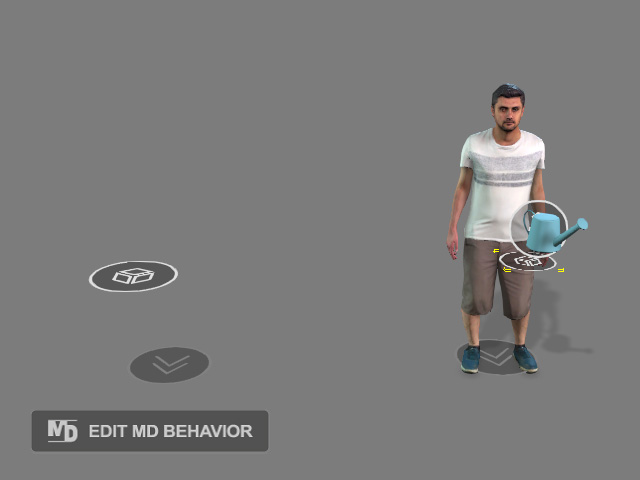
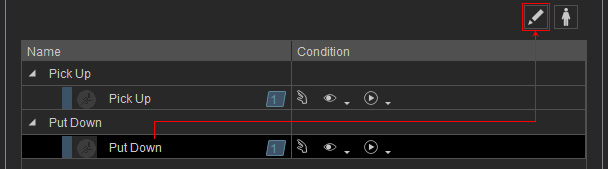
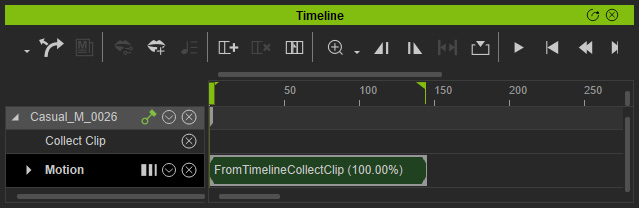
- Select the Put Down motion and click the Edit behavior motion in Timeline button.
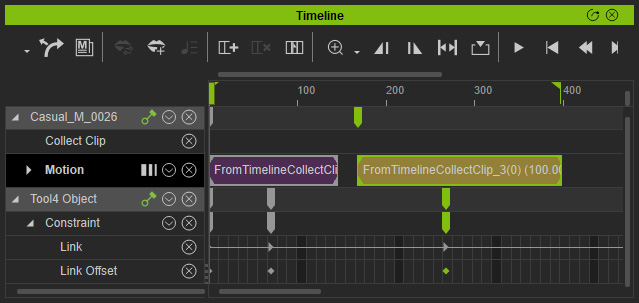
- The motion will be loaded into the Motion track of the character.
- Use motion-related features to create custom motion for putting down the object dummy.
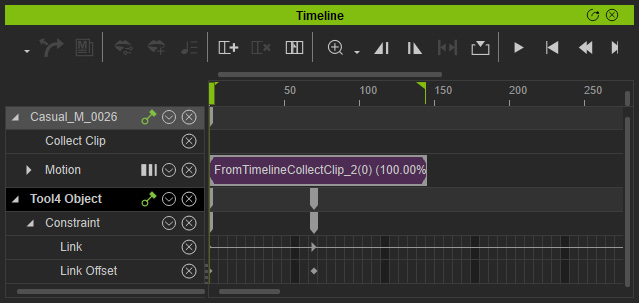
- Select the Object dummy and link it to the hand at the first frame and link it to the placement point when it is put down.
Playback to check out the linking effect. - Right-click on the Link Offset key causing the rotation issue and choose the Split > Split Selected command.
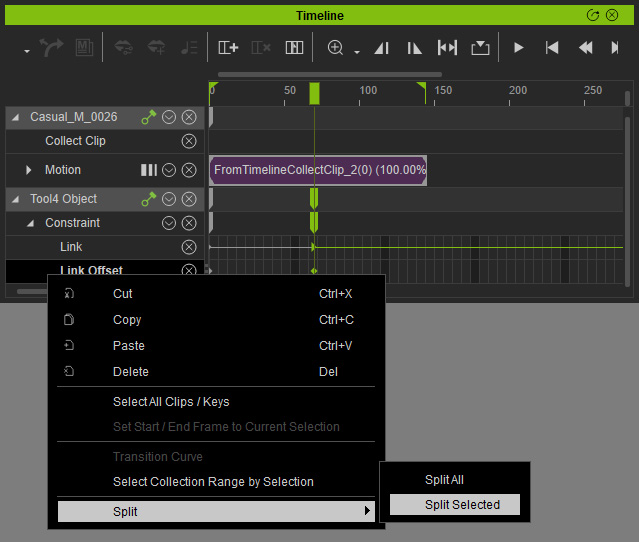
- Right-click on the Link Offset key again and choose the Transition Curve command.

Choose the Step template.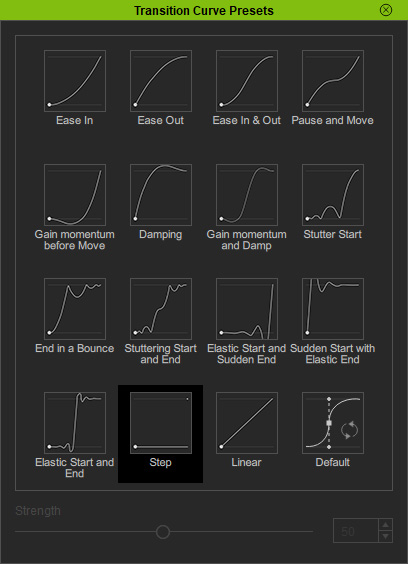
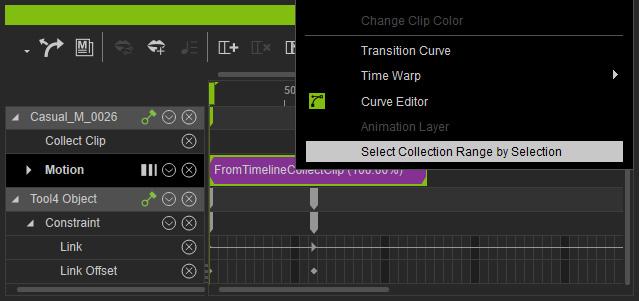
Playback to view the putting down result. As you can see the linking timing of the mesh prop is correct. - Make sure the Put Down motion on the MD Behavior panel is selected.
- Right-click on the clip on the time line and choose the Select Collection Range by Selection command to make a range on the Collect Clip track.
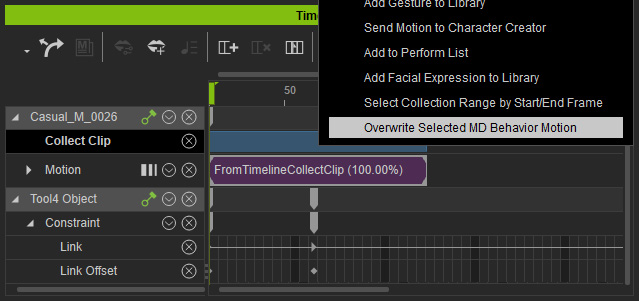
- Right-click in the range and choose the Overwrite Selected MD Behavior Motion command. The link keys and motion layer keys will be baked into the selected Behavior Motion after this step.
- Select the Pick Up behavior motion and follow the same steps to create custom picking up motion.
You may need to playback occasionally to check out the pick up motion and the link effect. - Follow the same steps (8 to 16) to update the picking up motion.
- Click the Apply button of the MD Behavior panel.
- Remove the clips and link keys from the timeline.
- Start the MD mode and have the character interacting with the Placement Point. As you can see the motions are different from the custom ones created in previous steps. It is because character performs the motions integrated in the Object dummy with highest priority.
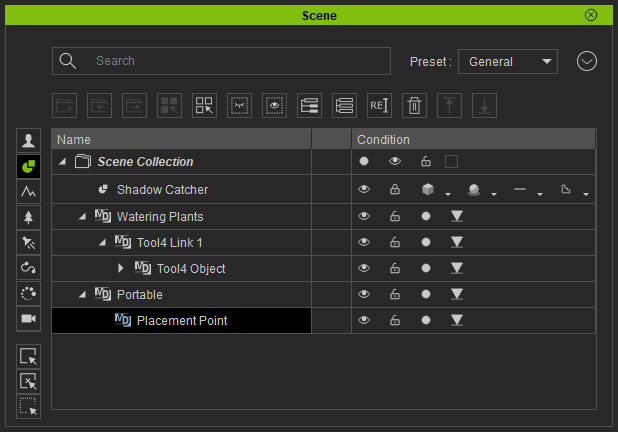
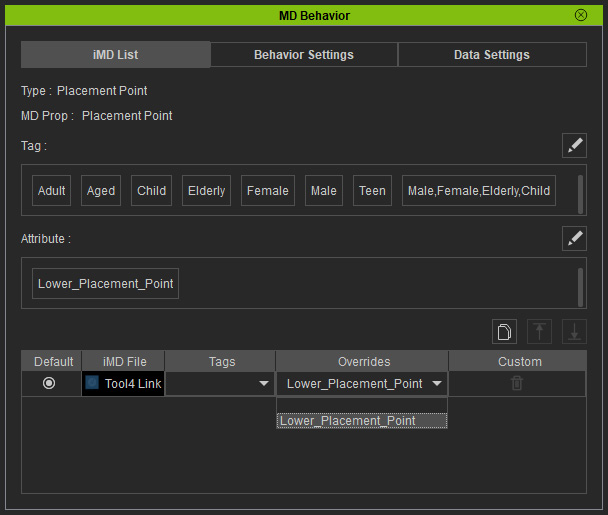
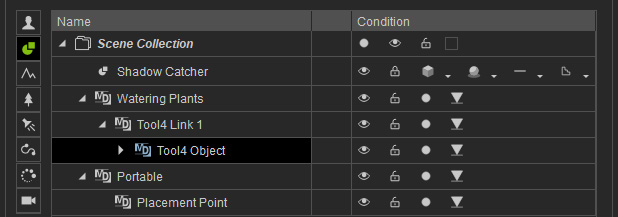
- Pick the Placement Point dummy from the Scene Manager.
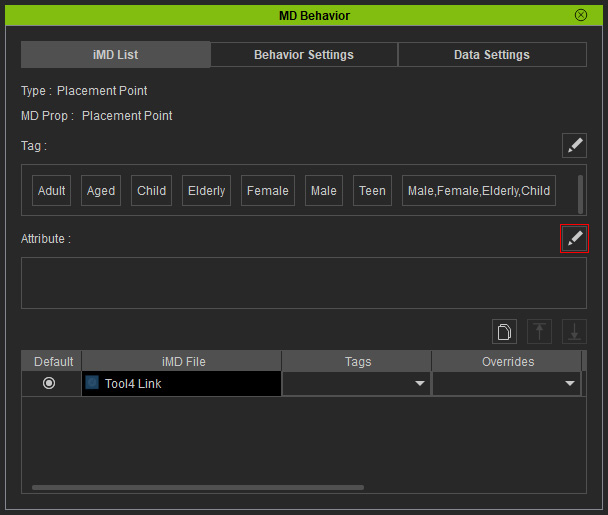
- Switch to the iMD List tab in the MD Behavior panel. Click the Edit Attributes button.
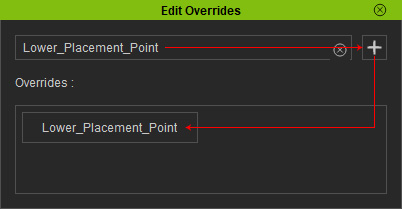
- Type in desired string and click the add button to add the custom text as a new attribute tag. close the panel.
You will see the new attribute tag listed in the panel.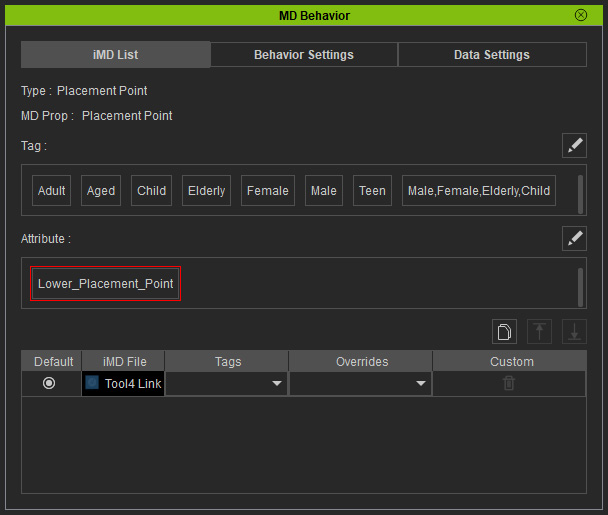
- Set the Overrides drop down list to the new attribute tag.
- Select the Object dummy of the base template MD Prop.
- Set the Overrides drop down list to the new attribute tag.
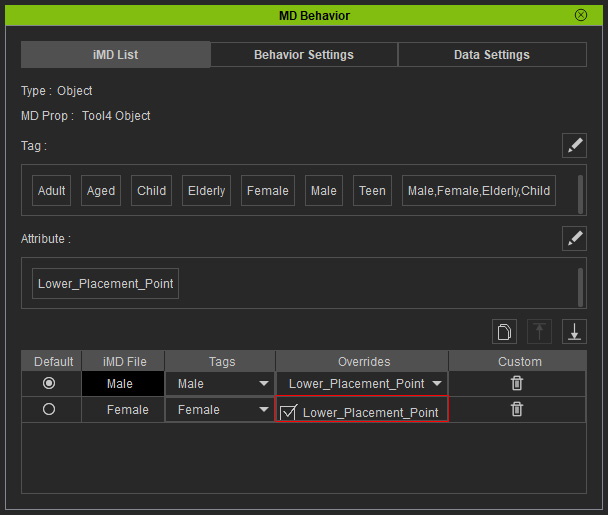
- Step 21 to 24 synchronize the attribute tag for the Placement Point and Object dummy. They will force to increase the priority of the placement point to override the object dummy's priority.
- Start MD mode again and have the character to interact with the Placement Point, the motion results become correct.
