Editing Face Expressions with Layer Keys
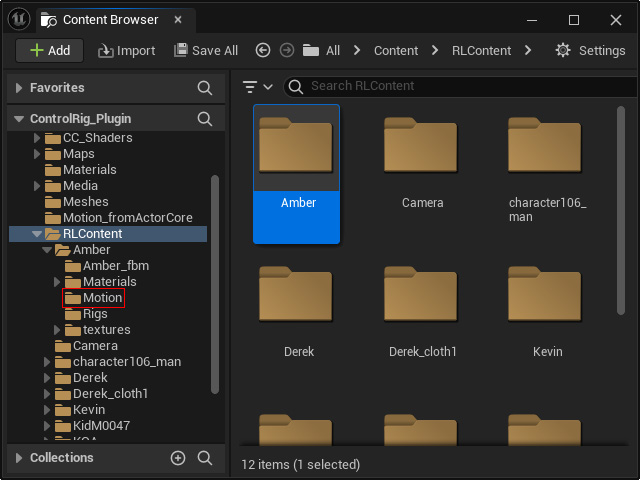
- Import characters and expressions into the Content Browser
by using Live Link or loading FBX files.
- Create the character's blueprints by following the
FBX
or
Live Link workflow.
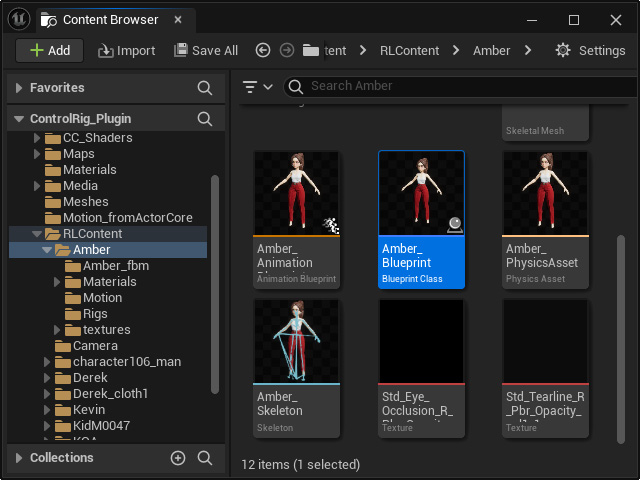
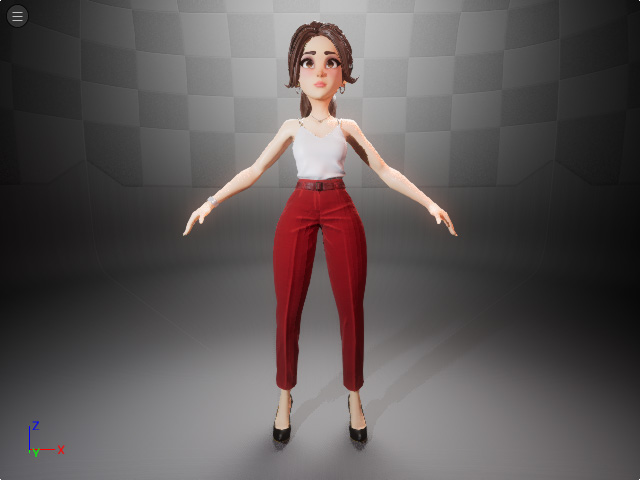
- Apply one of the characters' blueprints to the stage.
- Follow the
these steps to add the "CC_Face_Rig" track to the Sequencer.
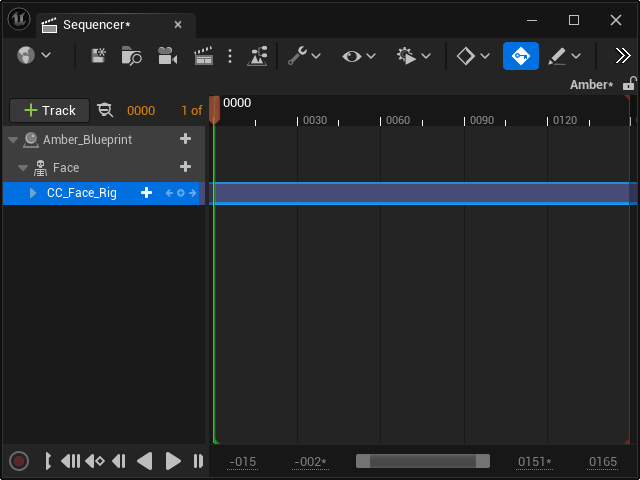
- Click the + button of the blueprint track and choose
Animation > to select the desired animation.
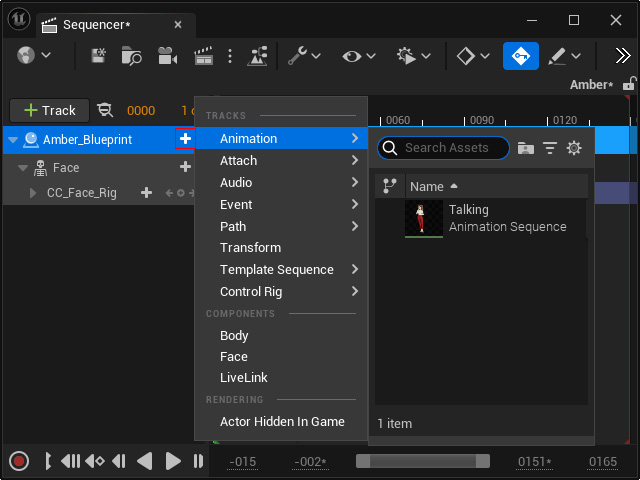
- A new track containing the animation clip will be added.
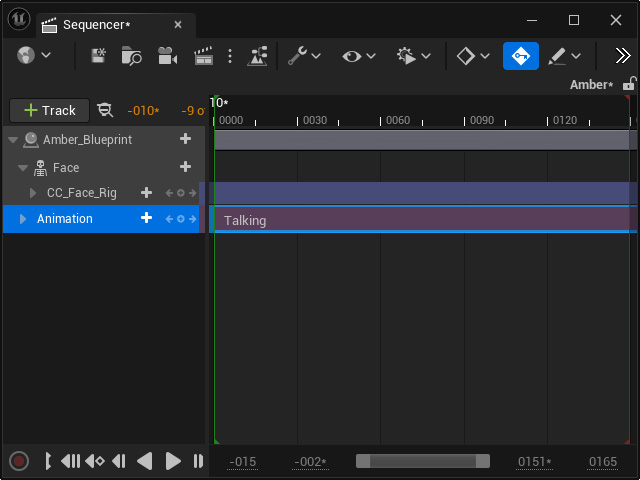
If you playback now, the animation clip will not take effect because the "CC_Face_Rig" track is overriding it. - Right-click on the "CC_Face_Rig" track and enable Mute.

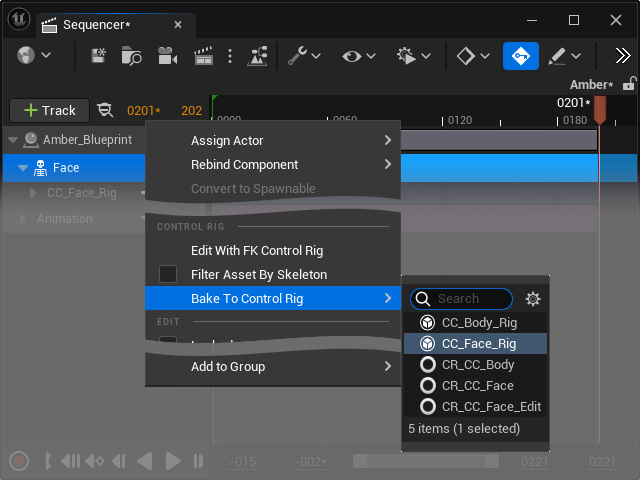
Playback the project. Now the character will perform the facial expression and body movements. - Right-click on the Face main track and choose the Bake To Control Rig > CC_Face_Rig.
Click the Reset to Default button and then the Create button in the Options For Baking panel.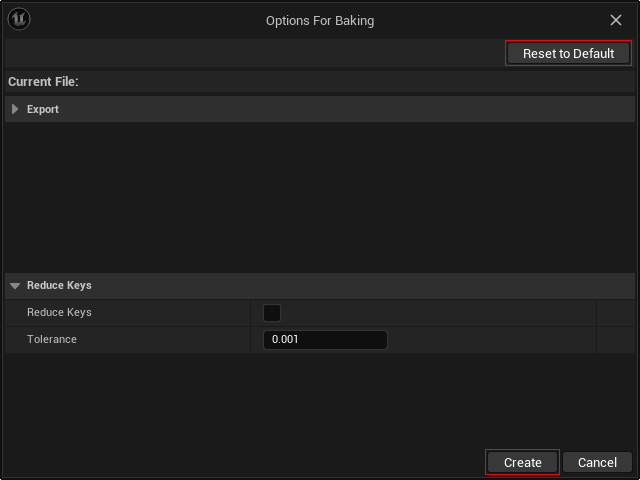
This step samples and bake the animations to the CC_Face_Rig track.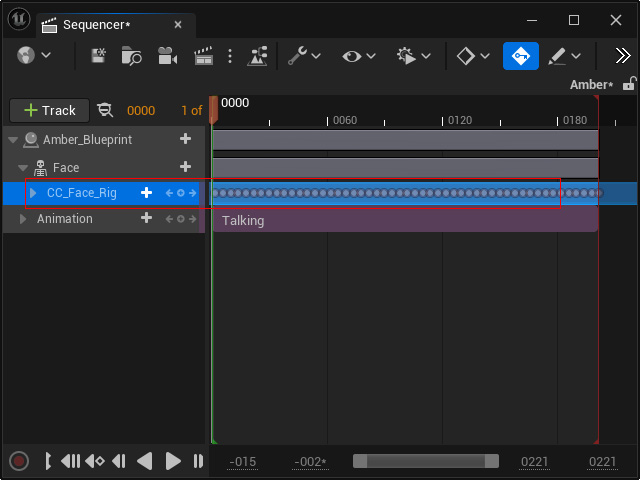
- Since the CC_Face_Rig track is muted in step 6, you need to unmute the track again with the same method. This step will ensure the character's ability to perform the key-frame animation.

Notice that if the animation clip is still activated, manually deactivate it (right-click menu) to ensure the facial expressions are from the sampled keys in the CC_Face_Rig track.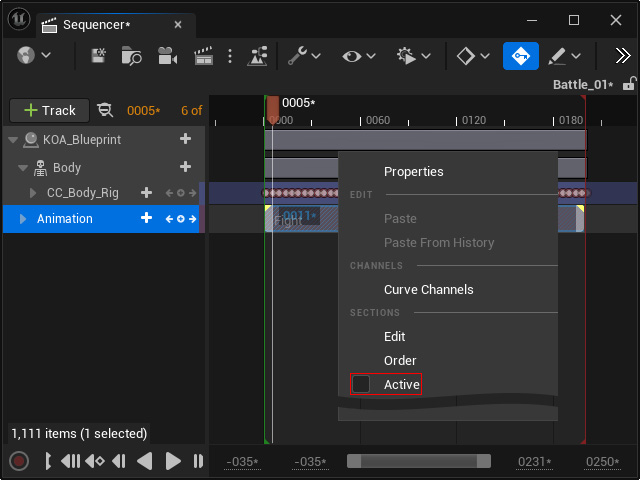
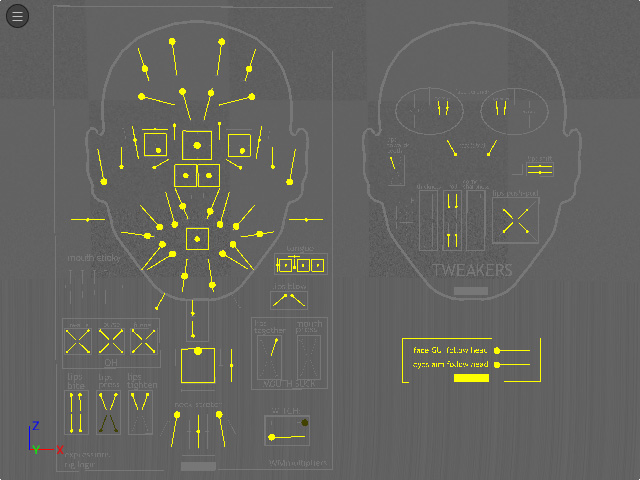
- It is highly recommended that you open a new viewport and focus to the Face Control Rig panel.
- Collapse the CC_Face_Rig track and click the + button and choose the Additive command.

This step will create a new CC_Face_Rig track for layer editing.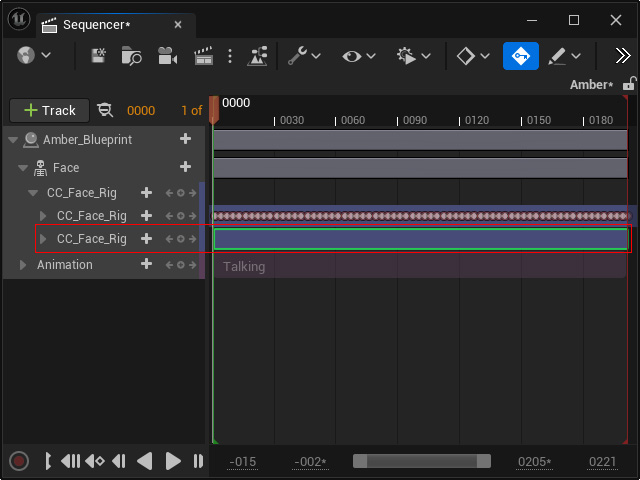
- Follow the steps in Creating Face Key-Frame Animations section for creating layer keys to edit the facial expressions.

- The following table displays the comparison between the facial expressions with and without the layer keys effects.
Without layer keys effects
With layer keys effects
