Creating Animation with Control Rig Panels in Unreal Engine
After a CC control rig has been applied to a character transferred into Unreal Engine using either the FBX or Unreal Live Link workflow, it is ready to be animated.
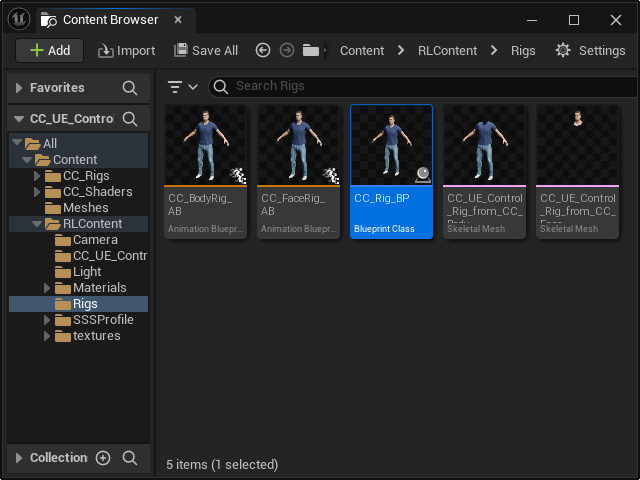
- In Unreal Engine, find the associated blueprint in the Content Browser.
- Drag and drop it to the stage.
- FBX workflow (in the "Rigs"
folder):
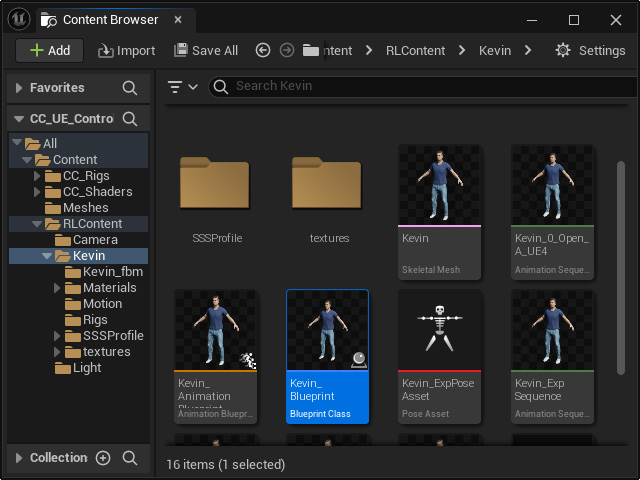
- Live Link workflow
(the parent folder of the skeletal mesh):
- FBX workflow (in the "Rigs"
folder):
- Click the clapperboard button and choose the Add Level Sequence command.
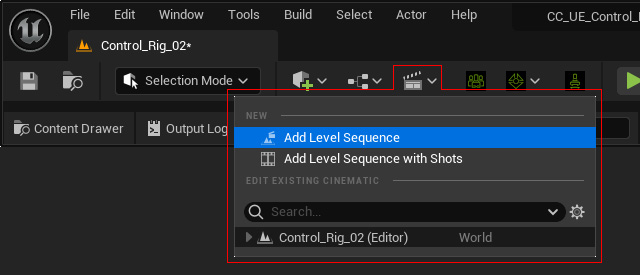
Name the sequence and click the Save button.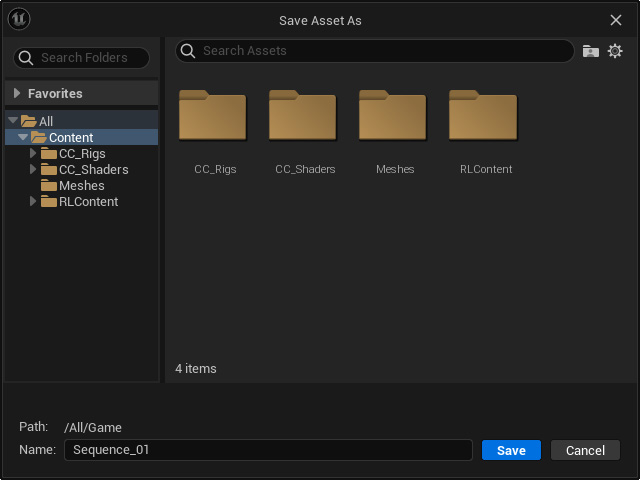
A new sequence panel will appear.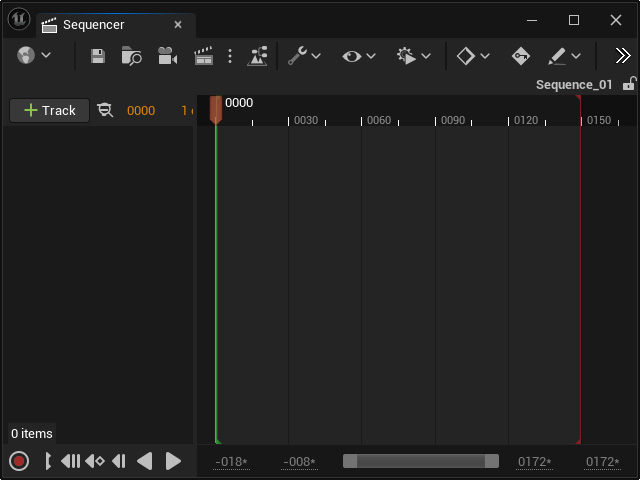
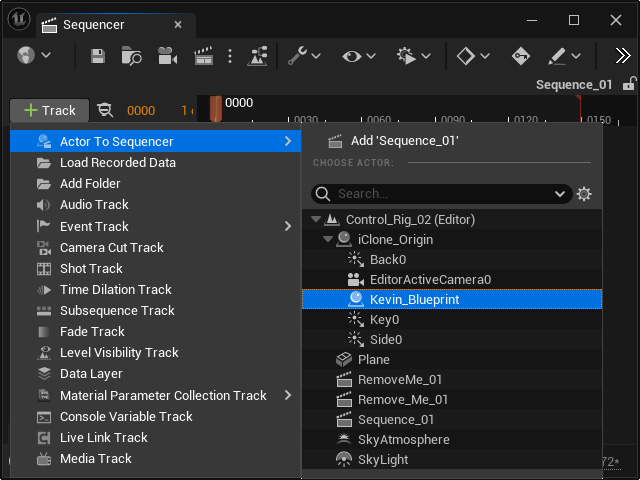
- Click the +Track button, choose Actor To Sequencer >
to select the actor's blueprint.
- Remove all sub-tracks within the blueprint.
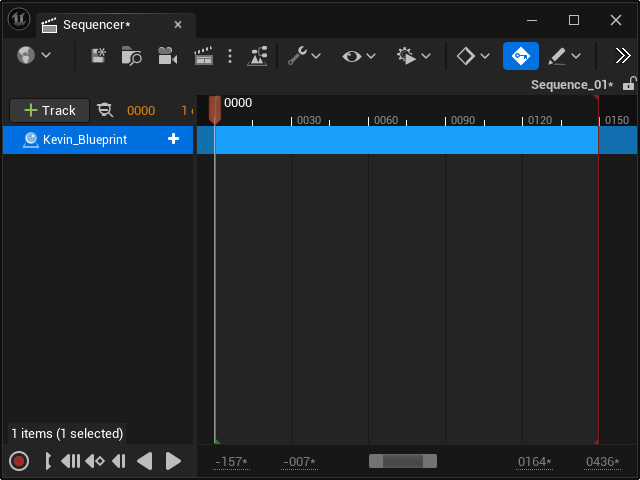
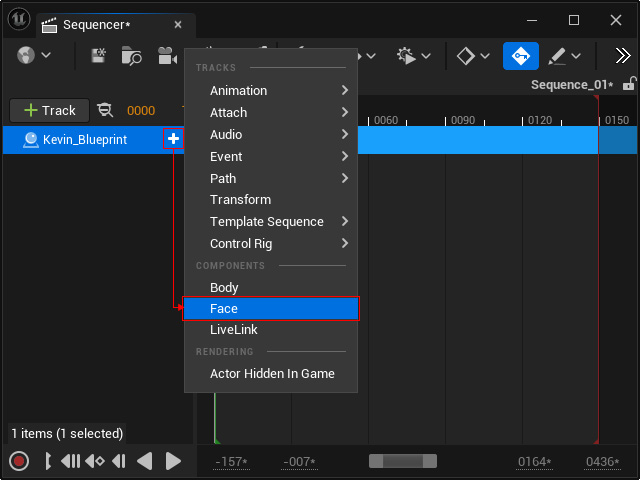
- Click the track's + button and choose the
Face component to add a main track.
- Click the + button of the "Face" track and choose
Control Rig > Asset-Based Control Rig > "CC_Face_Rig"
to add a "CC_Face_Control_Rig" sub-track.

Make sure Filter Asset By Skeleton is disabled to view all list items.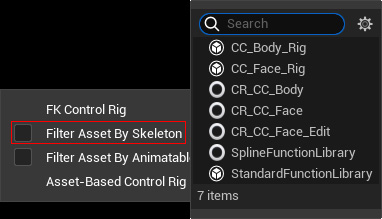
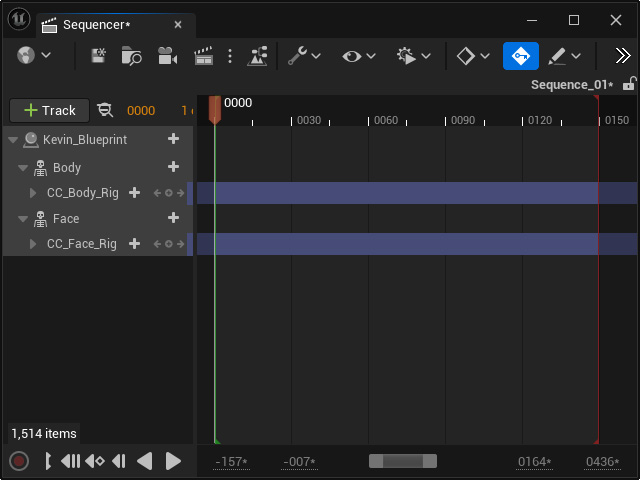
Now, you have created a complete track structure for the face rig.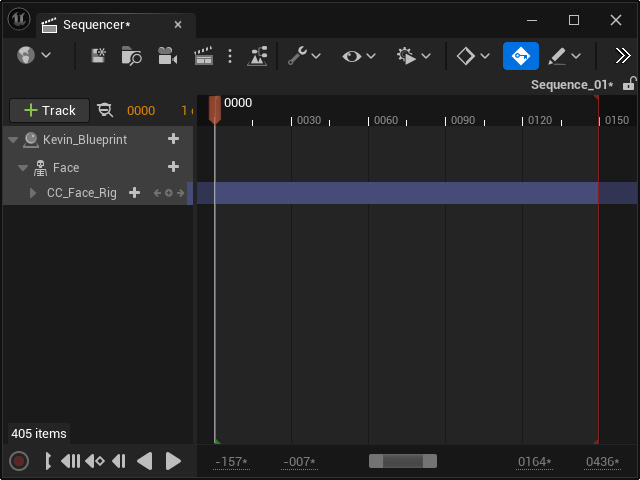
- Repeat the same steps for the body rig track.
- The facial expression widget panel will appear besides the
character's head and the rig controls will assemble around the body.
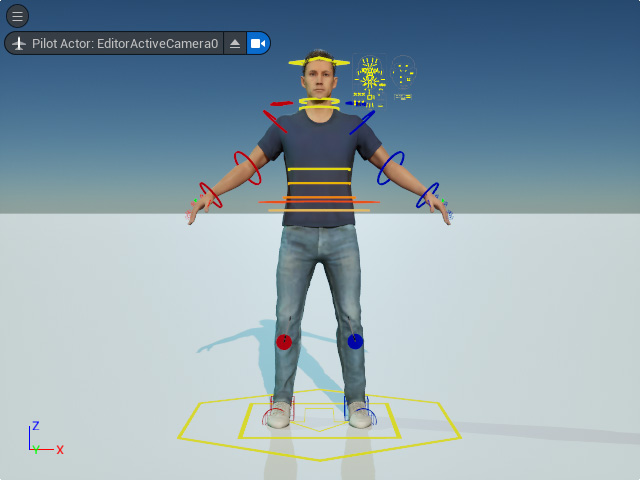
- You can then use the controls to create the facial expressions and body animations by setting keys in the Sequencer panel.
