Importing 3D Motions (New for v4.4) 

After your 3D motions are prepared,
you can utilize the Import 3D Motion panel to quickly convert all Reallusion 3D Motions (rlMotion) into applicable 2D motions suitable for every G3 Human Characters of different facing angles design in Cartoon Animator.
( Watch Tutorial - Getting Started with 3D Motion Converter )
Depending on your needs, you can convert 3D motions by using a standard Dummy to present 1:1 3D motions in 2D animation, or convert 3D motions by using an usual G3 Human character to quickly enrich the character motions in your project.
* Only the G3 Human characters are supported for this feature.
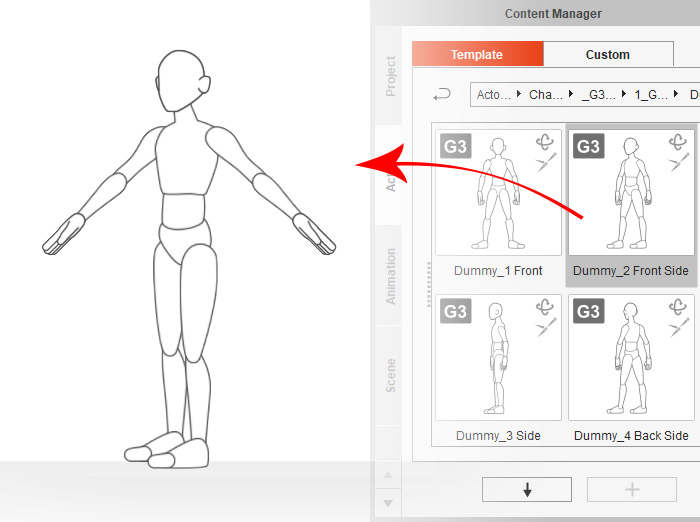
- Apply a G3 Human character.
In this case, the Front Side Dummy for 3D Motion
with 360 Head and Bone Hand, designed in 1:1 bone scale for demonstrating the standard 3D Motion.
- Import the desired 3D motion for the character with either of the following methods:
- Double-click or drag and drop any compatible 3D motion content to the character.
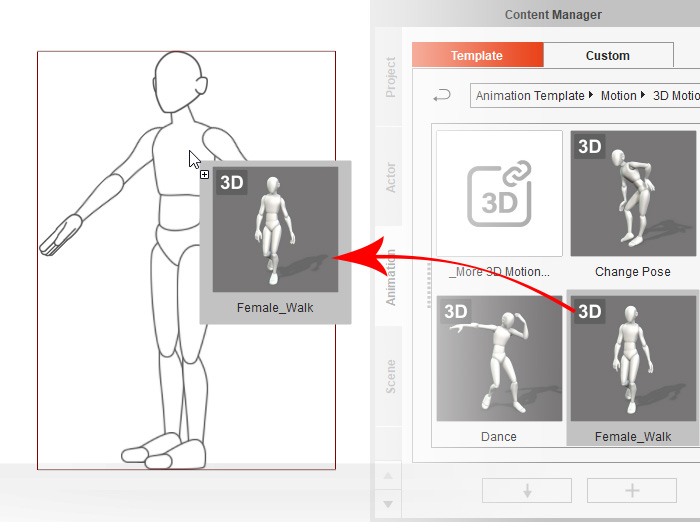
- Click the Import 3D Motion button on the Functional Toolbar to invoke the Import 3D Motion panel.

Alternatively, execute the Animation >> Import 3D Motion command from the Main Menu.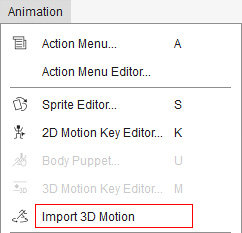
- Double-click or drag and drop any compatible 3D motion content to the character.
- The Import 3D Motion panel will open and the link between the 3D View dummy and the character will be activated automatically.
If you choose the second method (b) in Step 2,
click the Import Motion button to load a compatible 3D motion for the character.
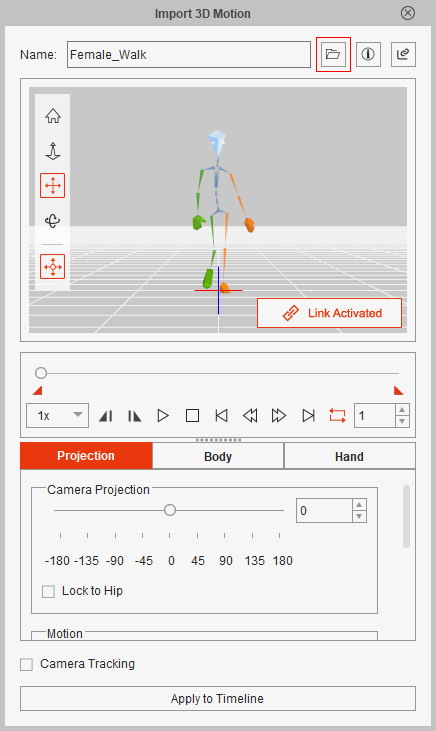
You can learn more about this panel in the Introduction of Import 3D Motoin Panel section. - Determining the projection angle -
The dummy will perform the initial pose of imported 3D motion at a front angle by default.
Therefore, you may need to drag the Camera Projection slider to set a suitable angle for your character.
Alternatively, click an angle preset (-45 in this case) for the character in this case.
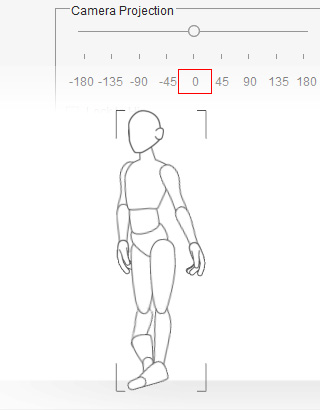
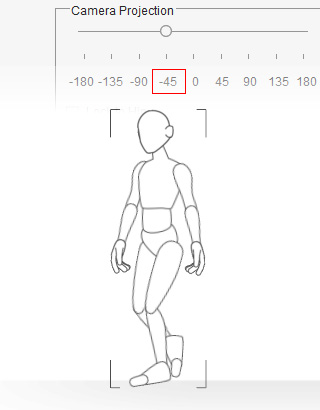
The defaul angle is set to 0. Set the angle to -45 for the Front Side character. - In the 3D View, click the Play/Pause button or press the Space bar to preview the imported 3D motion.
The dummy and the character will be animated simultaneously under the Link Activated status.
 Note:
Note:If you find the character moves offscreen during preview, you can enable the Camera Tracking checkbox at the bottom to keep the animated character in view.
- If you are satisfied with the preview result,
click the Apply to Timeline button at the bottom to extract the motion to timeline tracks.
The link between 3D View Dummy and the character will be disabled. The character will perform the converted motion once. - You can sequently drag another 3D motion from a custom library folder to this panel.
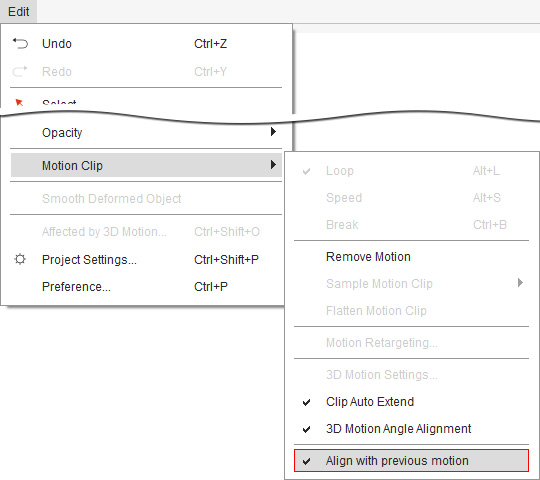
Note:
With the Align with previous motion setting enabled, the character can perform sequential motions not offsetting body.

- In the 3D View, playback to preview the newly imported 3D motion.
If the character has to change its facing angle for a motion with opposite directions,
activate the Flip Body checkbox to flip the character automatically during performing.
Flip Body = Off. Flip Body = On. - Optionally, you can change the motion speed or trim parts of the motion by using the playback controls.
Speed = 1x.
Full motion length.Speed = 2x.
Trimmed the initial walk. - Click the Apply to Timeline button again and your character animation will start.
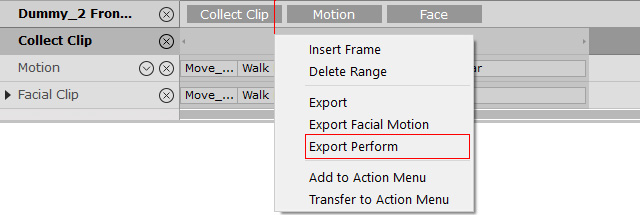
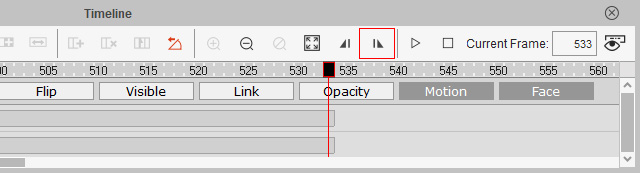
Open the Timeline (F3) and click the Set End Frame button on the frame where the character stops to collect the motion clips and save them as one ctBPerform to the Custom Perform Library.
Note:
Make sure that you save the motion clips to the Custom Perform Library in order to include the head rotation data in the motion.
Now you can drag the customized motion to another G3 Human character regardless of body sizes and proportions, because the motion saved from a Dummy for 3D Motion containing Motion Retargeting data will be auto-adjusted according to the length of the character's limb bones.