Docking Toolbars and Panels
Qt UI is designed to let you drag, dock and combine your various work panels to any area of the screen, allowing for the quickest workflow in any number of scenarios. You can then save your custom UI layout for future use, and quickly switch between different layout frameworks like animation view, scene setup view, or cinematic view.
Docking Areas
The docking areas of the program are divided into Top / Bottom and Left / Right areas.
At the center, it is the Preview Window in which you can observe the 3D content you are editing.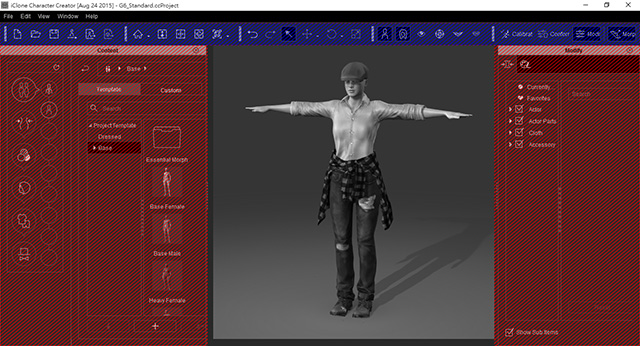
- Top Area: On the top area, you are able to dock all types of toolbars, such as Project, General and Camera.
- Left and Right Areas: Content Manager, Scene Manager,
Modify and Preference can be docked to the right or left areas. The
docking methods can be Stack or Top-down.
- Stack: Docks every panel into one single pane. You can then click on (or mouse-wheel on) the tabs at the side of the panel to switch among them. By double-click the caption of a floating panel, the panels will be stacked together.
Benefits of Docking Panels
There are several benefits to docking panels.
- Customizable Layout of User Interface: You are able to customize your desired layout by re-arranging and saving it
as the Standard workspace layout.
- Re-arrange the workspace layout to find the one you desire.
-
Execute the Window >> Workspace >> Save Layout command.
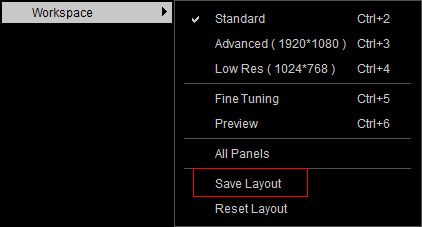
- Execute the Standard command (Ctrl + 2) in the same main menu, the layout will thus be the one you saved in the previous step.
- Execute the Reset Layout to reset the layout to the original one when Character Creator was installed.
- Convenient Embedded Layout Templates: Character Creator also provides several types of layouts for certain purposes.
- Advanced (Ctrl + 3): This layout brings up the Modify, Content Manager panels, and all toolbars.

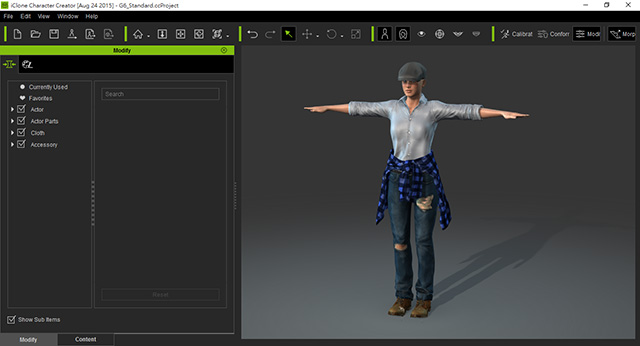
- Low Res (Ctrl + 4): To stack the Modify and
Content manager panels to the left side, please switch to
this mode.
- Fine Tuning (Ctrl + 5): When you want to focus on modifying
the character with a broader 3D view, then switch to this layout.
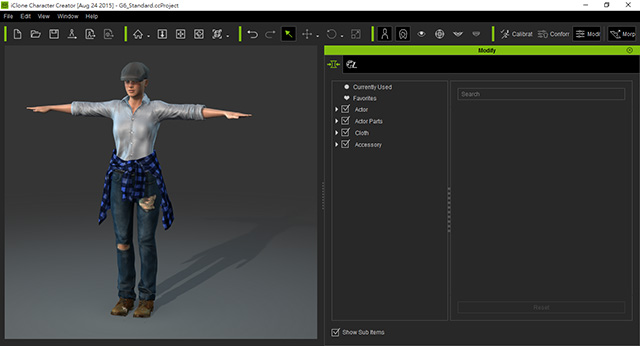
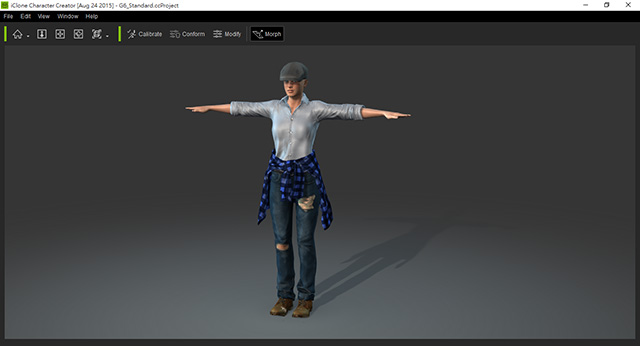
- Preview (Ctrl + 6): In order to observe the character carefully,
you may switch to this mode to hide every panel and maximize the size of
the 3D viewer.
 Note:
Note:- You may also utilize the same method described above to overwrite the default layout template.
- If you want to reset an overwritten template, then switch to the template and execute the Reset Layout.
- Advanced (Ctrl + 3): This layout brings up the Modify, Content Manager panels, and all toolbars.
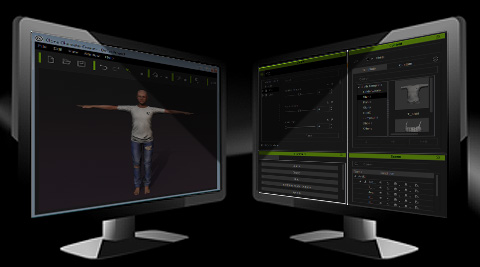
- Wider Editing Environment for Dual Monitors: If
you are using a dual-monitor setup, then you have more freedom to re-arrange your workspace.
For instance, you can drag all panels to the other monitor to
reserve one screen for a maximized 3D viewport.
