Manually Setting T-Pose
When you start the Characterization procedure for converting bone-skinned models to Humanoid characters, the first and the most important step is to set a T-pose for the character, no matter what the initial pose the character strikes. This is because the motions in iClone are all generated for characters with an initial T-pose. Thus, if you set a T-pose for your custom character then the motions applied to it will generate the most correct results.
If you know the 3D tool from where your character was created, then you can use the T-pose profile for quick setting. Please refer to the Auto T-Pose and Bone-Mapping Method section for more information.
Preparations before Setting T-Pose
- Make sure you have entered the Characterization mode.
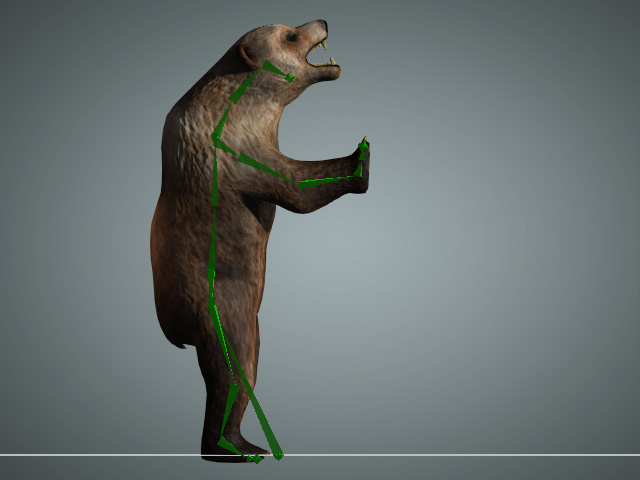
- Press the F or A, S keys to switch the camera to a front or side views of the character. The front-view is
suitable for adjusting the hands, and the side views are useful for modifying the
head, spines and legs.

Front View: Suitable for adjusting the hand levels.
Side View: Suitable for adjusting the front and back of head, spines and legs.
- Make sure the grid is On (Shortcut: Ctrl + G).
- Click the button to change the camera view to Camera Orthogonal mode (Shortcut: Ctrl + Q).

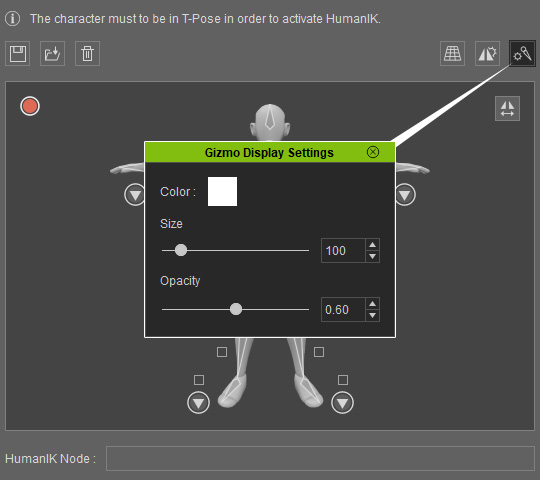
- Click the Gear button to display the Bone Setting panel for adjust the size and color of the bones.
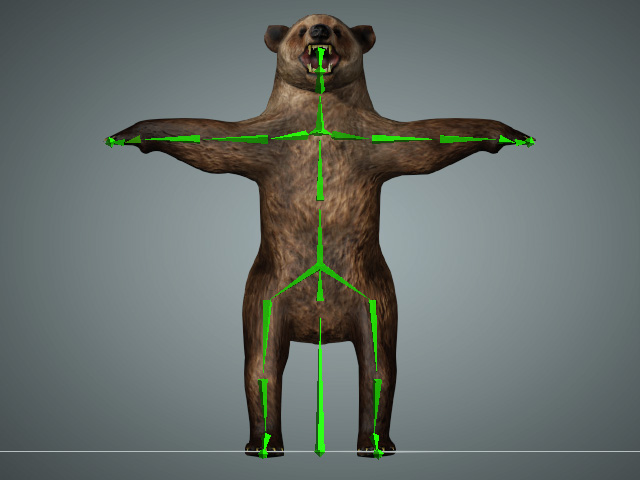
Manually Setting a T-pose
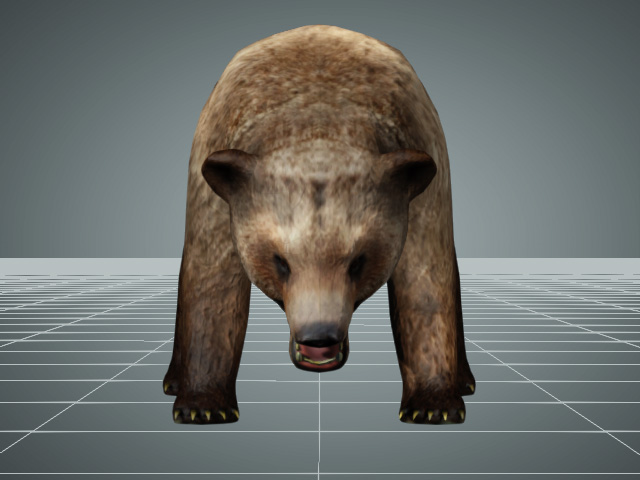
If the character's bone structure was made by you, and does not follow any character building convention found in other 3D editing tools, then you need to manually set the T-pose of the character.
-
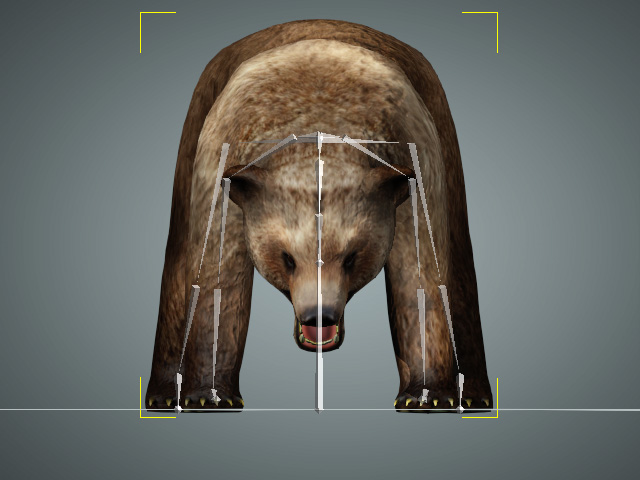
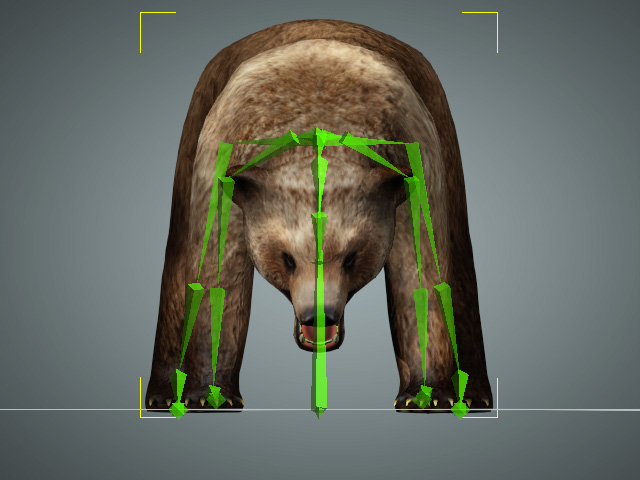
Select a bone of the character by clicking on the bone in the 3D viewer, or pick it in the bone manager (Shortcut: F3).

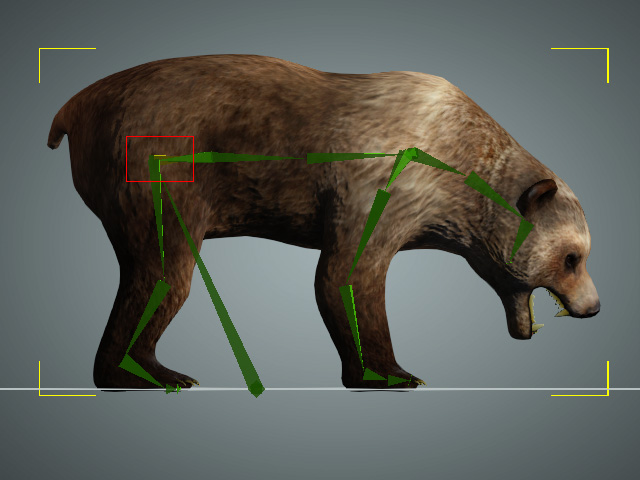
Picking in the Bone Manager.
Side view of the character (Shortcut: A).
-
Switch to the Rotate Object tool (Shortcut: E).
The gizmo shows on selected bones.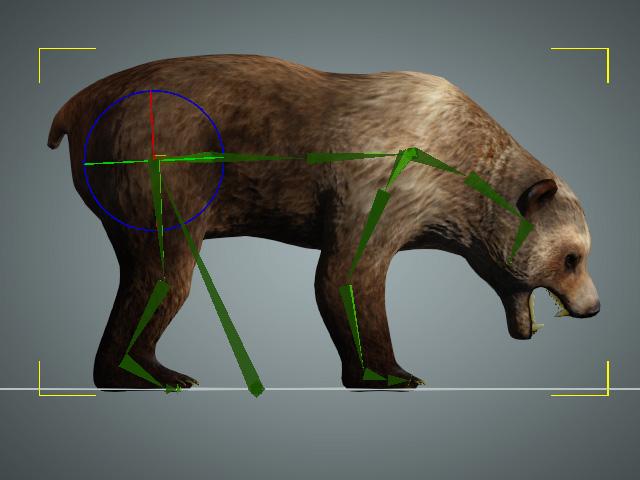
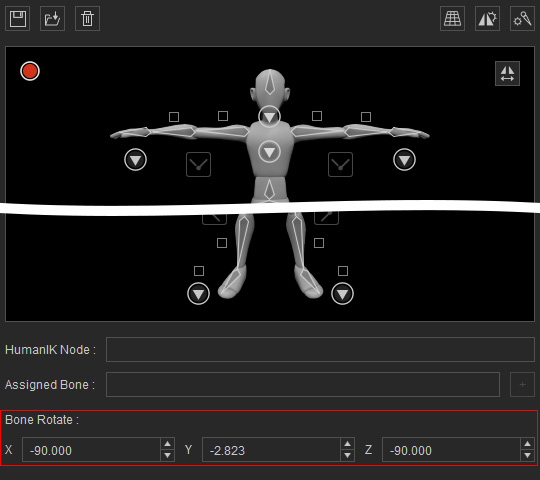
-
Drag the circle on the gizmo to rotate the bone. Alternative, you can enter values in the X, Y, and
Z numeric fields for precise angle adjustments of the bones.
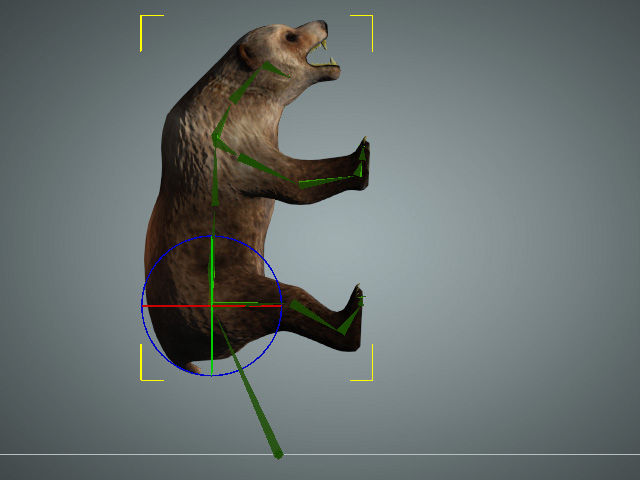
-
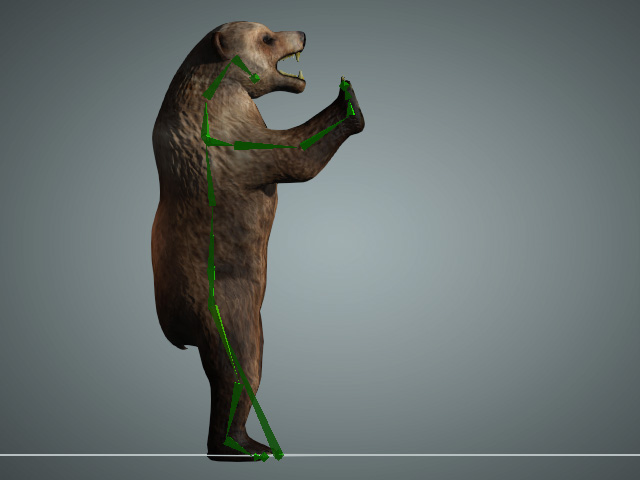
With the same method, rotate the bones of the legs so that the character stands up.
-
Adjust the head bone to make the character look forward.
-
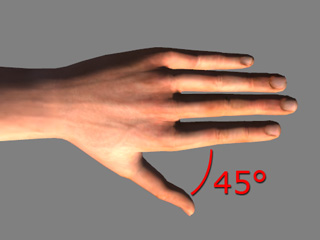
Switch to the front view and adjust the legs until they
straighten up.
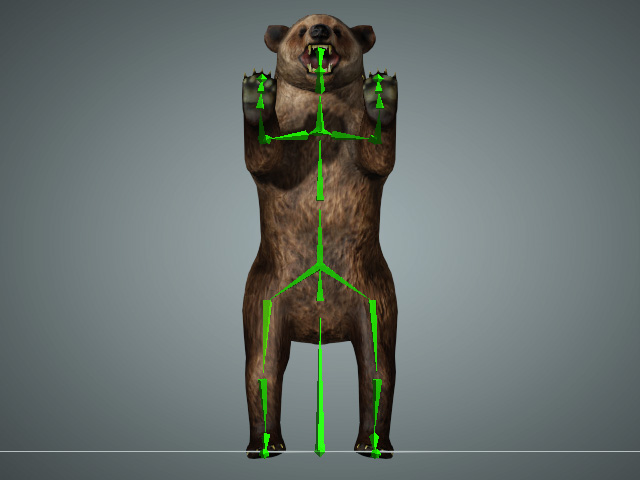
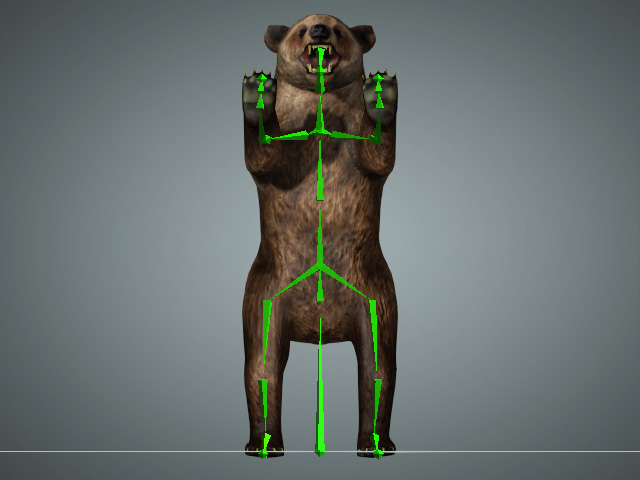
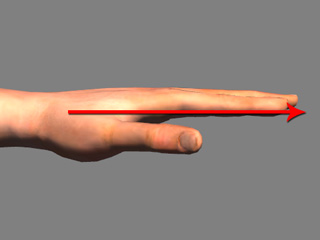
- Adjust the hand bones so that the arms reach out and open with the palms facing down.
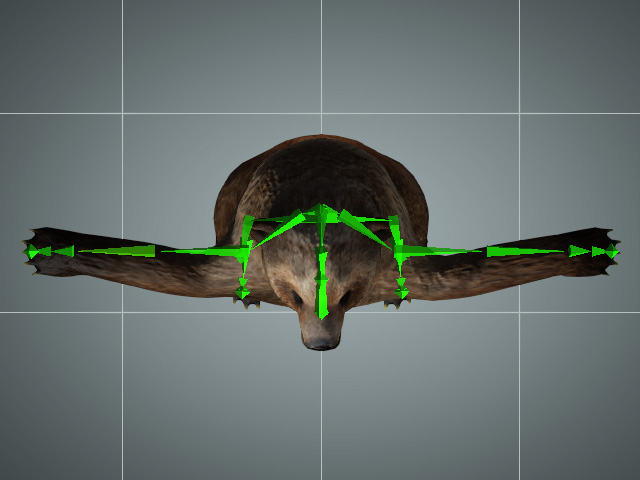
Switch to the top view (Shortcut: G) to make sure that the arms are straight.
Arms opened wide.
Palms facing down.
You may need to switch between different views to make sure that the hands are straight enough.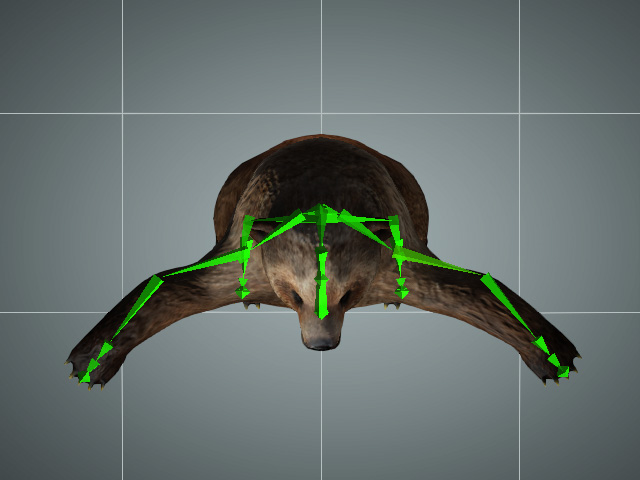
The arms are not straight
After the bones are adjusted.
- You can click the Save HIK Profile button to save the current
T-Pose to a 3DXprofile file.

This file can be applied to any character with the same bone structure to skip the T-Pose set-up process.