Laterally Partitioning Vertices (New for v3)
When a custom model needs to be converted into a clothe with two lateral sides, such as shirts or pants, you need to separately define the vertices on the meshes to left or right in order that they can be influenced by the correct bones instead of the nearest bones after skin weight assignments.
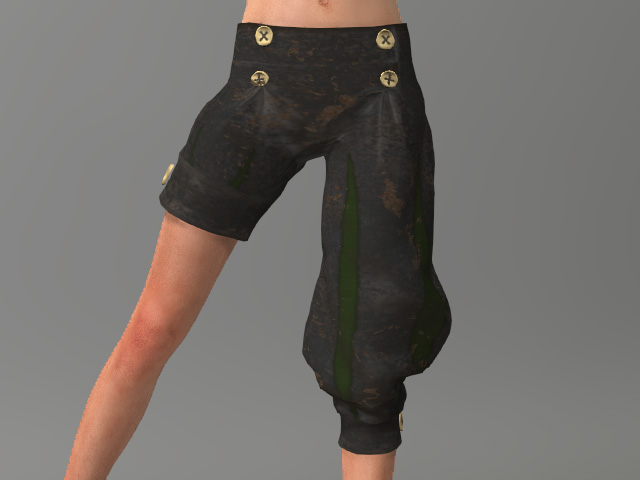
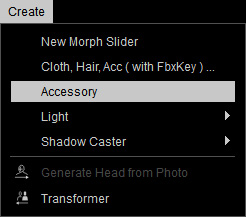
- Create a project and load a model file in OBJ or FBX format by accessing Create menu >> Accessory command.
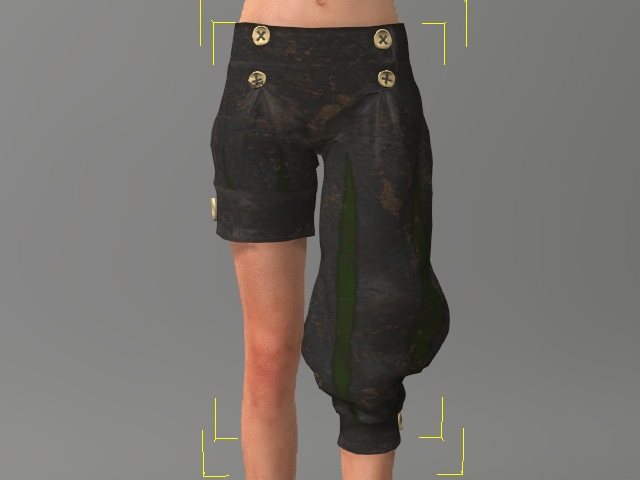
- The model will be loaded. By default, it is loaded as an accessory.
 Note:
Note:The model in this case is transformed and its meshes are edited as well. Besides, the shader types are set to PBR.
- In order to assign the skin weight to the accessory and turn it into a piece of cloth, select it and access Modify menu >> Transfer Skin Weights command.
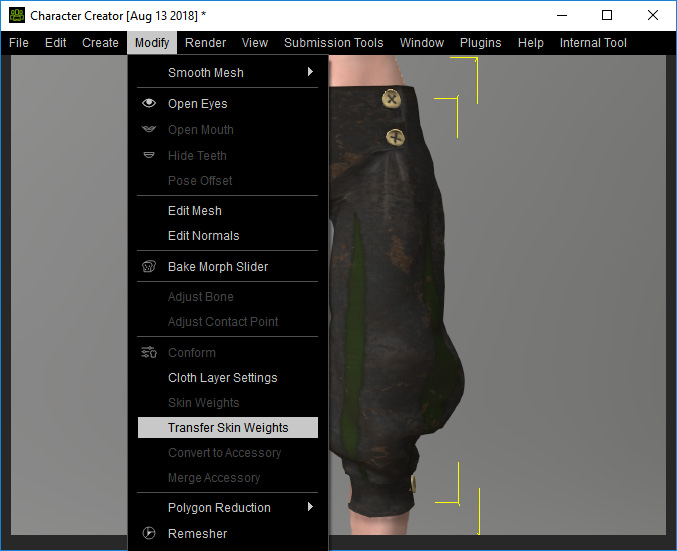
Alternatively, go to the Modify panel >> Attribute tab >> Modify section and click the Transfer Skin Weights button.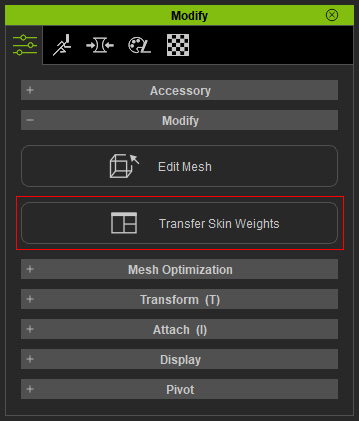
- In the Transfer Skin Weights panel, determine the target for the accessory to be turned to. This step not only assigns skin weights to the vertices, determines the type of the cloth, but also sets the layer order after the accessory is converted to a piece of cloth.
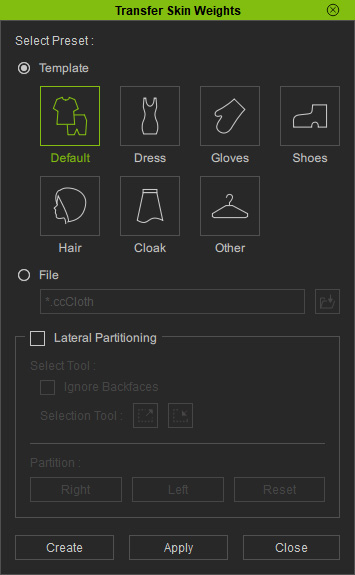
- Click the Apply button to set skin weight automatically for the cloth.
- Now when you pose the character and you may find that some of the vertices are driven incorrectly by the bones of the other side.
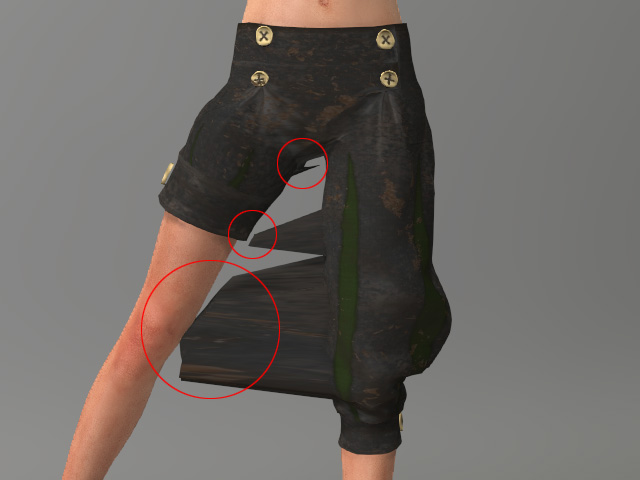
It is because these vertices are assigned skin weights from the nearest bones. - Make sure the clothes are selected and launch the Transfer Skin Weights panel again.
- Activate the Lateral Partitioning check box.
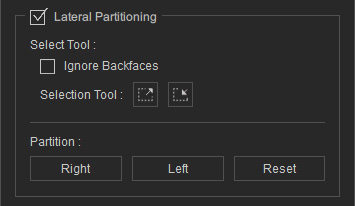
As you can see that the vertices behaving incorrectly are dyed with the color from the other sides.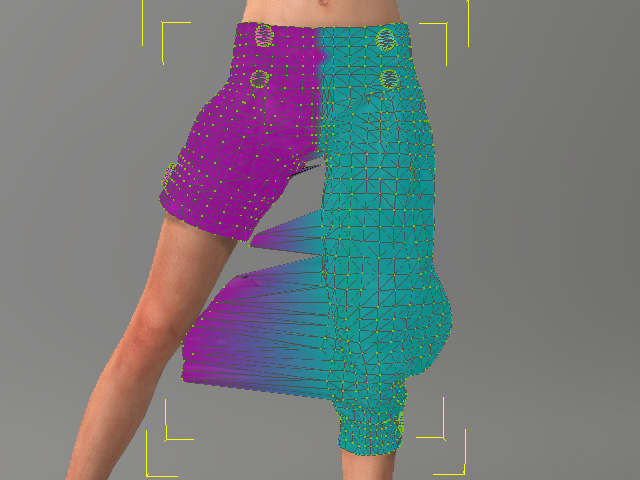
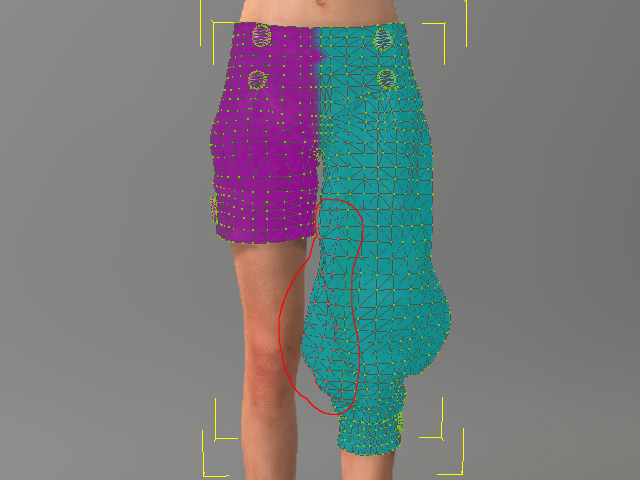
- Reset the pose of the character and open the Transfer Skin Weights panel again. Activate the Lateral Partitioning check box.
- Select the vertices that are not correctly auto-partitioned.

- Click the Left or Right buttons to assign their side (in this case, the left leg, therefore the Left button).
- Repeat the same steps for the other vertices until all of them are defined to correct side.
- Click the Apply button with the desired template selected to re-assign the skin weights for all the vertices.
- Pose the character again to test the fixes.