Using Auto Move Nodes - Path
The Auto Move Node can be used to drive specified character to move along a path.
- Create a project with a character and a path.
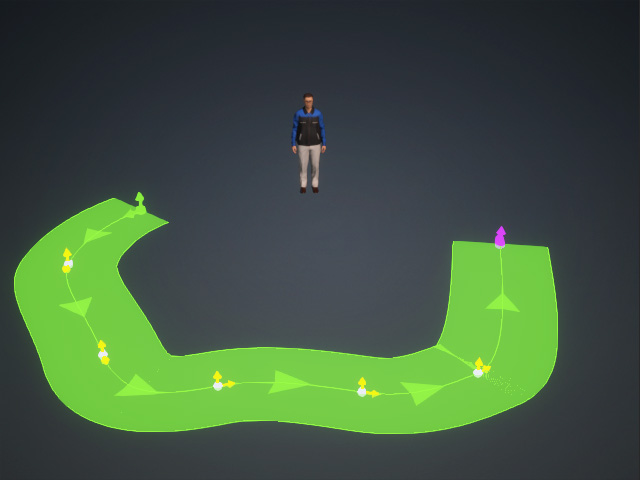
- Open the MP Node Graph panel. Right-click on the viewport space and choose Motion Node > Auto Move.
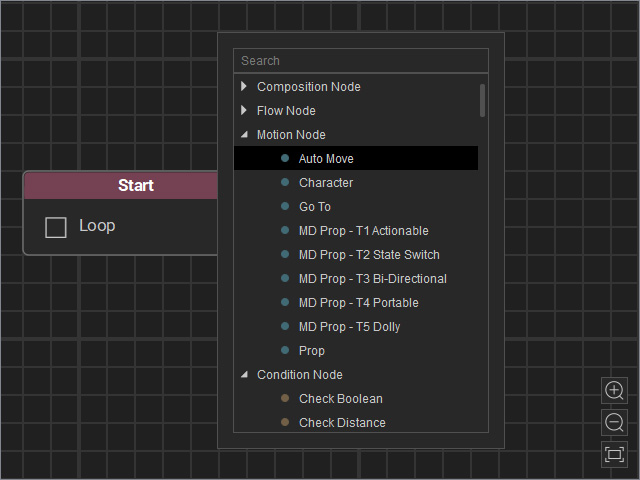
A new Auto Move node will be inserted on view.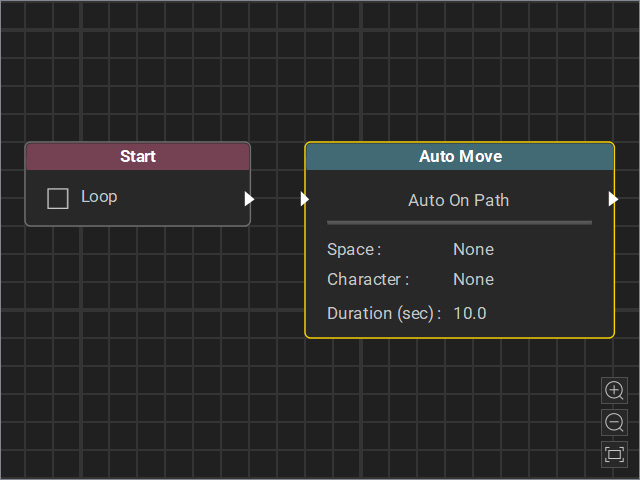
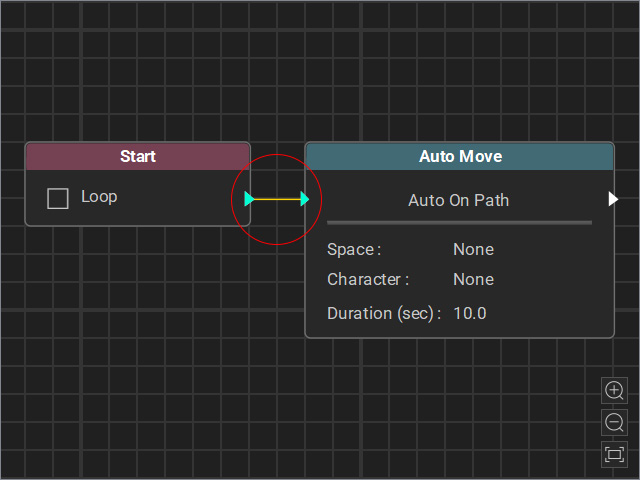
- Drag a flow line from the Start node’s output and connect it to the Auto Move node’s input.
- Select the node and adjust the settings in the Attributes page.
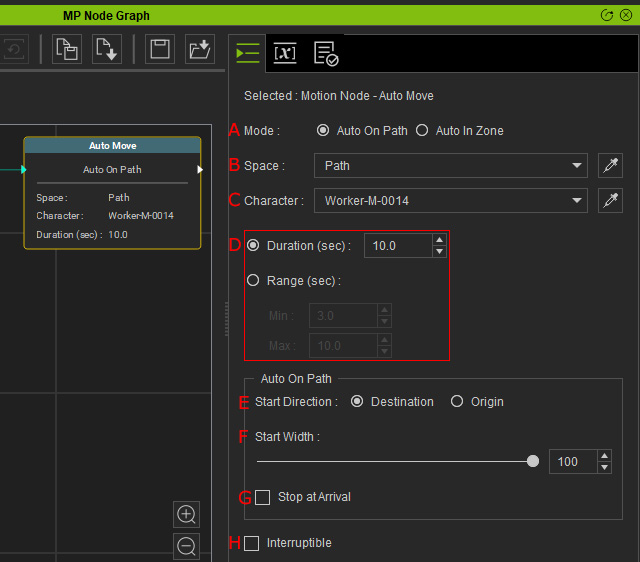
- Mode: Choose the Auto On Path or Auto In Zone radio buttons to drive the character to walk on a path or in a zone.
- Space: Set the field to associate the node with the target path.
- Character: Set the field to associate the node with the target character.
- Time on path:
- Duration (sec): Determines the time the character walks along the path (in the following case, the character is set to goes to a waypoint after the time on the path has finished).
- Range (sec): Randomly determines the time range the character walks along the path (in the following case, the character is set to goes to a waypoint after the time on the path has finished).
- Duration (sec): Determines the time the character walks along the path (in the following case, the character is set to goes to a waypoint after the time on the path has finished).
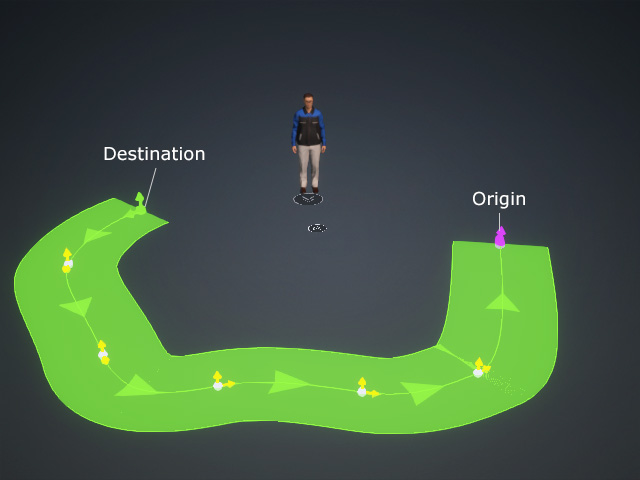
- Start Direction: Determines to start walking on path from the start or the last control points.
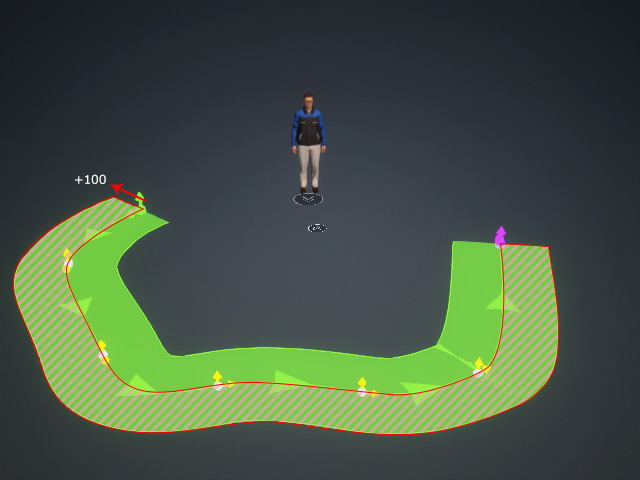
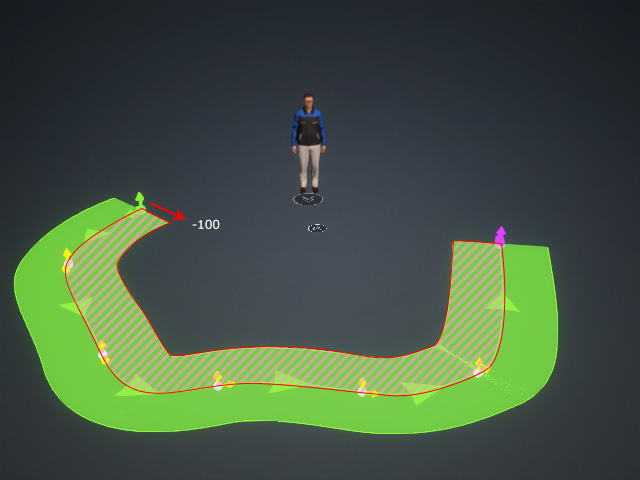
- Start Width: Setting the width for the character to walk within.
- Stop at Arrival: Force the character to ignore the Duration and Range time settings and walk the entire path (the time settings will be disabled).
- Interruptible: When used together with a node from the Condition Node category, the motion driven by this node can be forcibly interrupted.
- Start MD Mode to view the animation result.
