Using Position Nodes
The Position Node is used to detect the XY position of a specific object in the 3D scene, record it in the Log Output list on the Log page, or display the position value in the 3D scene using a particle-effect text emitter.
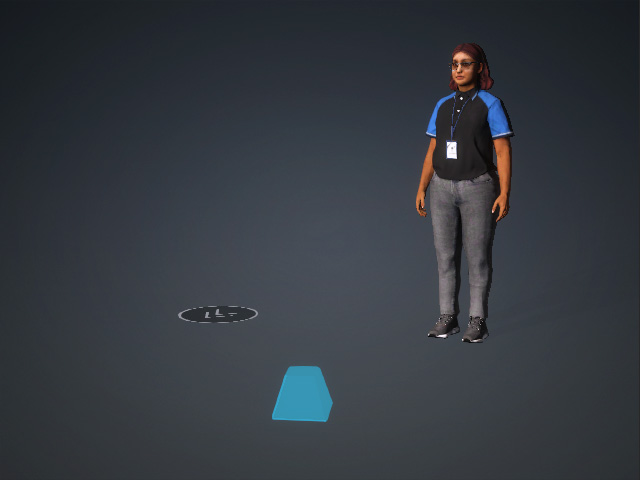
- Create a project with a character, an MD prop and a particle-effect text emitter.
- Open the MP Node Graph panel. Right-click on the viewport space and choose Print Node > Position.
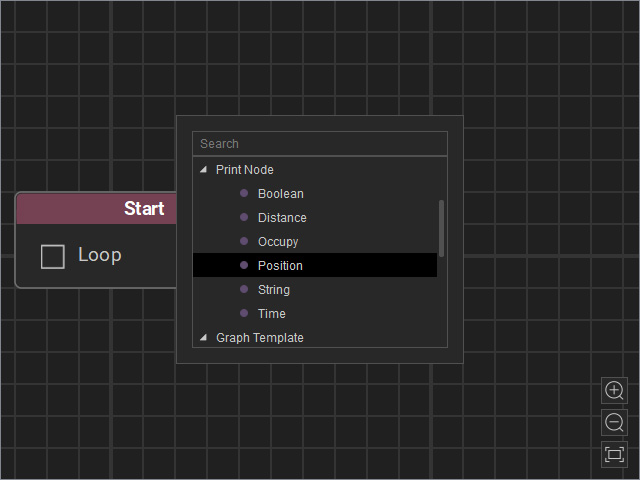
A new Position node will be inserted on view.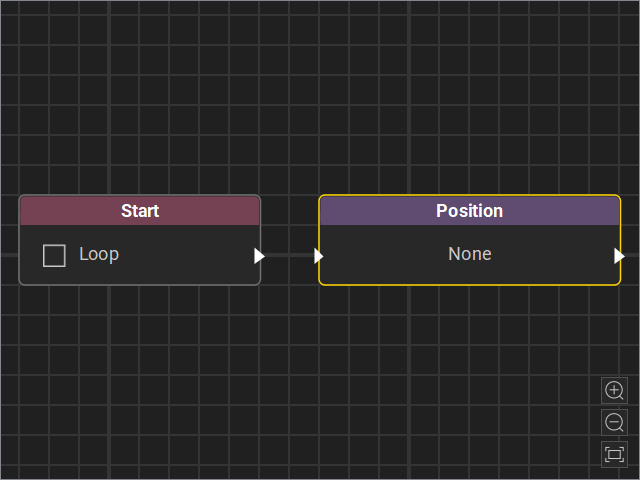
- Drag a flow line from the Start node’s output and connect it to the Position node’s input.
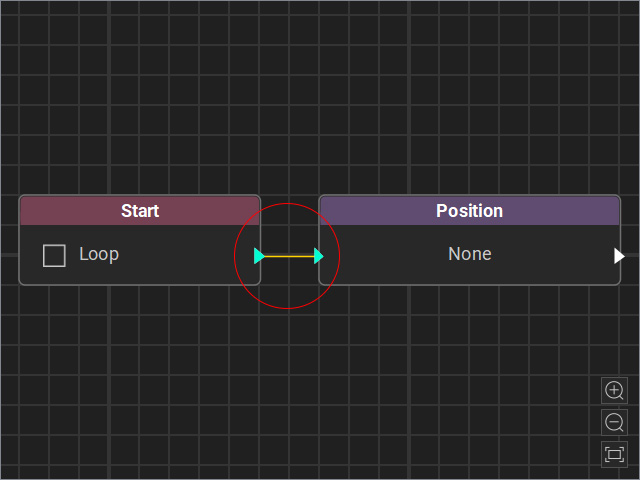
- Select the node and adjust the settings in the Attributes page.
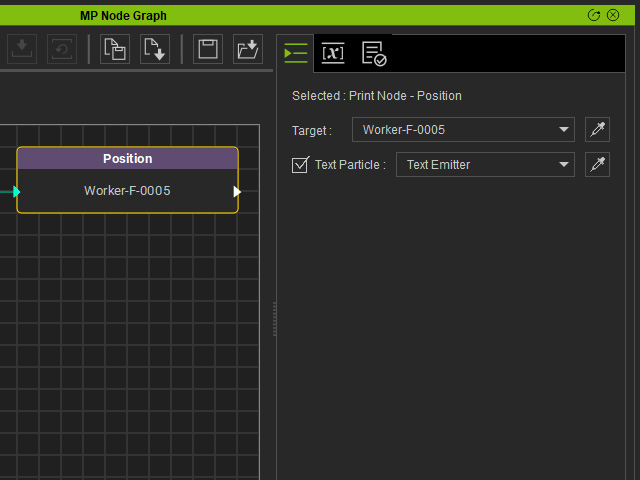
- Target: Select the object, in this case the character, to detect (based on the root). The XY position will be retrieved by this node.
- Text Particle: If you want to use a particle emitter to display the XY value of the object, enable this checkbox, then select the emitter on stage using the drop-down list or the dropper tool.
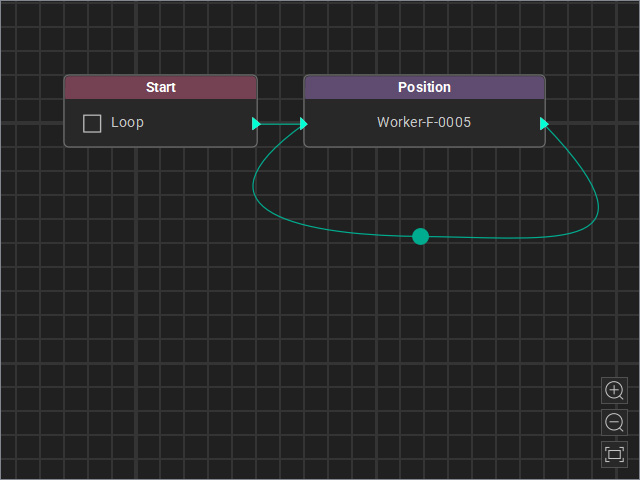
- By adding a joint, connect the output of the Position node to its input to continuously record the target object’s position during the Go MD session.
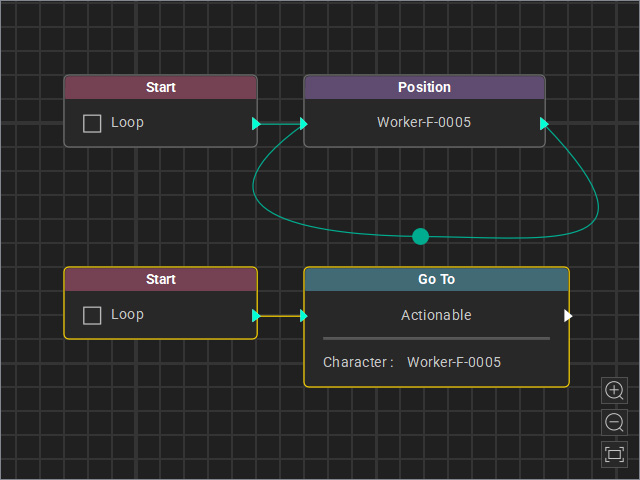
- Create a new thread to drive the character to walk onto the MD Prop with new Start and Go To nodes.
- Start the Go MD Mode to view the animation results.
- You can switch to the Log page to view the Log Output obtained by the Node. The emitter also displays the string from this list.
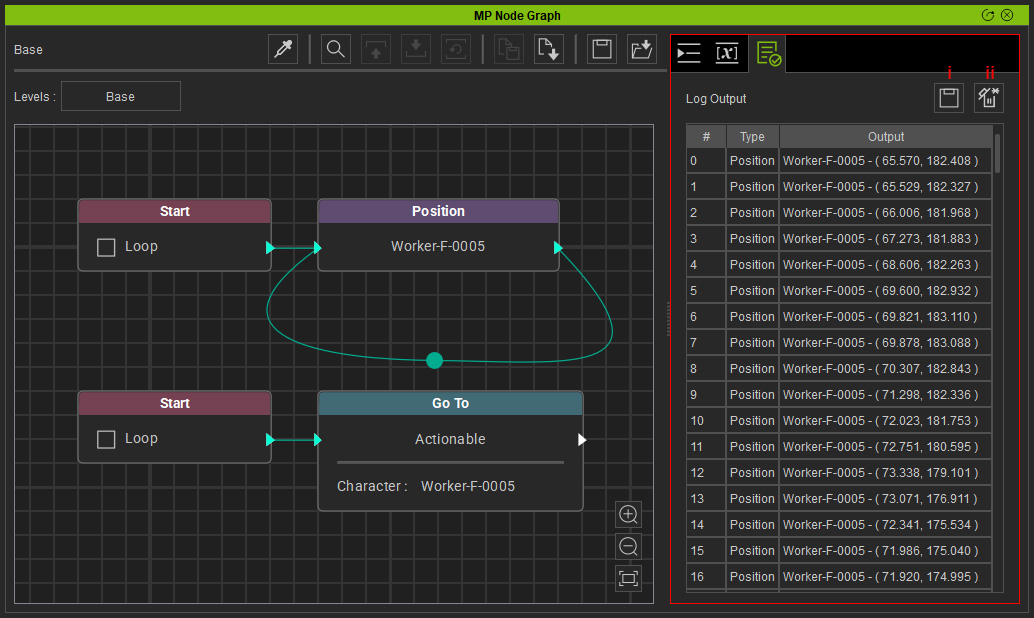
- Save Log: Save the log as a file (*.txt).
- Clear Log: Clear the data in the Log Output list.
