Using Prop Nodes
The Prop Node is used to drive specified prop to perform animations.
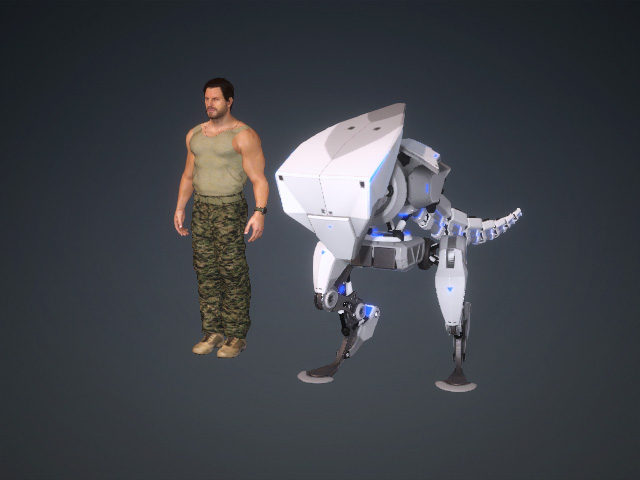
- Create a project with a character and a prop.
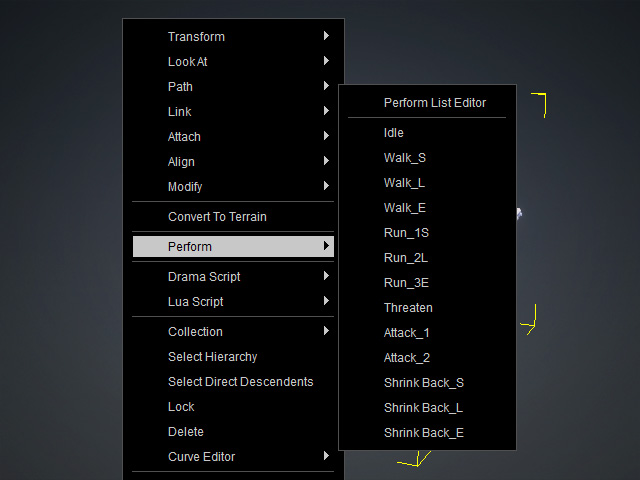
- Right-click on the prop and make sure there are animation items in the Perform submenu.
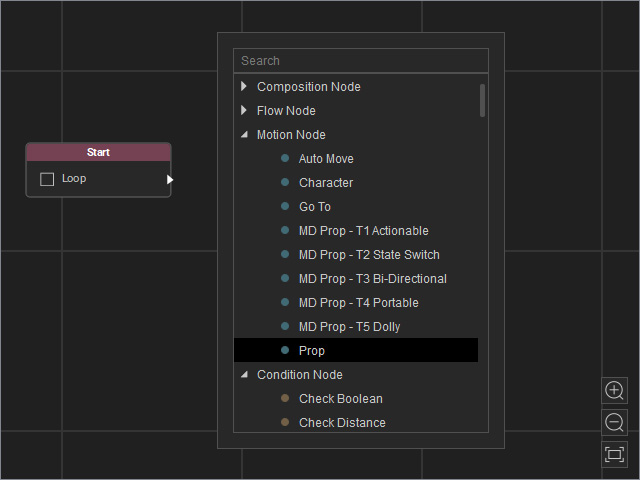
You can also use Collect Clip feature to create custom animations for the prop. - Open the MP Node Graph panel. Right-click on the viewport space and choose Motion Node > Prop.
A new Prop node will be inserted on view.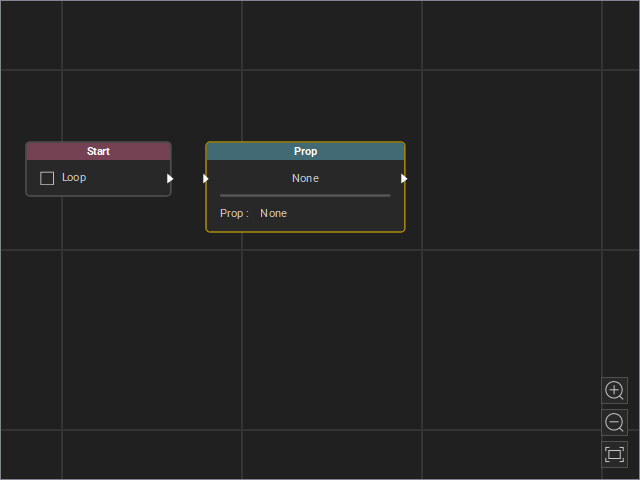
- Drag a flow line from the Start node’s output and connect it to the Prop node’s input.
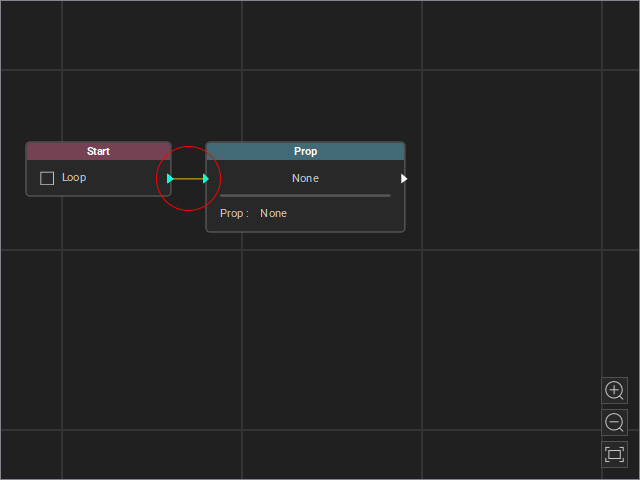
Note that you can also associate object and MP node with Pick from Scene method. - Select the node and adjust the settings in the Attributes page. Note that some of these settings are related to the Behavior Settings tab in the MD Behavior panel.
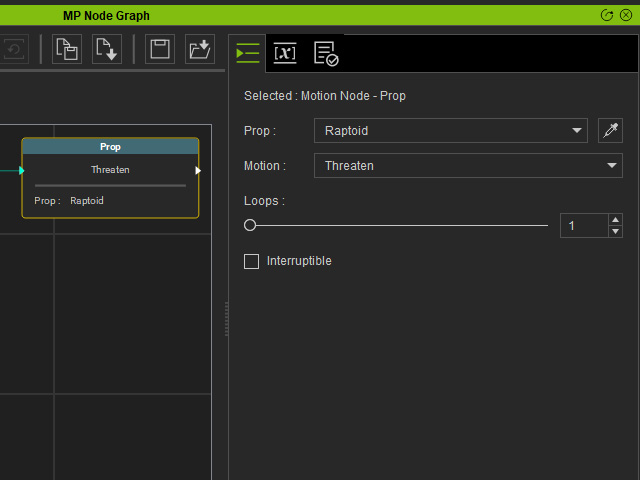
- Prop: Set the field to associate the node with the target prop.
- Motion: Select the desired motion to be triggered by the node when the flow proceeds to this node.
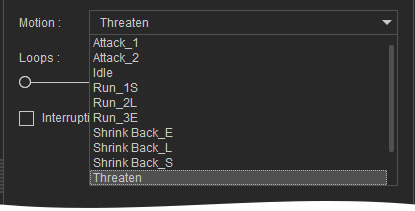
- Loops: Setting the looping times of the motion (in this case, 2).
- Interruptible: When used together with a node from the Condition Node category, the motion driven by this node can be forcibly interrupted.
- Start MD Mode to view the animation result.
- You can also add Character node to trigger the motion of the character.
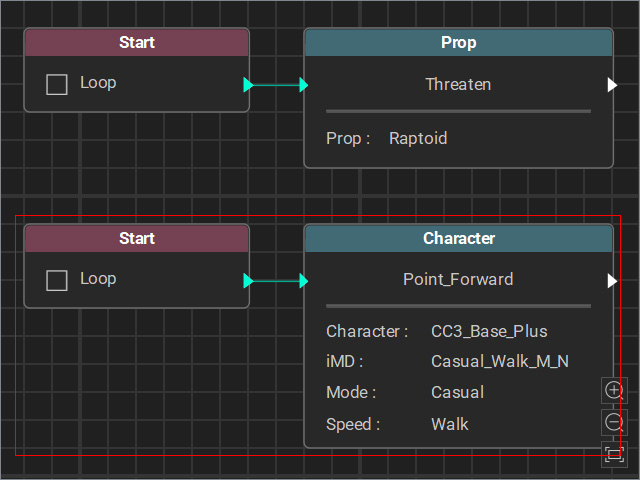
Playback to view the animation result.
 Recording Prop Animations
You can record the prop’s animation to a clip and add it to the prop’s Animation track when Go MD mode stops. The conversion rules are as follows:
- At least one MD character in the scene is both Active and Record enabled.
- The character can be in any MD Mode.
Conditions when Prop Animation is NOT recorded
- No character in the scene is set to Record.
- A character is set to Record, but none is Active.
