Creating Camera Switch Effects
(New for iC v. 7.93)
In iClone, Camera Switch effect helps you to change the views from multiple cameras; the switching effect can be baked to one camera and transferred to Omniverse applications.
- Create a project in iClone with multiple cameras, either animated or fixed.
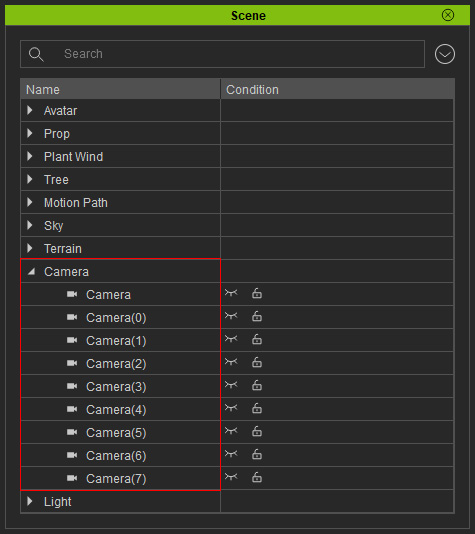
- Utilize the Camera Switch feature to view the entire animation from different perspectives.
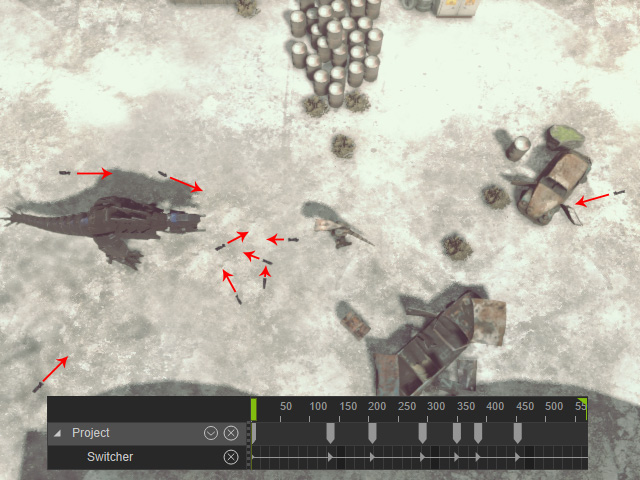
Playback to view the result.
- Launch the Export USD panel and adjust the settings.
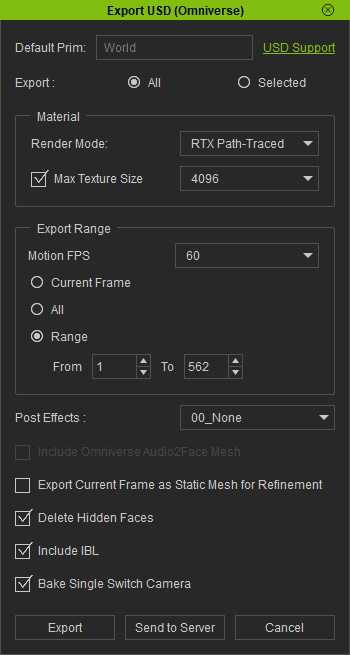
- Export: Choose to export All or Selected objects. The currently supported objects are Characters, Props, Lights and Cameras.
- Render Mode: Since the character's shader type is Digital Human Shader, which contains SSS (sub-surface scattering) settings, this setting should be set to RTX Path-Traced.
- Export Range: Export a range of the entire project in order to export the motion and expressions of the character.
- Include IBL: Activate this checkbox to export the IBL of the project since the lights in the projects are not exported.
- ** Bake Single Switch Camera: This checkbox MUST BE ACTIVATED, in this case, to bake all the camera switch effect into one camera and transfer the camera to Omniverse applications.
- Click the Export or Send to Server button to export USD file (in this case, Send to Server).
Adjusting and Rendering via Omniverse Applications
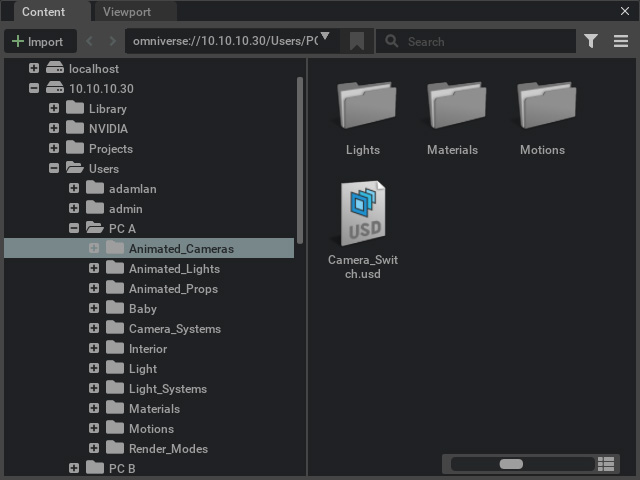
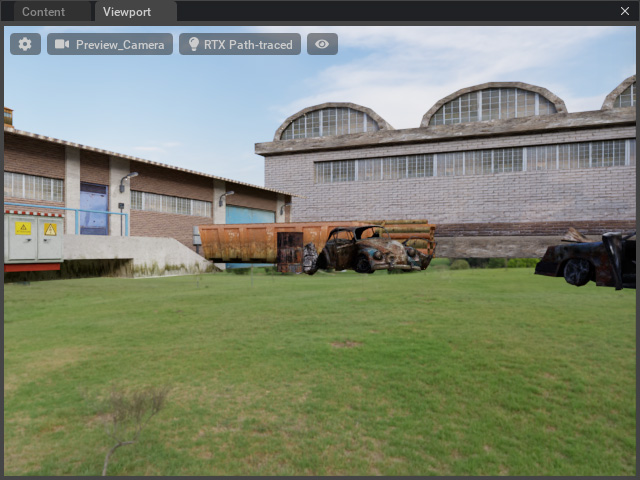
- Launch Omniverse Create or View. Open the USD file
previously exported from iClone.
- Because the Terrain, Trees, Water, Particles are non-transferable, and the IBL mapping to the DomeLight can be slightly different between Reallusion applications (iClone, Character Creator) and Omniverse applications, you can optionally modify the project in Omniverse application.
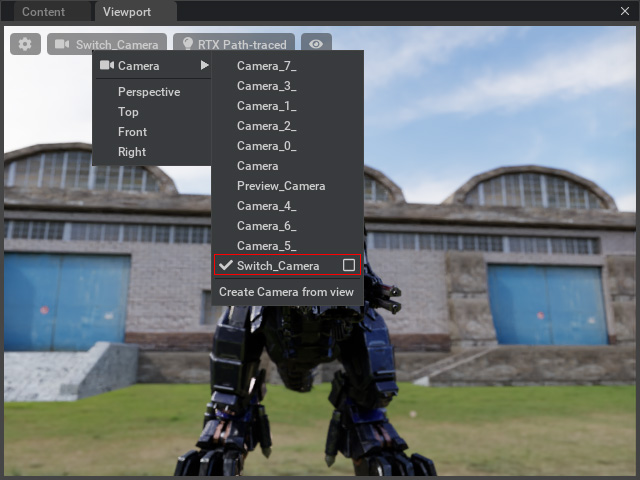
Refer to the Creating Undulating Terrain and Creating Flat Terrain sections for more information about creating Terrain. - On the top of the viewport, set the camera view to Camera Switch transferred from iClone.
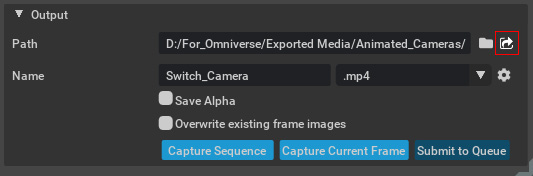
- Open the Rendering > Movie Capture panel and adjust the settings for the final rendering.
- Click the arrow button.
You can find the rendered file in the pop-up explorer.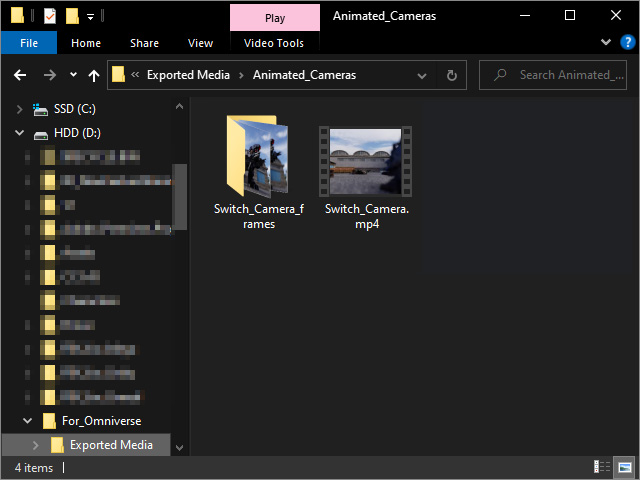
- Playback to view the animation.
