Creating AI Actor – Advanced Mode: Import Images (v1.1.1)
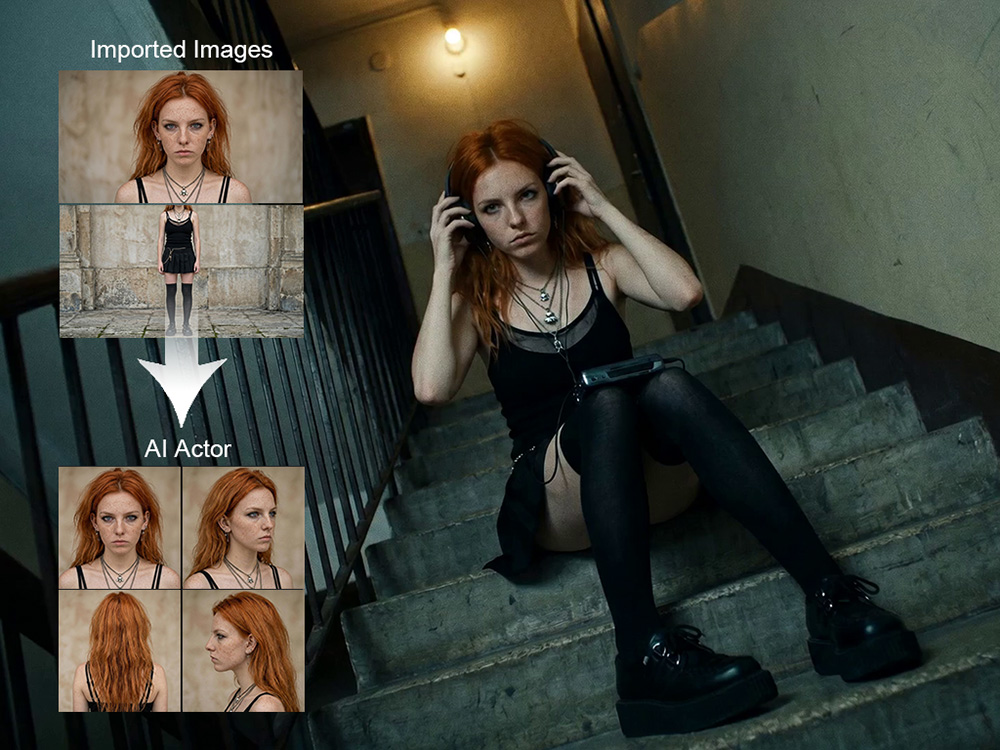
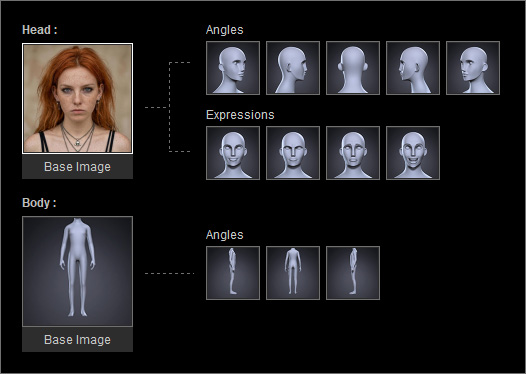
If you already have your own IP character images, character illustrations, or real photos, you can first use external image editing software to prepare separate head and body images of the character. Then drag them into the Head and Body image slots individually to let the AI generate the remaining angles, expressions, and body views for creating a custom AI Actor.
Required Elements
Unlike the 3D workflow, a complete set of multi-angle images is not required. You can create an AI Actor using only a Base Image. However, providing more reference images generally improves character consistency across different angles, scenes, and style variations.
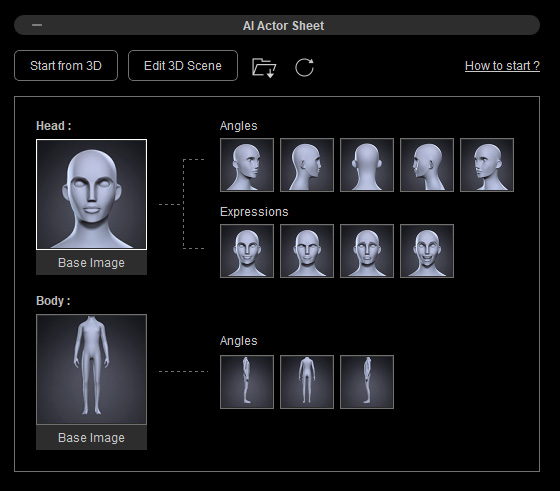
- Head Base Image: Defines the character’s facial features.
- Body Base Image: Defines the character’s clothing, body shape, and body proportions.
For highly stylized characters or distinctive designs, include the full head in body views to better preserve the overall silhouette. - Actor Settings: Includes the actor name and appearance prompt.
Creation Workflow
Select the Create Actor  Tool from the left AI Toolbar and complete the tasks in each section.
You can collapse or expand a section by clicking its caption.
Tool from the left AI Toolbar and complete the tasks in each section.
You can collapse or expand a section by clicking its caption.
 Adding Actor Images
- Prepare head and body angle images (.png, .jpg, .jpeg, or webp) of your custom actor using the preset dummy in the AI Actor Sheet section as a guide.
At least 2 base images are required (head close-up and body), while up to 14 images are recommended for consistent results across all angles.
- Drag the head image directly from Windows File Explorer into the Head Base Image slot.
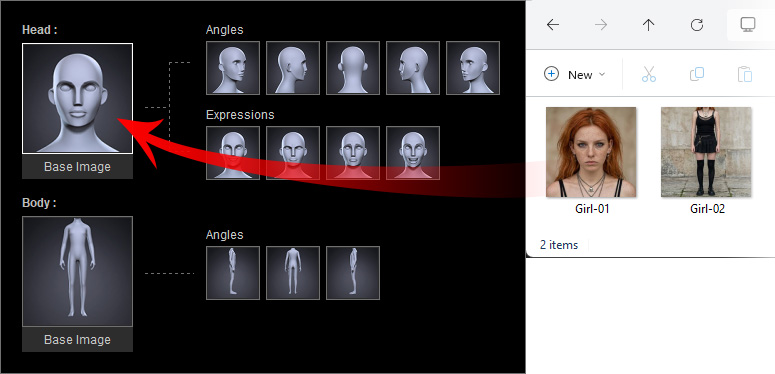
Recommended image size: 1024 × 1024 (1:1). Images with other aspect ratios will be automatically resized and cropped. For best results, position the character near the center of the image and leave adequate margin around the edges to avoid cropping important features. - The image will be inserted into the angle slot.
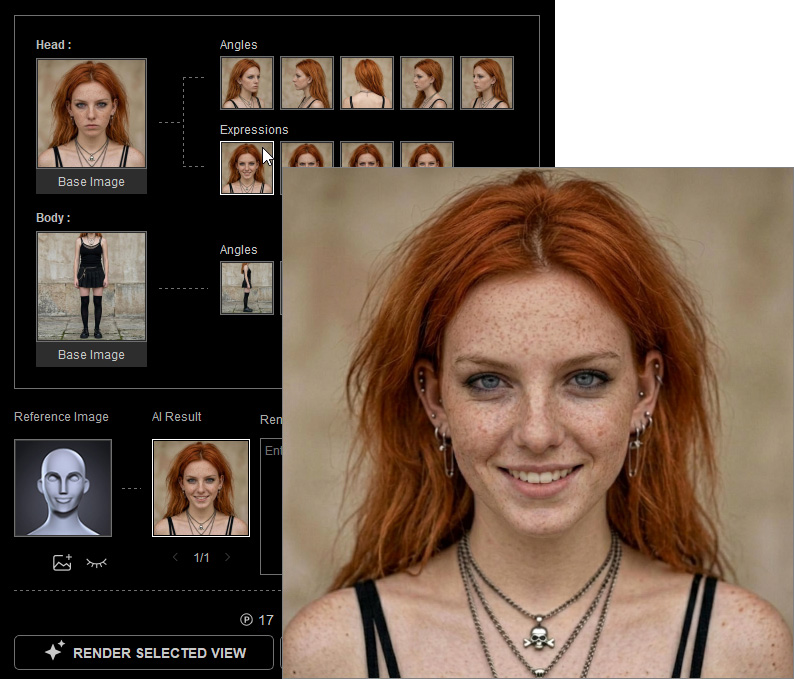
Hover over the thumbnail to view a larger preview. If it is not satisfactory, replace it by dragging another image onto it.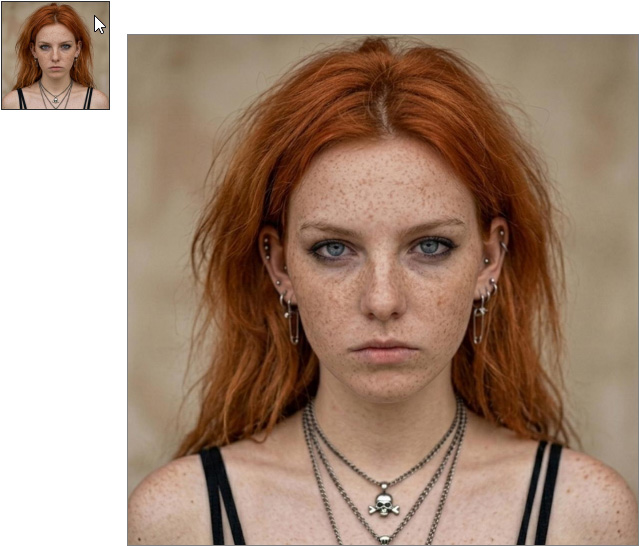
- Using the same method, drag the body image and other available angle images from Windows File Explorer into each corresponding angle slot.
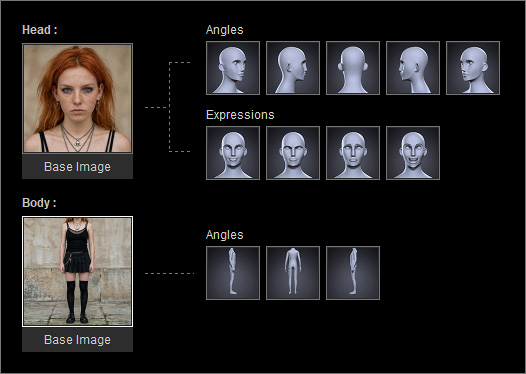
Generating AI Results in a Unified Render Style
Verify that the captured head and body images match the preset dummy’s viewing angles before starting AI rendering.
- Select each angle image and confirm that the head or body aligns with the preset dummy.
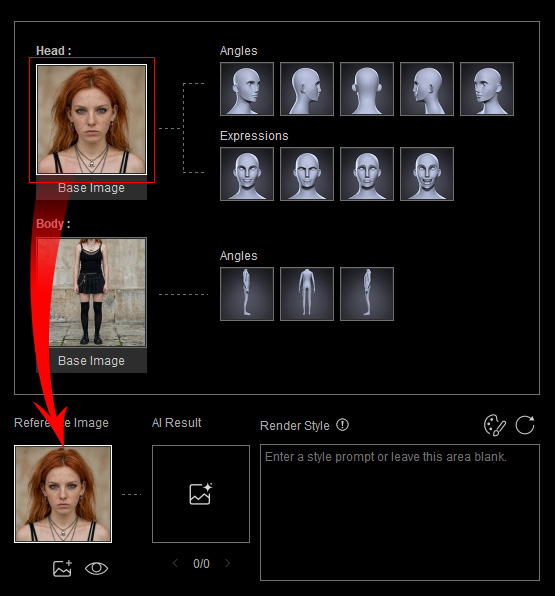
- Eye icon: Switches between the preset dummy and current actor image.
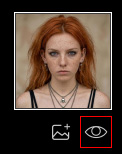
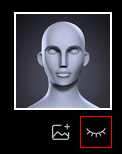
Switch On:
Actor ImageSwitch Off:
Dummy Image. - Import Image
 icon: If an image angle is incorrect, click the icon to browse and replace it with a custom image (.png, .jpg, .jpeg, or webp).
You can also drag and drop files directly from Windows File Explorer.
icon: If an image angle is incorrect, click the icon to browse and replace it with a custom image (.png, .jpg, .jpeg, or webp).
You can also drag and drop files directly from Windows File Explorer.
- Eye icon: Switches between the preset dummy and current actor image.
- If you want a realistic, photo-like result, you don’t need to add a Render Style prompt.
To apply a specific visual style, click the Styles
 button and select a preset render style.
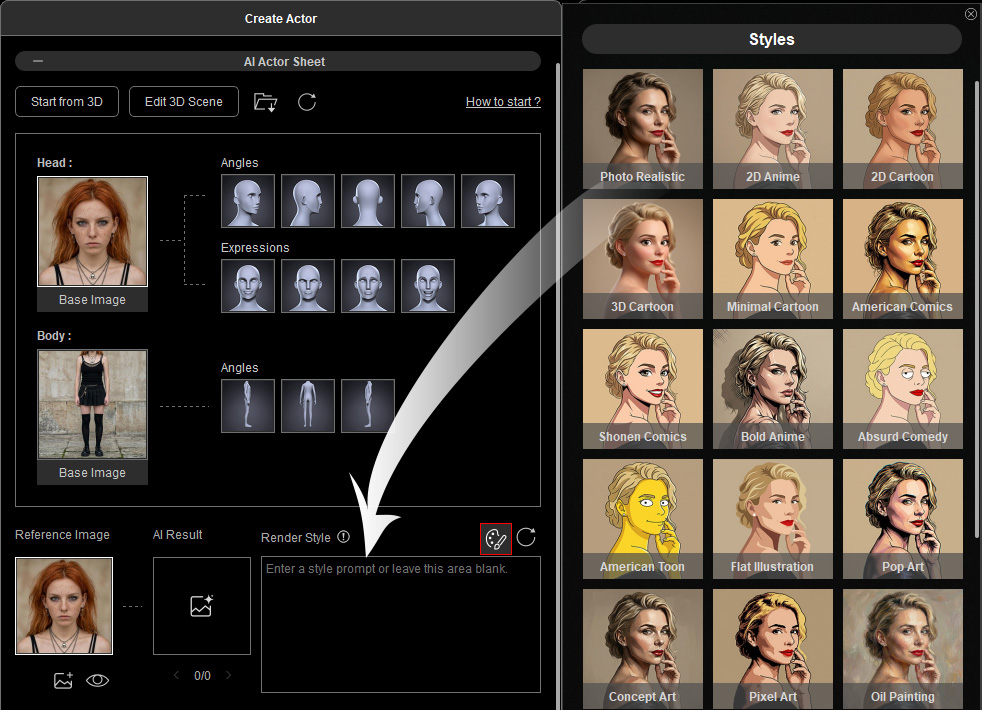
Click the Preset Prompt button to toggle the panel on or off.
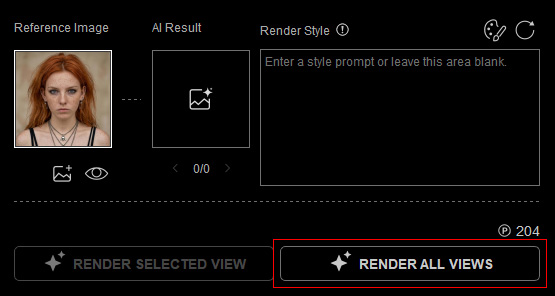
- Click the Render All Views button to generate the remaining 12 angle images.
Note the task price displayed above the button before clicking.
 Task Charging
Each submitted task uses available AI Points, Bonus Points, or DA Points. View your available points in the bottom-left corner of AI Studio, or click the ... button and select Account Settings to check your point balance.
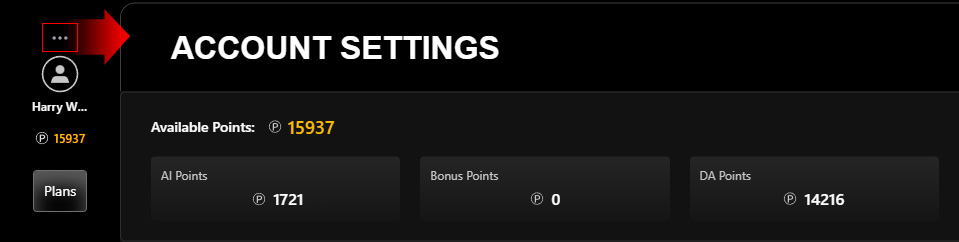
To obtain more credits, click Plans to subscribe to an AI Service Plan for additional AI Points or purchase DA Points to top up your account. - Track progress at the bottom of the AI Render View or via the new entry in History on the right.
Once the submission is complete, the AI-generated image appears in the AI Result slot and simultaneously updates the angle image.
Hover over an angle image thumbnail to view an enlarged preview.
Their History appears overlapping in the AI Render View. Use the arrow buttons to review the 12 images for each angle.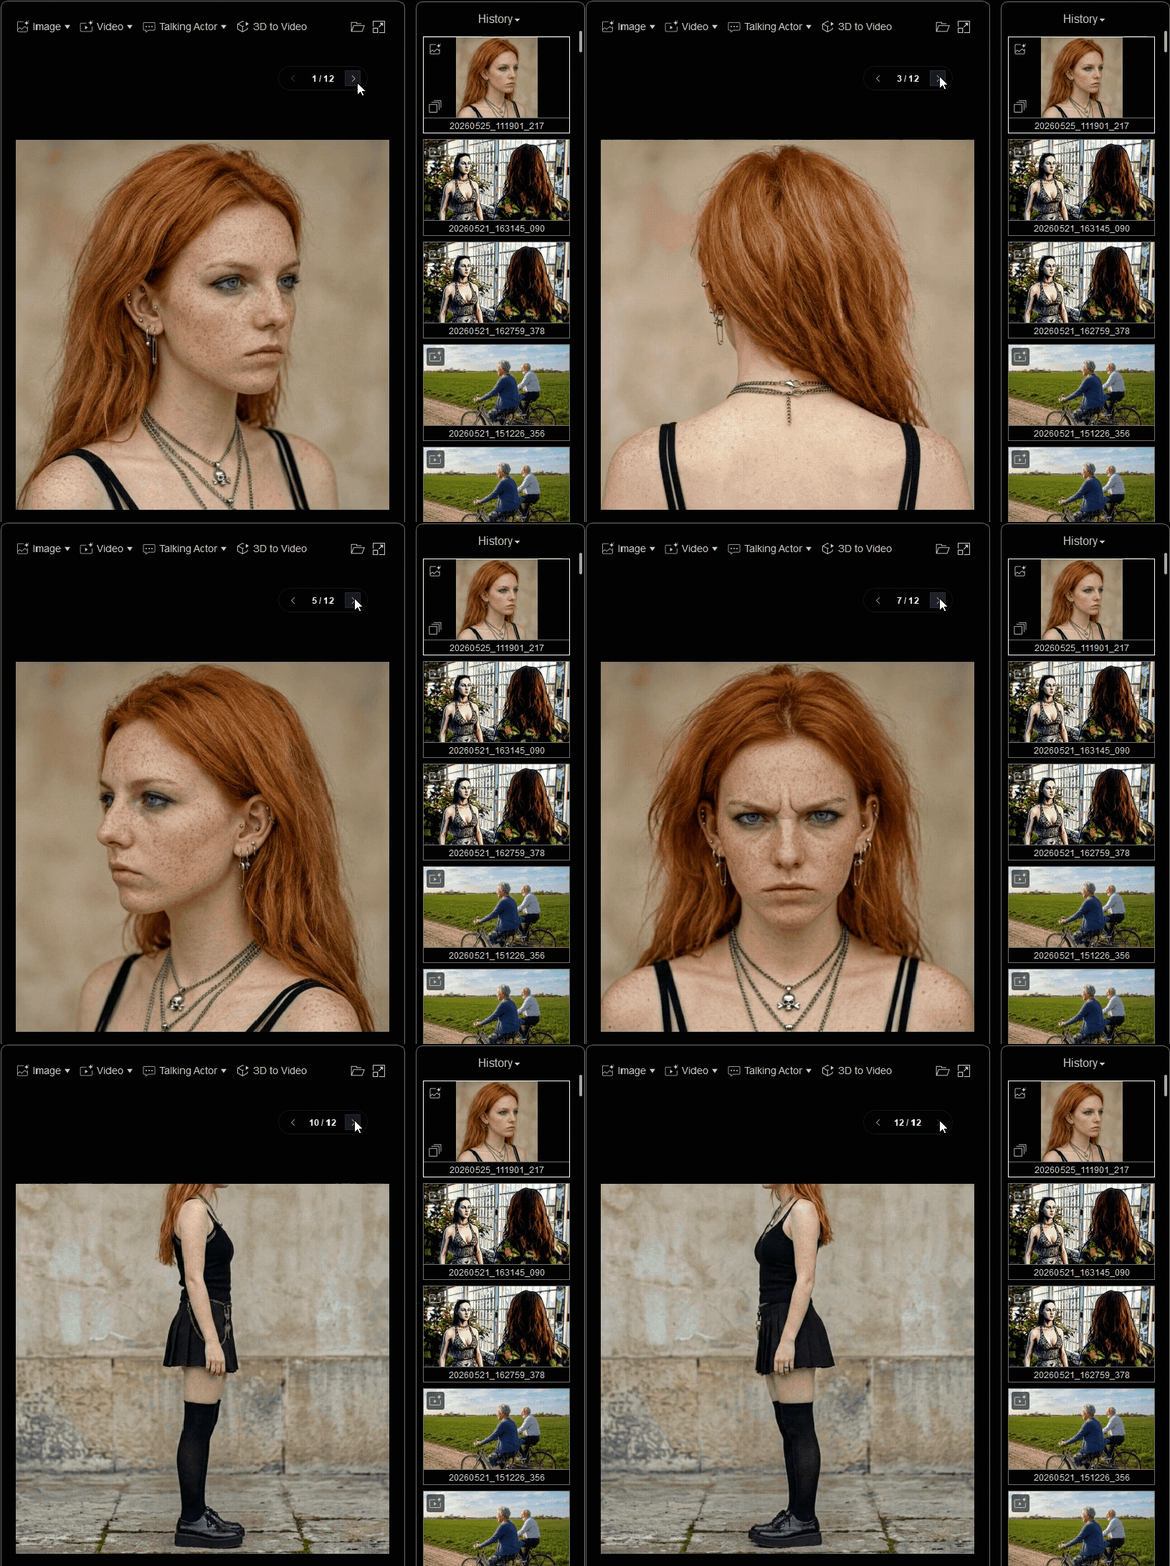
- Occasionally, the AI may fail to generate one or more images. If this happens, select the affected angle and click Render Selected View to regenerate it individually.
Entering Appearance Prompt
In the Actor Settings section, provide the actor’s character’s unique features to ensure consistent and accurate AI Actor output when using the actor in AI tools.
- Actor Name: Enter a name for the AI Actor so it can be easily found in the AI Actor Library, assigned to a specific character in the 3D scene, or inserted as a name tag for quick prompt editing.
- Appearance Prompt: Click GENERATE PROMPT to have AI generate an appearance description based on the generated images.
Drag the bottom-right corner to expand the text field for longer descriptions.
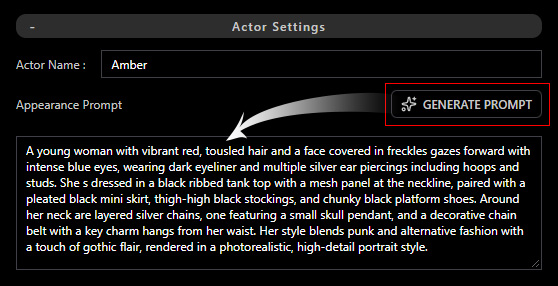
Refer to Defining AI Actor Appearance to refine the prompt with key characteristics such as gender, skin tone, accessories, clothing, and other distinctive visual features.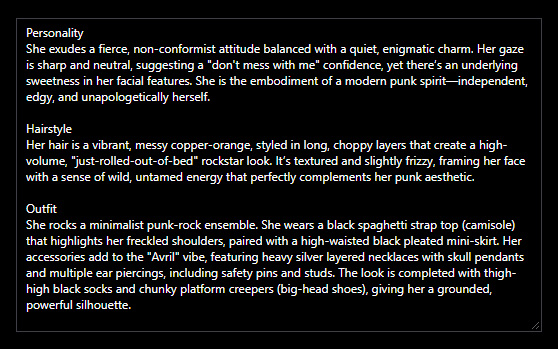
If the AI Actor Sheet already contains complete character data, a simple description is sufficient. With fewer reference images, a more detailed description is recommended to improve consistency. For example,
"Personality
She exudes a fierce, non-conformist attitude balanced with a quiet, enigmatic charm. Her gaze is sharp and neutral, suggesting a "don't mess with me" confidence, yet there’s an underlying sweetness in her facial features. She is the embodiment of a modern punk spirit—independent, edgy, and unapologetically herself.
Hairstyle
Her hair is a vibrant, messy copper-orange, styled in long, choppy layers that create a high-volume, "just-rolled-out-of-bed" rockstar look. It’s textured and slightly frizzy, framing her face with a sense of wild, untamed energy that perfectly complements her punk aesthetic.
Outfit
She rocks a minimalist punk-rock ensemble. She wears a black spaghetti strap top (camisole) that highlights her freckled shoulders, paired with a high-waisted black pleated mini-skirt. Her accessories add to the "Avril" vibe, featuring heavy silver layered necklaces with skull pendants and multiple ear piercings, including safety pins and studs. The look is completed with thigh-high black socks and chunky platform creepers (big-head shoes), giving her a grounded, powerful silhouette."
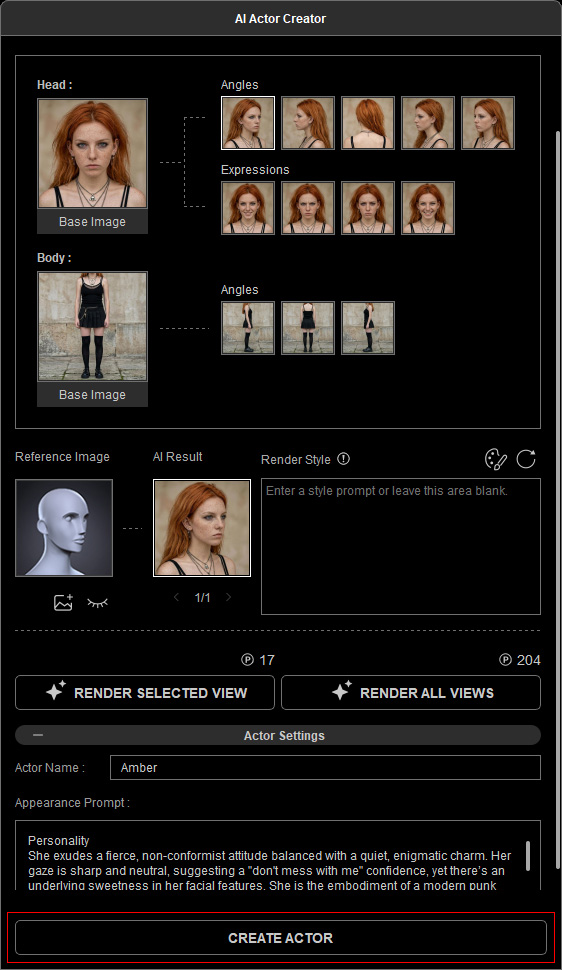
Ensure both the AI generated angle images and the actor’s appearance prompt are provided to enable the Create Actor button at the bottom.
Click the Create Actor button to create the custom AI Actor.
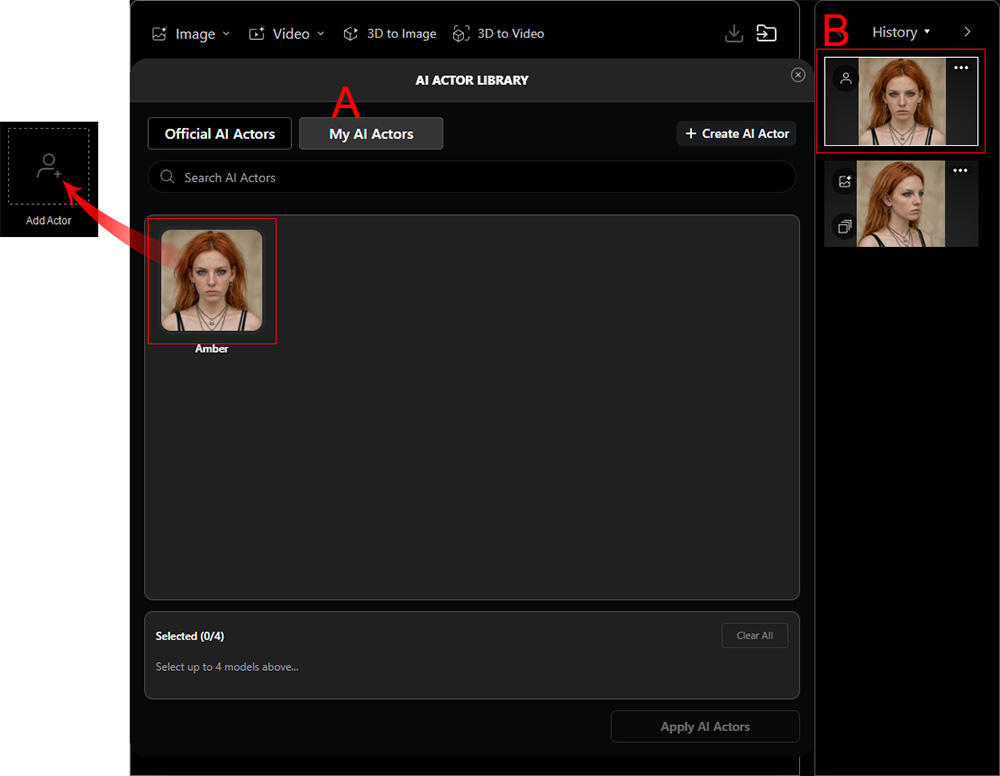
AI Actor Library
The newly created AI Actor appears in the My AI Actors tab of the AI Actor Library (A) and in the History panel (B) on the right, marked by the  icon in the top-left corner of the thumbnail for easy identification.
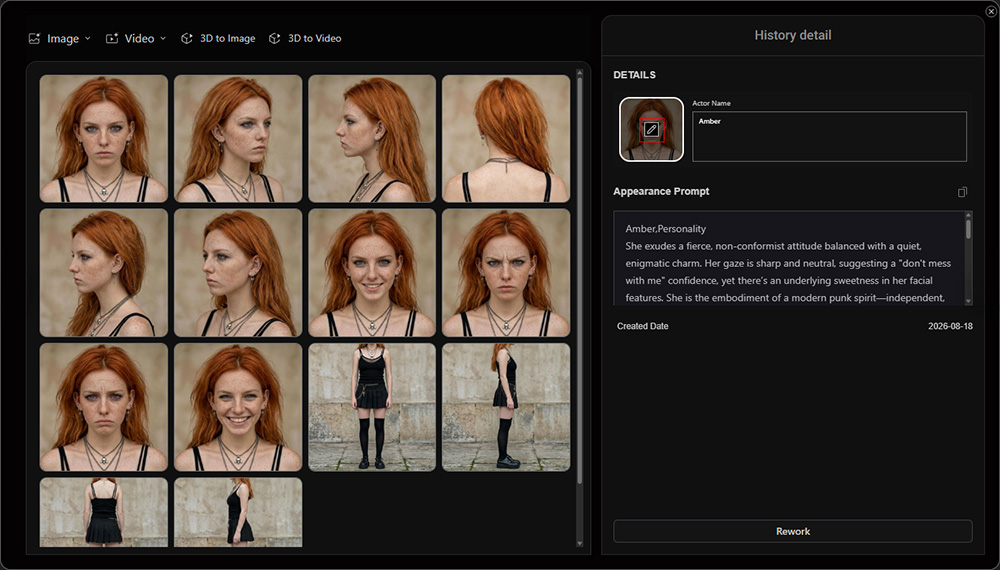
Changing AI Actor Thumbnail (v1.1.1)Click ... > View Details for the generated AI Actor in the History panel on the right, or click the AI Actor's History item on the full History page to open the History Detail pop-up window.
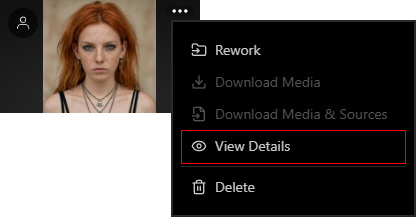
Click Change Thumbnail on the actor thumbnail, then browse for and select an image to replace the current thumbnail.